This post may contain affiliate links, including those from Amazon.com, which means we earn a small commission off your purchases. And here's the thing: We only mention services and products that we think are truly worth your attention, whether they're free, paid, or otherwise. This site relies on YOUR trust, so if we don't stand behind a product 110%, it's not mentioned. Period.
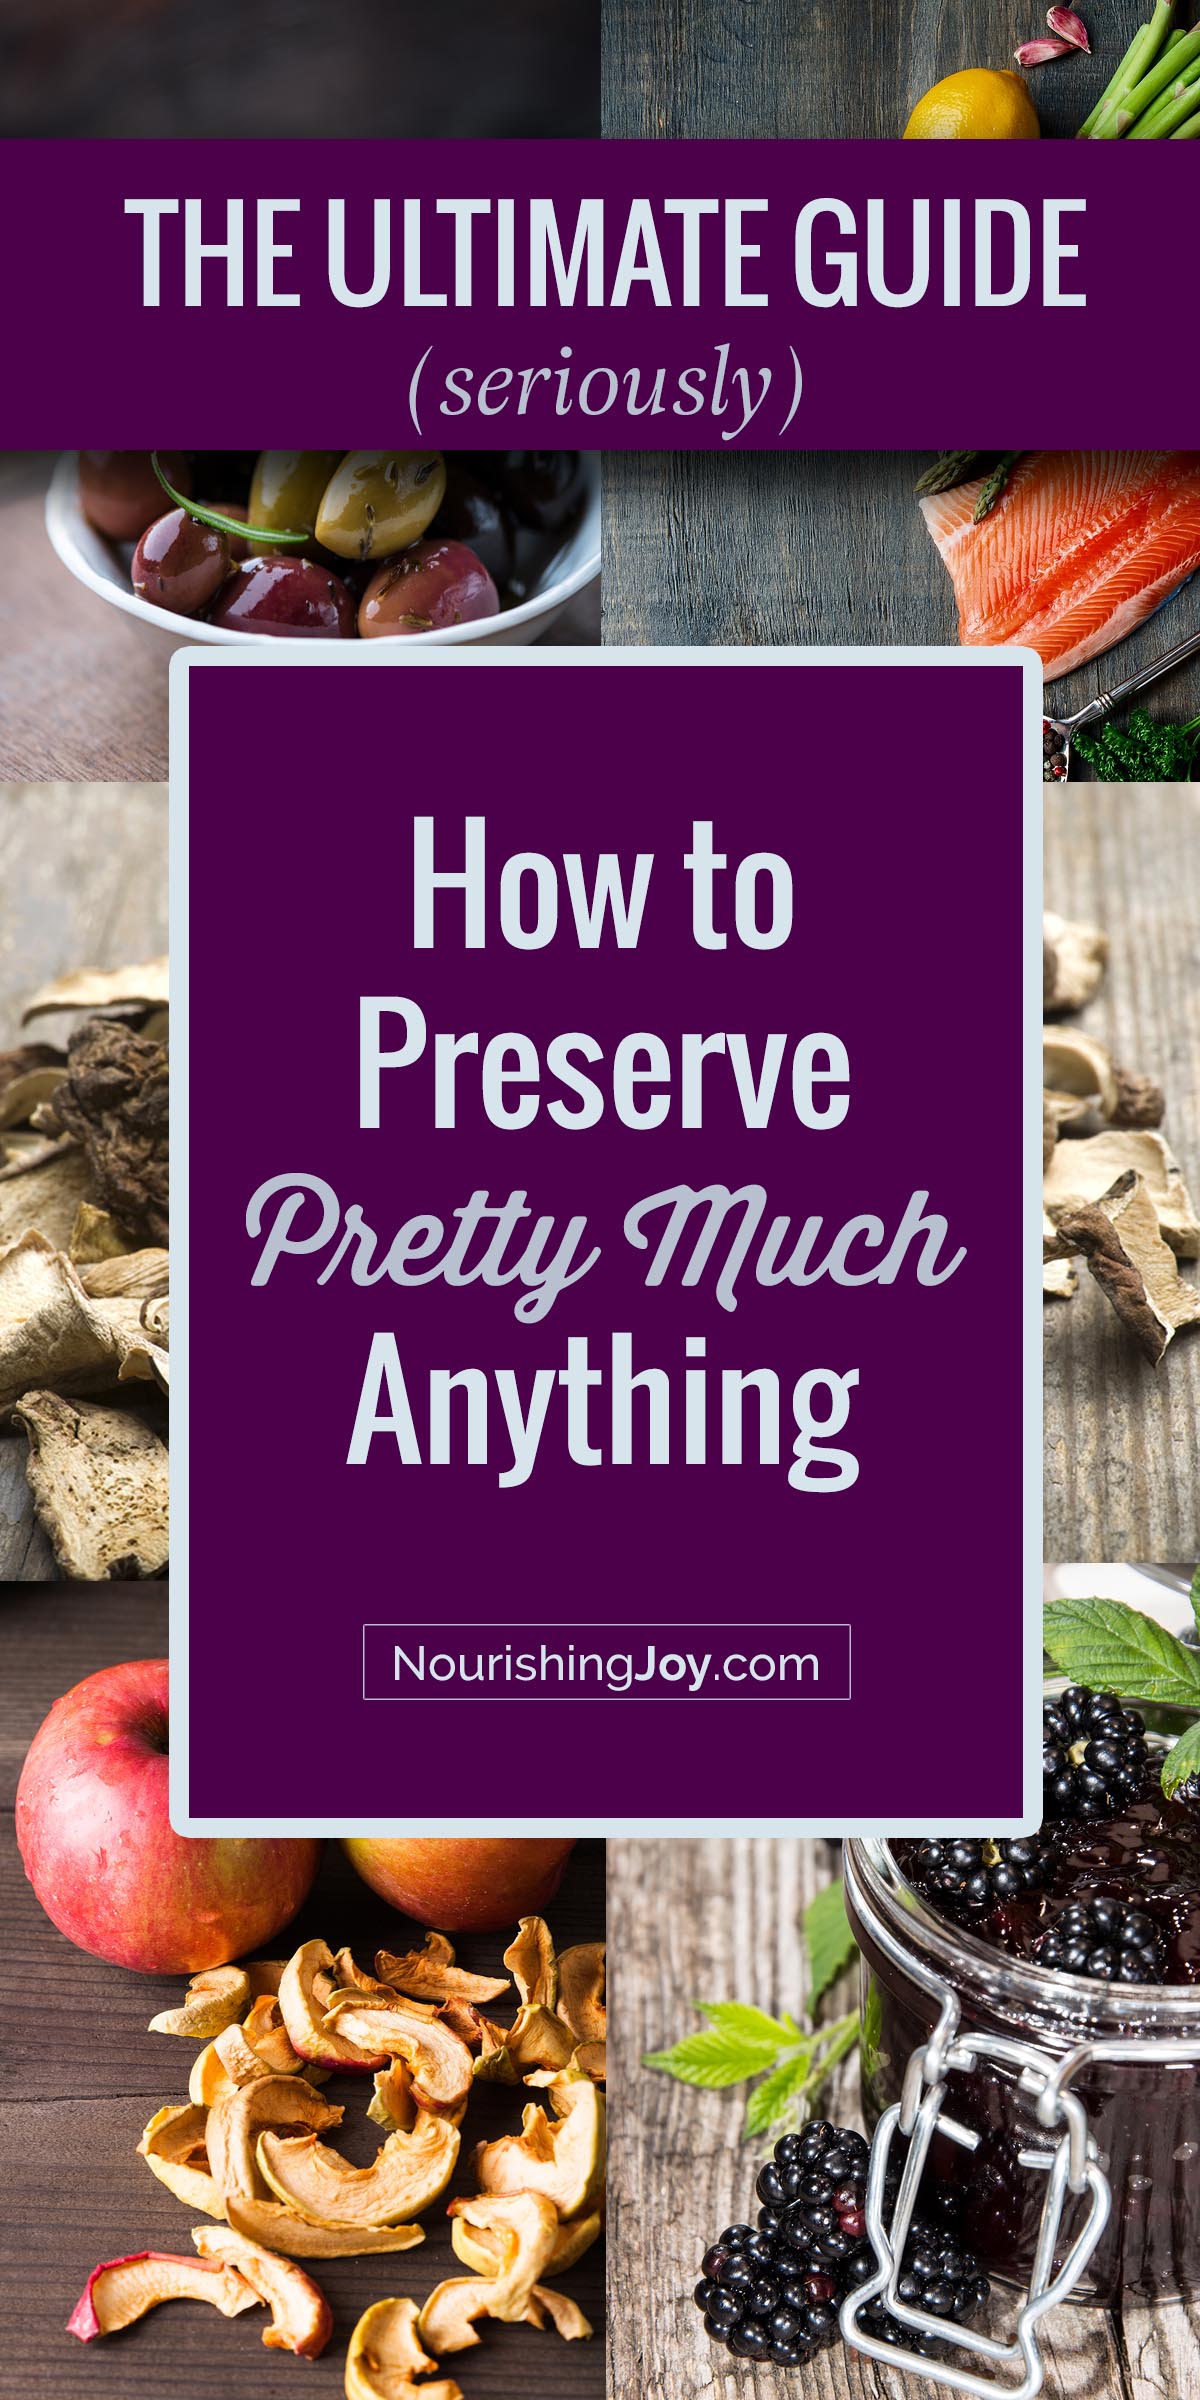
How to Preserve {Pretty Much} Anything
Every year about this time, I suddenly feel like I'm drowning in zucchini, peaches, and whatever other bounty shows up in our garden / farmer's market / neighbor's yard.
Yet the problem is, when 20 pounds of cherries suddenly show up at my door, the inevitable question is: what can I do with them?
Thus, about fifteen years ago, I started compiling all of my chicken scratches, recipes, and notes – ingredient by ingredient – into a book, both as a service to myself and to help others in the same late-summer situation.
However – heh – it became such a monumental task, that I decided rather than taking the time to catalog 500+ foods all by myself, it would be more worthwhile to pull together multiple preservation resources into one extremely-useful guide and go-to reference.
Thus, the intent of this handy guide is to help and inspire you as you stare down those 50 pounds of tomatoes that just walked in the door.
And yes, we're going to look at how to preserve pretty much anything – that includes meat, vegetables, dairy, eggs, bamboo, flower blossoms, and a closer look at the seven different types of preservation you can choose from for nearly any food.
Sound exciting? Yeah, I thought so too. 🙂
The Road Map: How to Preserve Food, Food Preservation Methods & More
Okay, so first of all, let me give you a road map to this incredibly long food preservation post:
The first section is a run-down of WHY we preserve food, the different types of preservation and fermentation, and also talk briefly about supplies.
The second section is the motherlode of links to recipes and tutorials that walk you through preserving nearly every type of edible food (or at least point you in the right direction to find out). You'll find LOADS of inspiration in this section! Note that the recipes are divided according to the types of preservation that were laid out in Section One.
SECTION ONE: How-To's
Why Preserve Food?
At the risk of sounding completely daft, we preserve food because if we don’t, it will go bad.
While I never decry the turning of food into compost, that gorgeous rich soil that will feed next year’s crops, I most certainly believe we should gain the benefit from eating every bit and morsel from the food we have before sending the remains to the compost pile. This is good stewardship!
Fresh food in season is a delightful thing. Just think of the flavor of a juicy peach in August or that crisp asparagus in April – they don’t exist that way any other time of year unless they’ve been transported hundreds or thousands of miles. And so we take that delightful fresh food when it is ripe and in season and preserve it so that we can enjoy it at the times of year when that food is neither freshly picked nor available locally.
And this is not just good common sense, it’s actually a bit of a necessity. In the winter, we don’t have access to the fresh food we do during the summer and those of us in temperate and arctic climates also miss out on precious sunlight, so the amount of vitamins in our diet drops during the winter. Thus, extending the shelf life of nutritionally-dense foods and eating preserved foods during the winter – especially those that have been preserved using traditional methods – actually provides needed nutrients during the dark days of winter. Did you know that tradionally fermented cabbage (aka sauerkraut) is extremely high in Vitamin C, K, B6, calcium, magnesium, folate, and other nutrients? This is food for life!
And as I mentioned, preserving food is just good stewardship. It’s frugal because it makes good use of purchased and acquired foods, it’s sensible because it offers out-of-season flavors when you crave them (think of the last time you craved bell peppers in January!), and it’s delicious. Some foods, such as tomatoes or figs, are lovely when fresh, but they come even more alive when preserved.
The seven types of preservation
So, let’s take a quick look at the different options you’ve got when it comes to preserving your food.
FREEZING
The freezing method is fairly straightforward, but for long term storage, this isn’t just the freezer above your refrigerator. For true, long-term freezer storage, you’ll need a deep freeze that holds the food at 0°F (-18°C) or below.
Freezing is a good option for pretty much any food, but will change the structure of some foods, such as fresh greens, so plan accordingly. For example, if you freeze fresh spinach, it will be wilted when you remove it, so using it in a salad would be out of the question, but using it in a baked dish, such as Spinach and Mushroom Lasagna, or in your favorite green smoothie would be totally fine.
Also, if you are able to vacuum-seal your food before freezing, this will extend the life of your frozen food even longer.
Freezing is a great option for many types of food, as it keeps the vitamins and minerals largely intact. In fact, if you freeze your food right when it’s fresh, it’s about as close as you can come to eating fresh food when you take it out to use, which is exactly what we need come the doldrums of January.
DEHYDRATING & SMOKING
Dehydrating is exactly what it sounds like – it’s the process of drying out your food. By removing the majority of the water content of your food, you hinder the bacterial growth that thrives on moisture, thus extending the shelf-life of the food by several months.
Good examples of common dehydrated foods are beef jerky, fruit leather, and dried fruit.
Smoking is similar, but slightly different. In the process of smoking, the food is partially dehydrated, but as smoke penetrates the food, it also acts as a bacterial inhibitor and anti-oxidant, thus slowing rancidity. Foods that are smoked are often also cured (think of your favorite sausages), but not always, such as with smoked salmon, which is smoked fresh.
Dehydrating food can be done easily by pretty much anyone, as you can dehydrate using an oven, a dehydrator, or even just the sun. Smoking, however, needs a bit more finesse and is most easily done in a conventional smoker.
FERMENTING & CULTURING
Fermentation is the way people have been preserving food for millenia.
Fermenting is the process of encouraging the growth of beneficial bacteria in order to inhibit harmful bacteria that spoil food and have the potential to make us seriously ill. Most foods can be fermented or cultured, including fruits, vegetables, meats, seafood, grains, legumes, and dairy. Common fermented foods are sauerkraut (cabbage), pickles (cucumbers), cured sausage (meat), and yogurt (milk).
(By the way, I absolutely love fermented foods – I’ll totally admit my bias! If you’re just getting started with fermented foods, definitely check out the book, The Complete Idiot’s Guide to Fermenting Foods by Wardeh Harmon.)
Fermenting is one of the easiest methods of preservation, as all you need are your ingredient and a starter of some sort, which is often just salt. Easy!
CANNING
Water-bath canning and pressure canning are more modern forms of preservation and they’re an excellent way to keep foods preserved for longer periods of time, usually at least a year or more.
The downside is that because canning requires high heat, the vitamin and enzyme content of the food is partially denatured, so it’s not quite as nutrient-rich as eating the same foods fresh.
However, canning excels at being able to preserve large amounts of food – more than you could eat before it would go bad when fresh – so I consider this an excellent option, as you’re saving food from the compost heap rather than “destroying” fresh food.
Besides, there are a few foods, such as tomatoes, where certain nutrients only become activated once cooked, making homemade canned tomatoes an excellent choice.
Also, canning is a great way to preserve prepared foods for long periods of time, not just the ingredients themselves, so foods like ketchup, plum sauce, applesauce, salsa, relish, chutney, pasta sauce, jams, and jellies excel when preserved via canning.
SALT- AND SUGAR-CURING
Salt-curing is the process of packing a food in a high salt concentration in order to inhibit bacterial growth. This is similar to fermentation, but done at a much higher concentration. For example, a shredded vegetable ferment such as sauerkraut typically uses a salt ratio of about 2 to 7% by weight, but salt-curing packs the food in a ratio of about 20 to 25% salt.
Salt inhibits the growth of spoilage-inducing microorganisms by drawing water out of the cells through osmosis. As the unwanted bacterial population decreases, other beneficial bacteria, primarily those lovely lactobacilli, proliferate and create an acidic environment (around 4.5 pH).
It should be noted (as I had to point out to my publisher when I published my book and their dietician was losing her shirt over the fact that my fermented and cured recipes called for so much salt), when a food is dry-cured, you don’t eat the salt crust or brine – this merely helps preserve the food. Common examples are corned beef, lox, caper berries, and cherry blossoms.
Sugar-curing is similar – it’s merely the process of packing a food in sugar for the same purpose – but this is used for foods where the flavor would be adversely affected by the use of salt or to infuse the sugar with a particular flavor, such as vanilla sugar, flower honey, or rosemary syrup.
Also, it’s very common to use a combination of both salt and sugar, as lactobacilli feed well on sugar. For example, the traditional Scandinavian method for making gravlax uses a ratio of 2:1 of salt to sugar.
OIL CURING
Oil curing is the process of submerging a food completely in fat or oil in order to block out oxygen. This method appears commonly in old cookbooks for everything from artichokes to jardinière, but today, it’s largely considered unsuitable for many foods because even though it slows the growth of spoiling agents, it doesn’t rid the existing moisture from inside the food, which can still give rise to Clostridium botulinum, the bacterium that causes botulism and which becomes active in warm, anaerobic environments.
However, this method is absolutely lovely for herbs and garlic, as well as combining with other methods, such as marinated red bell peppers, which are cured both in oil AND vinegar and then water-bath canned. Scrumptious, indeed. 🙂
VINEGAR & ALCOHOL PICKLING
Preserving foods in vinegar or alcohol easily creates an acidic environment, which inhibits bacterial growth. It’s also suitable for most foods and easy to do, so it’s a common way to preserve foods.
You can store nearly any food in vinegar in the refrigerator for several weeks and if you can the vinegar-preserved foods, they’ll last for at least a year.
Alcohol, such as vodka or brandy, likewise creates an acidic environment and preserves foods kept in cool, dark places for several months.
CELLARING
This isn’t really a method of preservation, but it definitely has an effect on “putting up” summer crops to last through winter.
Foods such as potatoes, onions, hardy autumnal fruits, and winter squash don’t necessarily need to be preserved, but they will last several months if kept in a cool, dark, dry place, such as a cellar. Keeping both your winter produce and your preserved foods in a root cellar will extend their shelf lives significantly!
Even better: using TWO root cellars so that things like apples, which help speed up the ripening of OTHER fruits and vegetables, can be kept separate from the beets, cabbages, squashes, etc that you want to last well for months on end. 😁
In modern day, many of us don’t have traditional cellars, but finding the coolest, darkest, driest place – even in a closet or a basement – to store our foods is certainly a good equivalent.
FREEZE-DRIED
I mention this option only because I’m insanely fascinated by this process even though an in-home freezer dryer costs thousands! This is the process that’s used to create dry milk powder, cheese powder for macaroni and cheese, those little finger food puffs they sell for toddlers, and food that astronauts take into space.
I have never used this process, but I would love to experiment with preserving foods this way at some point in the future. Wouldn't it be cool to be able to freeze-dry REAL food? I would absolutely LOVE to be able to make toddler finger foods that are nourishing rather than filled with preservatives – among other things.
Unfortunately I have no data whatsoever on the effect on nutrients in the food or the chemistry that happens at a cellular level (ie – how well does the body recognize the food when you eat it?), so it may not be a GOOD option, but it would be fun nonetheless.
How to choose which types of home food preservation will work for which types of food
Since you can’t use every type of preservation for every type of food, how do you know how to choose? Here are a few things to keep in mind:
1. Keep your final usage in mind.
Ask yourself how you are going to want to use the food later in the season. The whole point of preserving your fresh foods is to extend their usefulness, so you still want them to be useful later in the season when you pull them out of storage!
For example, you may not find dehydrated tomatoes all that useful, whereas you’d use canned tomato sauce or pasta sauce every night through the winter.
On the other hand, you might find drying tomatoes and grinding them to a powder might be a handier way to store them and you can make your sauces by rehydrating them with boiling water when you want to make a sauce.
Or you might not find frozen peaches very useful, but you’d use peach butter as a welcome part of breakfast every morning in January.
Basically, it all depends on what is helpful for YOU.
2. Keep the food’s flavor and texture in mind.
Cucumbers taste fabulous as pickles, but while it's possible tofreeze them, they’re not all that pleasing when they are thawed, so freezing isn’t a great option for cucumbers.
However, apples freeze fabulously, especially if they’re turned into applesauce or apple pie filling first.
3. Keep your available space in mind.
Do you have lots of freezer space but not much shelf space? Have a large pantry but not much room for multiple bubbling jars of ferments?
Take into account the space all the food will take up over the months while it’s stored and make best use of the space you have most available.
Or better said, if you are trying to decide between making peach butter that’s canned OR slicing and freezing your peaches, make the decision based on what whether you have more freezer space or more pantry space!
4. Keep in mind how long you want foods to be available.
Dehydrated foods and canned foods often stay safe and tasty for months longer than fermented foods or foods packed in vinegar, but fermented foods and vinegar-pickled foods retain more nutrients and enzymes, so both methods have their advantages.
Getting Equipped to Preserve Food Well
Unless you want to go all-out and smoke your own bacon (in which case you’ll need a smoker and a place to put it), getting set up for basic food preservation is pretty simple. It’s mostly small equipment and beyond that, all you need is a cool, dark, dry place to store your food items.
Here are the items that I consider essential for food preservation prep in any kitchen:
Mason jars and/or other canning jars – both with lids for processing and for loose-fitting lids for short-term food storage
Air-tight, freezer-safe containers in 2 cup – 1 gallon capacities (depending on your personal preference) – vacuum seal bags are also a great way to keep freezer-burn at bay, keep food fresh, and avoid food spoilage
A large stockpot with a heavy bottom and pouring lip – this one from IKEA barely is put away in my kitchen, as it’s in constant use, but this one from Cuisinart is superb as well.
Fine mesh strainers: I prefer metal strainers, which work beautifully for pretty much everything except kefir grains – you’ll need a plastic strainer for those
These items I consider next-to-essential. You can get by without them, but they’ll save you hours upon hours of work just in one season:
A food processor with a chopping blade and either a grating or shredding disk.
A food dehydrator – one with removable trays (not stacking trays) are definitely best and I wish every day I had purchased the 9-tray version rather than the 5-tray version!
IHOP Blueberry Syrup from Laura Fuentes – she doesn’t mention freezing, but if you use tapioca starch or skip the starch altogether, freezing this syrup would be a great way to save a whole bunch of blueberries!
Place your capers in a jar large enough so that the capers can be covered by at least an inch of water. Cover with water and soak for 7-10 days, draining and rinsing once a day. These will smell foul, the water each day will change color, and the capers will become drab-looking, but all of that’s good, as those are the signs that the bitter compounds are indeed leeching out into the water.
After 7-10 days, place capers in a clean jar and pour one of the following brines over the capers with enough to cover them by at least 1 inch. Let sit at room temperature for 7-14 days, then store in the refrigerator for up to 1 year.
Vinegar brine: for each 1 cup of brine, use 1/2 cup wine vinegar, 1/2 cup water, and 1 tablespoon salt
Salt brine: for each 1 cup of brine, use 1 cup water and 1 tablespoon salt
For olives:
Sort your fresh olives, removing any bruised fruits, stems, and leaves. Rinse.
Gentle whack each olive with a rolling pin or score it several times with a paring knife.
Once all the olives have been prepared, place them in a large container or several small containers and fill them with filtered water. (You’ll need to be able to lift and maneuvre this container, so don’t make it too huge.) Drain, rinse and fill the olive container with water again twice a day for 14-30 days. Begin tasting the olives after 14 days to decide how much bitterness you like. The longer you soak them, the less bitterness there will be, although it won’t be removed completely.
Once they are as you like, drain and rinse one last time, then place them in a new container and pour over wine vinegar and a salt brine in the following ratio:
Per one gallon of olives, use 1/2 cup wine vinegar, 3/4 cup salt, and 1 gallon water.
Shake or stir your olive container to combine ingredients well, then let sit at room temperature for 10-14 days. Store in the refrigerator for up to six months.
Lilac Honey Cake from Homespun Seasonal Living – you can either use the lilac blossoms fresh or preserve them in honey, then use the lilac honey to make the cake and frosting. Scrumptious!
(yes, I just included two homemade grenadine recipes, just because I can’t decide which I like better – and grenadine makes so many things cheerier…. 😉 )
Lavender, rosemary, and rose are especially lovely in this application.
1 cup flower petals 1 pound honey
Add the flower petals to a reusable tea bag or bundle in cheesecloth, then add to honey. Leave in a sunny place for 1 week, then check flavor. Leave longer if desired. When ready, remove the petal bag and use. Will last at least 1 year in a cool, dark place.
Stir sugar and flowers together and let sit for 1 week. Use as a finishing or rimming sugar. Will last at least 1 year in a cool, dark place.
Flower Syrup
1 cup water 3 cups whole cane sugar 1 cup flower petals 2 tablespoons vodka (optional)
Boil water, sugar, and flower petals together for 10 minutes until syrupy, then strain, stir in vodka if using, pour into a clean jar or bottle, and store in the refrigerator. The mixture will last two weeks without the vodka and up to two months with it. Use as you would use any other syrup.
1 fresh cooked bamboo shoot pinch of sea salt 1/3 cup mirin or rice vinegar 1/4 cup whole cane sugar 2 teaspoons fermented fish sauce (optional)
Slice the cooked bamboo into matchsticks and set aside.
Place the mirin, salt, and sugar in a small pan and heat until sugar is dissolved, stirring occasionally.
Once sugar is dissolved, simmer uncovered and without stirring until mixture is slightly reduced, about 5 minutes.
Remove pickling syrup from the heat, stir in fish sauce, and toss with the prepared bamboo.
Let cool and store in the refrigerator for 2-3 weeks or in the freezer for up to six months. Thawed bamboo will be slightly mushy, but can certainly still be used in stirfries and other dishes.
Kresha is the mother of four super-cool kiddos, the wife of one handsome organic farmer, a former opera singer, and an avid researcher. She and her husband share a passion for living life thoughtfully and intentionally in response to God's grace in their lives and she loves to share good meals (and good wine) around a very large table.