Homemade Fruit-on-the-Bottom Yogurt Cups
This post may contain affiliate links, including those from Amazon.com, which means we earn a small commission off your purchases. And here's the thing: We only mention services and products that we think are truly worth your attention, whether they're free, paid, or otherwise. This site relies on YOUR trust, so if we don't stand behind a product 110%, it's not mentioned. Period.
I've always loved yogurt cups. They're convenient, they're delicious, and they're pre-portioned (not that I care about portions, per se, except that at breakfast when the kids are dutifully spooning yogurt into their own bowls, sometimes a weeeeee bit too much ends up outside the container…… Happen in your house too?)
I have very fond memories of stirring up a yogurt cup every day for lunch during middle school and watching the fruit tint the yogurt fun, sometimes psychedelic colors. Each week when we went grocery shopping I looked forward to choosing the upcoming week's flavors.
But yogurt cups were cheaper back then too. My mother taught me to only purchase yogurt cups when they were on sale for 10 for a dollar – when was the last time you saw a deal THAT good? Where I live now, the sale price for no-brand-name yogurt cups is around $0.89 each, making them extremely expensive.
And even if I did have a coupon for yogurt cups, the ingredient list for most flavors is far from desirable. “Natural fruit flavor” with no actual, real fruit present is always sketchy. I mean, they're yogurt cups, for cryin' out loud. Can't at least those remain unadulterated???
But thankfully – it's super-de-duper easy to make your own yogurt cups, whether you do the quick version or the totally-from-scratch version.
WHY make your own homemade yogurt cups?
But first, why would you want to make your own homemade yogurt cups?
For a number of reasons, actually!
(And interestingly, this list could be repeated on any number of homemade pantry staples, like homemade pudding cups, super creamy peanut butter, perfect granola bars, and homemade bouillon cubes, just to name a few. Making your own from scratch has so many benefits!)
They're simple
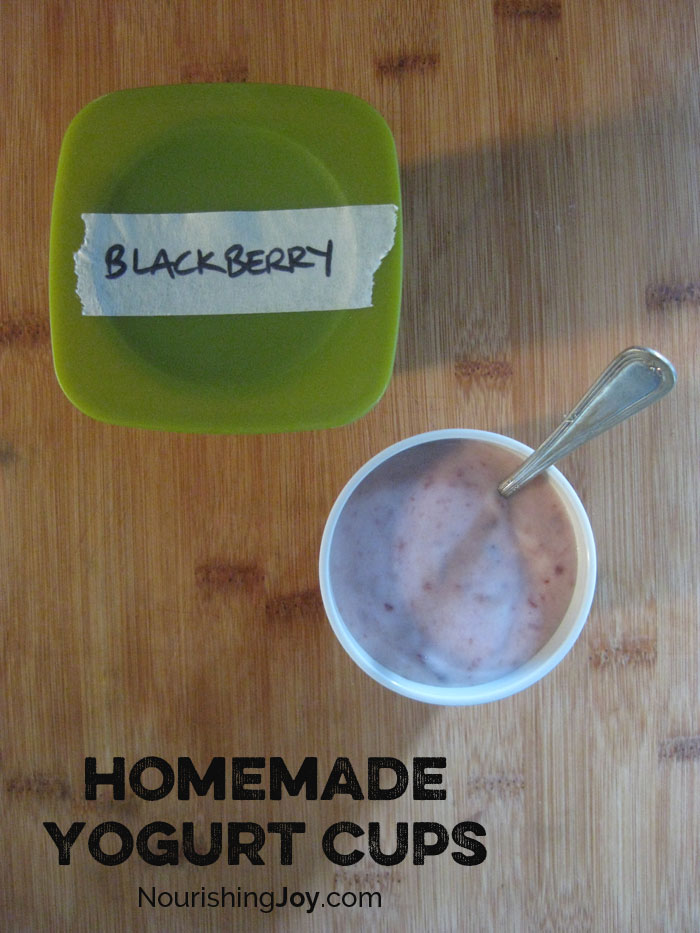
As you can see below, making your own homemade yogurt cups requires nothing more than spooning fruit, jam, or compote into a container and placing yogurt on top. You've got the choice to spoon on pre-made yogurt or pouring over a batch of fresh yogurt to culture right in the cup.
You can also make several at once – enough just for a couple of days or for a full week, depending on your needs.
Beyond that, you can sprinkle granola, nuts, or more fruit on top when you're ready to travel. Easy peasy lemon squeezy, as my four-year-old son would say.
They save you money
As I mentioned above, store-bought yogurt cups are increasingly expensive, even the non-organic ones.
Making your own at home can save you hundreds of dollars a year, depending on how much yogurt you typically eat.
They're a great way to get your kids cooking
Any time you give your children ownership of a project, they'll be invested in it. As this relates to food and healthy eating, it means they'll eat what they make themselves and they'll gain confidence in the kitchen. This is good news both for dealing with picky eaters and for teaching life long habits in the kitchen, as well as enjoying food preparation.
They're completely customizable
You can change your flavors up with the season or according to what your family loves. Want to try golden raspberry-kiwi or coconut-lime? Have a hankering for chocolate-blackberry-mint? Wonder what tomato-basil might be like (oo! Caprese Yogurt Cups! Maybe we've stumbled on something!)?
The sky is the limit.
Adapt them to your family's allergens and lifestyles
You can use whatever milks you'd like to make homemade yogurt cups. Raw milk, goat milk, almond milk, rice milk, coconut milk – the list is endless.
It's also adaptable to your family's eating habits. Want to only use organic ingredients? Go for it. Don't want to use conventional milk or soy milk? You don't have to! (And if you want to, you can!)
Please note: I recommend staying as far away from soy milk and ultra-pasteurized milks as possible.
Avoid additives, highly refined sugars, and high fructose corn syrup
When you make your own yogurt cups, you control the types and amounts (if any) of sugar, as well as avoid preservatives, highly refined thickeners, and artificial colorants. Both for on-going health and for not getting a glut of sugar when you or your child eat one, this is absolutely essential in a homemade pantry staple.
And if you want the fun, crazy colors, you can always use homemade, all-natural food coloring.
They reduce waste
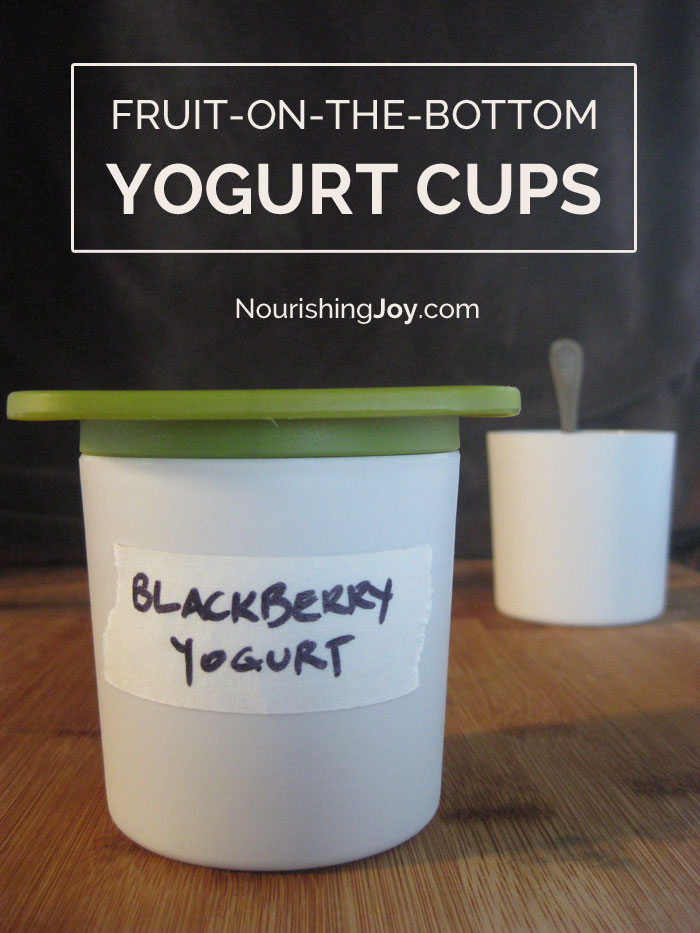
All those disposable plastic cups add up, whether you recycle them or throw them away. When you make your own homemade yogurt cups, you can use pretty much anything you have on hand. Small decorative mason jars with their seal-tight lids, cups designed for lunch boxes (like the ones in the photo above), small Thermos containers, stainless steel food jars – anything you already have and can reuse will work!
How to Make a Compote for Homemade Fruit-on-the-Bottom Yogurt Cups
Compote is just a fancy French word for stewed fruit in a syrup or sauce. Sometimes it includes a sugar-base sauce, but in this case we're just going to stew the fruit and let it create its own sweet sauce expressly from its own juices.
(The only exception would be if you're using an extremely tart fruit, such as cranberries or rhubarb, in which case, you will definitely want to add a sweetener to taste.)
Also, typically compotes don't use a thickener, as the sugar syrup helps the juices thicken once the compote is pulled off the heat, but an added thickener like we use here offers a nice touch for yogurt cups and I find I like the smooth texture.
Fruit Compote
makes approximately 1 1/2 cups compote, enough for 6 yogurt cups
- 1 pound fruit, peeled and chopped into bite size pieces (if the fruit itself is larger than bite size)
- 1/3 cup honey or maple syrup, optional
- pinch of complimentary spices (such as cinnamon with apples, cardamom with pears, or Chinese 5-Spice with plums), optional and to taste
- 1 tablespoon non-GMO cornstarch or arrowroot powder
- 2 tablespoons cold water or fruit juice in a complimentary flavor
Place the fruit and honey (if using) in a large, heavy-bottomed saucepan over medium heat. Simmer for about 10 minutes, stirring frequently.
Stir the cornstarch into the fruit juice until dissolved, then add to the fruit mixture and stir until thickened, 1-3 minutes more.
Set aside. Let cool completely if using with pre-made yogurt or let cool to body temperature if using with fresh yogurt from scratch.
Homemade Fruit-on-the-Bottom Yogurt Cups – The Super-de-Duper Quick Method
Spoon any fruit compote, jam, preserves, fruit butter, or fruit curd into the bottom 1/4 of your travel-proof container, such as the ones listed above.
Spoon plain yogurt (either store-bought or from a batch you've already made) on top of the fruit to fill the cup 3/4 full. If desired, stir a few drops of any extract into the yogurt first, such as vanilla, almond, lemon, coconut, or maple (by using maple syrup).
Seal the container well and store in the refrigerator for up to 1 week.
Homemade Fruit-on-the-Bottom Yogurt Cups – From Scratch Method
Make a batch of yogurt. (If you need directions, see How to Make Yogurt.)
While the milk is heating and cooling, make a compote and let it cool just until you can hold your pinky finger in it comfortably OR warm about 1/4 cup of jam, preserves, or curd per yogurt cup until it is very slightly warm all the way through. Reserve.
Once the milk has been heated, cooled, and cultured and is ready to pour into containers, spoon the warm fruit mixture into the containers, then slowly pour the warm milk mixture over it, being careful not to disturb the fruit overmuch and filling each container only 3/4 full. Depending on the size of your yogurt cups, you'll likely have leftover milk mixture, so pour it into pint sized mason jars or other containers to culture (again, see How to Make Yogurt for ideas and guidelines).
Set aside and keep warm in your preferred method to culture, 6-8 hours.
Once the yogurt is firm, place in the refrigerator to chill thoroughly and store for up to 1 week.
Enjoy!
So, now that you're in the mood, what flavor of yogurt would you like to make?


Your recipe for the fruit worked out great. It gelled nicely but I added more sugar as…well…I have a sweet tooth.
Question: My yogurt maker says clearly that you should NOT put the fruit in the bottom and only after the yogurt has completely processed to add it on top. But you seem to be able to do that with no problems. What do you think?
Well, if it will void your warranty (you didn’t say that it would – I’m just assuming that), don’t do it. 🙂
Follow your manufacturer’s directions, as perhaps there’s a reason they have specifically stated that. For example, some fruit (like pineapple) can affect how well the yogurt sets (not completely, but a bit), so it could be that they don’t want to receive customer service e-mails saying their product doesn’t work because the yogurt was too runny or whatever, when really it was because of the fruit. (Even when it does set well, there’s sometimes a thin layer of liquid between the fruit and the yogurt, the same as store-bought brands.)
Or, they might be saying it just to cover a certain legal aspect. There are A LOT of products that have certain indications on their labels not because it’s unsafe to do x, y, or z, but because they have to state (or want to state) a certain stance in order to cover themselves legally.
So, I would say either just follow their directions or give their customer service center a call and ask them why. You might get a better sense of why those directions are included by doing so.
And I’m glad the compote turned out for you! I find I usually have to make a bit extra, as I find myself eating it by the spoonful as soon as it’s cool enough. 🙂 Glad you like it too…..
Thank you, great idea!
I’ve seen recipes for plain yogurt saying it will last in the fridge for 2-3 weeks. Does the fruit make it go bad faster?
It’s not the yogurt that will go bad, per se, it’s merely that if you use fresh fruit, fresh fruit doesn’t stay fresh very long. Thus, we call for a shorter shelf life, but if you’re using preserves or other processed fruit, then it should stay fresh for as long as the yogurt will allow.
I hope that helps!