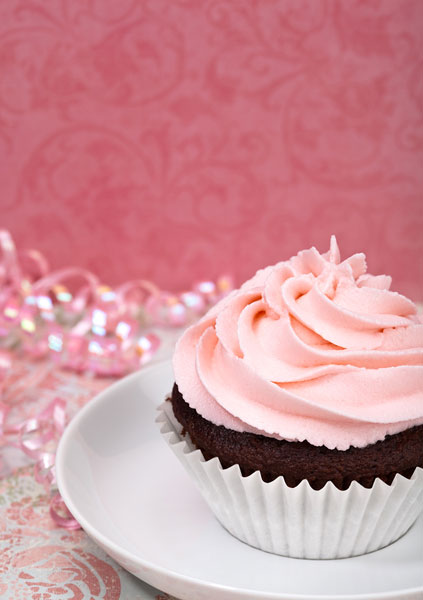
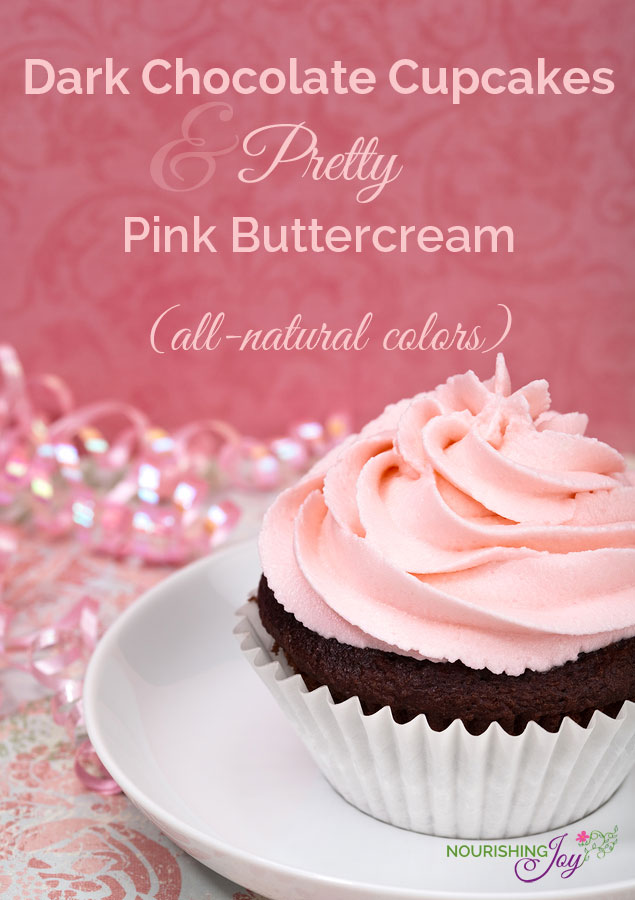
Dark Chocolate Cupcakes with Pretty Pink Buttercream
This post may contain affiliate links, including those from Amazon.com, which means we earn a small commission off your purchases. And here's the thing: We only mention services and products that we think are truly worth your attention, whether they're free, paid, or otherwise. This site relies on YOUR trust, so if we don't stand behind a product 110%, it's not mentioned. Period.
For my daughter's recent birthday party, she asked for chocolate cupcakes with pretty pink frosting.
(Rather a propos for a six-year-old, I thought.)
Thus, I went to our usual sourdough chocolate cake recipe, tweaked it a bit, and turned it into cupcakes.
Now, you may notice that this is a fairly similar recipe to our Sourdough Black Forest Cake. However, the reason I didn't just bake that batter in cupcake form is that the Black Forest recipe is purposely made as quite a dry cake, as it needs to absorb a scrumptious soaking syrup and balance the large amount of whipped cream.
Here, the cupcakes are far more naked, having only a bit of buttercream to balance the texture. Thus, note that this recipe adds in an egg yolk, extra coconut oil, and calls for mixing the cake as little as possible. These are all to help keep the cupcakes as moist and tender as possible.
For the frosting, naturally I decided to make buttercream, as I have a not-so-demure, absolute, swooning love-affair with true European buttercream. It's an easy-but-often-panic-inducing frosting to make, as there's one stage where the frosting nearly always looks ruined and the ability to save it looks bleak. (I must confess to Googling “what to do with buttercream soup” on more than one occasion.)
It's easy to fix, however, and I've included troubleshooting tips at the end.
When I was making the buttercream for my daughter's party, I was torn between raspberry and rhubarb for flavoring and I wanted to try using beets for the coloring. The results were good across the board: both raspberry and rhubarb worked well as flavorings and the beet juice worked surprisingly well without making the buttercream taste of beets at all and gave it a beautiful pink hue.
(Note: Due to the fact that evaporated cane sugar still has all its minerals, the sugar is not white. Therefore, your base meringue will not be white. However, with the addition of the beet juice, you can't tell the difference, so the evaporated cane juice works just fine in this application.)
As a side note, as I was verifying my ingredients, I realized these cupcakes could be called the “poster child” of fair trade foods. Coffee, chocolate, and sugar are all among the crops that are most subject to social and economic violations of human rights abuses, which are minimized when distributed via fair trade sustainability standards and Fair Trade certification. Coconut oil is also available under the Fair Trade label, so choose fair trade brands if they're available at a reasonable cost near you.
Also, I should mention that I do not consider frosting to be healthy. Not in the slightest. It has waaaay too much sugar. However, for birthdays and other special occasions, by using more nourishing versions of the other ingredients, it can at least be considered healthier.
And as a last note, if you want a faster method for making buttercream that doesn't involve heating anything on the stove, check out my new book, The DIY Pantry, for a killer chocolate frosting that can be whipped up in minutes.
Dark Chocolate Sourdough Cupcakes with Raspberry or Rhubarb Buttercream
For the cupcakes:
makes about 2 dozen cupcakes
1 cup sourdough starter, active and bubbly
1 cup of milk, preferably raw
1 3/4 cup whole wheat or spelt flour
1 cup unrefined cane sugar OR 3/4 cup date syrup
1 1/4 cup unrefined, virgin coconut oil, melted and cooled but still liquid
2 teaspoon vanilla extract
2 large eggs, preferably pastured
1 egg yolk
1 teaspoon unrefined sea salt
1 1/2 teaspoons baking soda
1/2 cup cocoa powder (NOT Dutch process)
2 teaspoons finely ground coffee, preferably dark or espresso roast
100 grams (3-4 ounces) unsweetened chocolate, melted and cooled
1/2 cup cocoa nibs or other chocolate pieces
For the buttercream:
makes about 4 cups
1 cup sugar
4 large egg whites
2 1/2 sticks butter (10 ounces), softened but still cool, cubed
1 generous pinch of sea salt
1/4 cup pure rhubarb OR raspberry juice
1 teaspoon pure beet juice, more as desired
For the cupcakes:
In a large mixing bowl, combine the sourdough starter, the milk, and the flour. Cover and allow to sit at room temperature for 8-24 hours.
Preheat the oven to 350 degrees Fahrenheit. Line muffin tins with parchment muffin papers and set aside.
Scrape the sourdough mixture into the bowl of an electric mixer (or grab your favorite wooden spoon to mix by hand). Add the cane sugar, coconut oil, and vanilla and mix on low speed. Increase the speed to medium-low and add the eggs one at a time.
Reduce speed to low and add sea salt, baking soda, cocoa powder, ground coffee, and melted unsweetened chocolate. Mix just until homogeneous, but no more, scraping the sides of the bowl if needed. If the mixture is very thick, add a few tablespoons of milk to thin it. Stir in the cocoa nibs by hand.
Spoon the batter into the prepared paper cups and bake for 15-20 minutes or just until a wooden skewer inserted in the middle comes out clean. Cool for at least 10 minutes in the pan before inverting onto a cooling rack.
For the buttercream:
Start by making sure the mixing bowl of your electric mixer is completely clean and completely dry.
Next, prepare your juices: for raspberry juice, place 1 cup of raspberries in a blender, food processor, or mortar. Puree the berries and pour into a cheesecloth, then let the berry juice drip out until you've got 1/2 cup juice. For rhubarb juice, either follow the same method as the raspberries, allowing much more time for the juice to drip to obtain sufficient juice, or run the rhubarb stalks through a juicer. For beet juice, coarsely dice 1 small beet, then run it through a juicer. Set juices aside.
Bring 1 inch of water to a steady simmer (not boiling) in a wide, shallow saucepan, then place the sugar and egg whites into the bowl and place over the simmering water. Whisk gently until temperature reaches 140 degrees F, or if you don’t have a candy thermometer, until the liquid is hot and you can't feel any granules when you rub a drop between your fingers.
Remove the bowl from the water and place the bowl back on the electric mixer fitted with the whisk attachment and whip on medium-high speed until the mixture is white, glossy, and and about doubled in volume. The temperature of the outside of the bowl at this point should be neither warm nor cool.
Add the butter one cube at a time until incorporated, and whip until it has reached a thick, silky smooth texture. (This is the point of panic, so don't be alarmed. If the mixture deflates or curdles, just place it in the refrigerator for 10-15 minutes, then keep whipping and whipping and whipping – it will become thick and smooth again, even though it might take several minutes.)
Toss in the salt, then drizzle in the juices.
Troubleshooting Tips
It is highly likely that as you begin to add the butter, the whole thing will deflate, become liquid, or even curdle. This has everything to do with the temperature of the butter and nothing to do with your skills as a baker. (Whew!) It's merely due to the butter being too soft, but it's totally fixable – just pop the mixing bowl in the refrigerator for 10-15 minutes, add a couple of extra tablespoons of butter, and whip it and whip it and whip it until it comes together.
For future buttercream adventures, here are a few attempts to describe the perfect butter-state: the butter should be soft enough that if you squeeze it lightly, you can feel it squish very slightly under your fingers – it shouldn't feel like it just came out of the refrigerator and you'd have to push hard to dent it at all. Yet it should actually be quite firm – if you were to spread it on toast, you'd likely be frustrated because at this temperature, it wouldn't spread easily. When you slice it, it should slice easily, yet also keep its shape.


I have a question…….. I’ve baked with sourdough off and on for over 35 years! LOVE it! Is it possible to use sourdough with almond or coconut flours? I have been wondering about this for a long time!!!!
Y’know, I know of people who successfully do gluten-free baking with sourdough, but I myself have no experience, so I can’t speak to either the almond flour or the coconut flour. Perhaps check out The Art of Gluten-Free Sourdough Baking
 by Sharon Kane – it’s an entire book dedicated to questions like these.
My gut reaction is that the coconut flour would work better for sourdough baking than the almond, but again, I’m not experienced with gluten-free flours. Good luck!
Whoops – sorry – the link I provided for The Art of Gluten-Free Sourdough is a Kindle edition, and I didn’t notice that… Here’s a link for an actual paper copy at Cultures for Health:
The Art of Gluten-Free Sourdough Baking
I came across your blog and love your use of sourdough starter in your recipes. Do you make your own starter? Do you have a good recipe for one? I love sourdough, but have not master making a starter.
Thanks! I’m so glad you find the site helpful. 🙂
I have tried my hand at starting starters from scratch (there’s a good tutorial at Nourished Kitchen), but I’ve had the best success rate with cultures I just had to activate, and Cultures for Health has been my go-to source. With proper care, they last for YEARS. I currently use the Alaskan sourdough, which has worked great in my climate.
Like you, I love sourdough (and it grows like CRAZY), so it keeps working its way into my recipes. 🙂
I hope that helps!
I’m making these for my son’s birthday party on friday…do you think the frosting would turn out if I didn’t use the beet juice. and do you know if there is something else i could use in place of the raspberry juice so that it’s not pink?
It would definitely turn out without the beet or raspberry juices.
And yes, you can certainly make it any color you want! We’ve got a natural dye color chart over on our Naturally Dyed Easter Eggs post, which includes a few notes and links for coloring cakes and frostings (since some dyes, like onions, aren’t exactly a desired flavor!)
And if you don’t want to use blueberries for blue or matcha powder for green, definitely check out the link at the bottom of that article to the mom who made an entire rainbow cake from natural dyes – she’s got great tips.
I was going to make these for my son’s birthday party on Friday, but I was wondering if I could leave out the beet juice and replace the raspberry juice with something else so that it wouldn’t be pink?
Sorry didn’t mean to post that again. Thank you for the suggestions!
Hi Kresha,
thank you for posting these recipe. What i would like to know is do i have to cook the beet juice first before putting in the buttercream? And for yellow color with tumeric, would the buttercream smell like tumeric?
thank you
Yulinda,
No, you don’t need to cook the beet first, just juice it. (If you don’t have a juicer, you can grate it and squeeze it tightly in a cheesecloth to get the juice out.)
As for the flavor, it will all depend on how much you use. For both beets and turmeric, a little bit goes a long way, and I’ve used both of them on multiple occasions with nary an “off” taste. However, if you’re making a Big Bird cake or some other very bright yellow cake, you might want to make your buttercream, then scoop out a small amount to play with coloring amounts to double check the flavors and hues before coloring the whole batch. 🙂
I hope that helps!
Hello Kresha,
I’d love to try this yummy recipe, but only have dutch process cocoa on hand. Can I use it with baking powder and leave the baking soda, or will this mess up the cupcakes?
Thank you for the recipes and tips!
Yes, I would think that would be fine. The flavor may change JUST slightly, but I would think it would work just fine and you’ll still get the lovely rise. 🙂
Good luck!