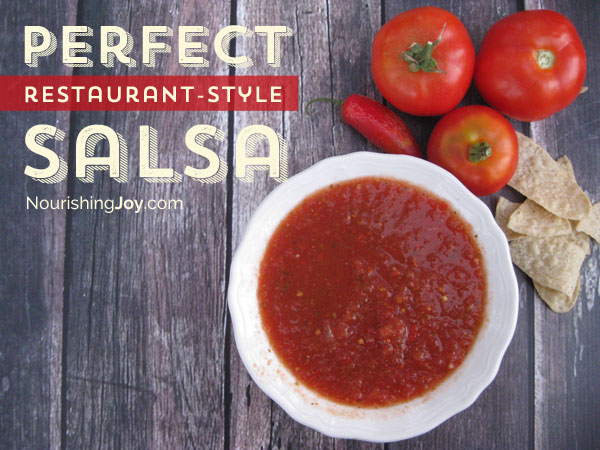
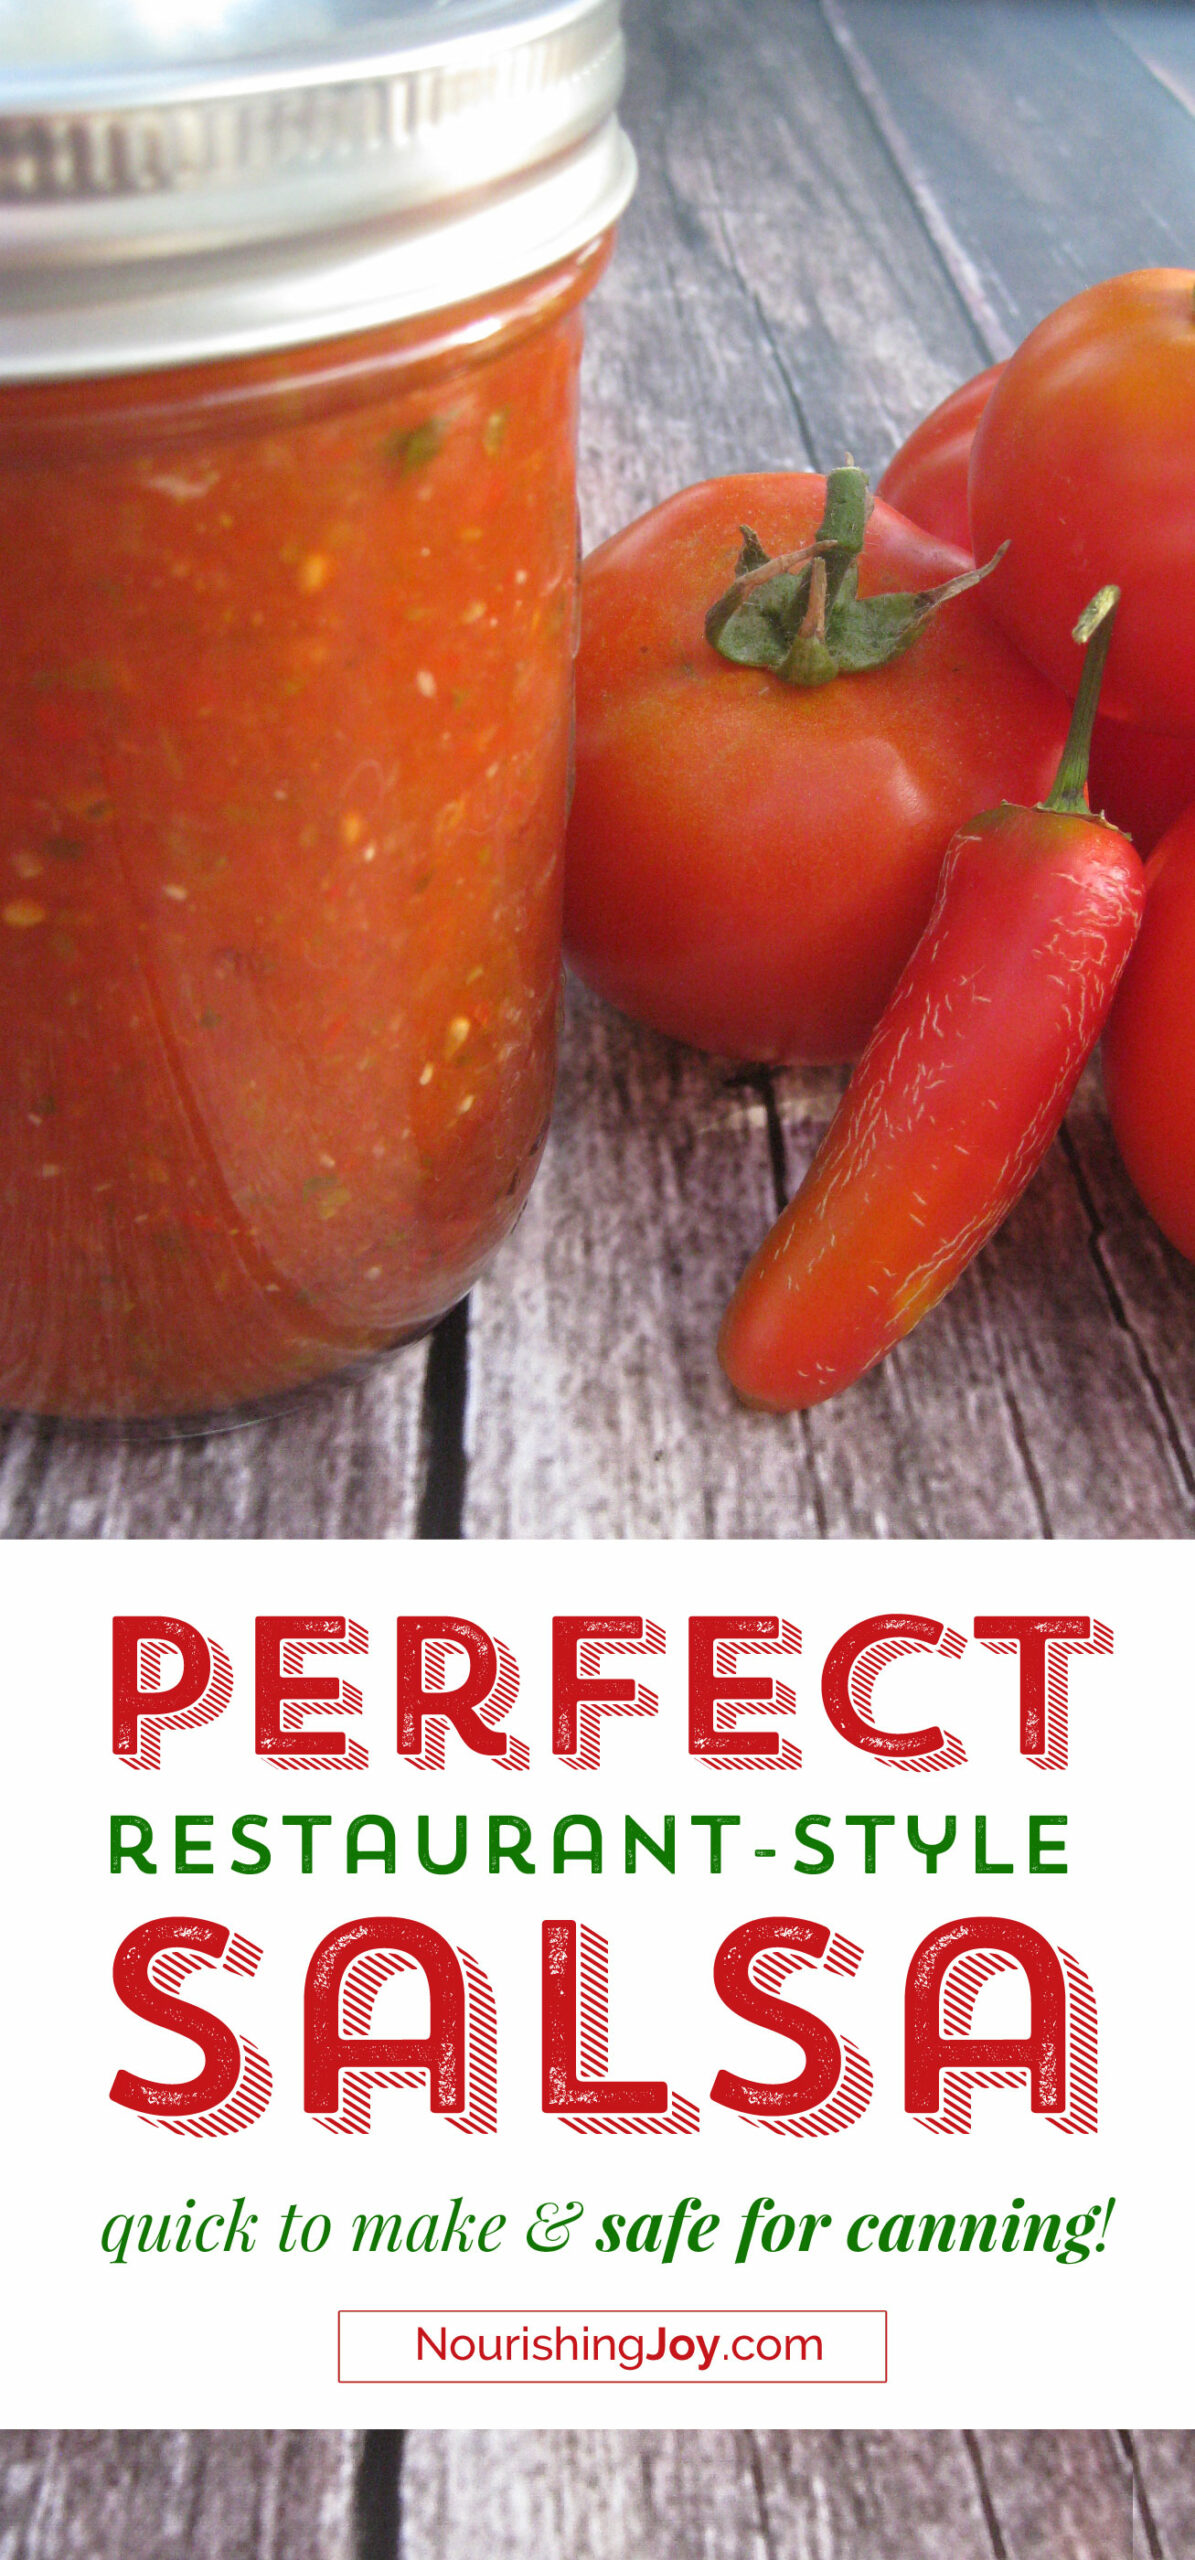
Perfect Restaurant Style Salsa
This post may contain affiliate links, including those from Amazon.com, which means we earn a small commission off your purchases. And here's the thing: We only mention services and products that we think are truly worth your attention, whether they're free, paid, or otherwise. This site relies on YOUR trust, so if we don't stand behind a product 110%, it's not mentioned. Period.


Restaurant style salsa has a special place in my heart.
When my now-teenaged daughter was a preschooler, we went out to dinner at our favorite authentic Mexican restaurant to celebrate a birthday. She was the only child at the table and as we adults dived deep into conversation, she pulled the bowl of the restaurant's homemade salsa on the table toward her and proceeded to dip her fingers in it and lick them clean until the entire bowl was emptied.
We oh-so-observant adults only noticed when she lifted up the bowl to ask for more.
Needless to say, salsa – and particularly restaurant-style salsa – has been a staple in our house ever since, and this recipe is our absolute favorite.
This weekend has seen me plowing through several bushels of tomatoes. Our greenhouse has put out a gorgeous harvest this year, and since I've already canned stewed tomatoes, tomato sauce, and pasta sauce – plus, we ran out of salsa on taco night last week – it was definitely time to make salsa.
And with all the tomatoes, jalapeños, peppers, onions, and garlic that have recently been harvested, why not make several batches to can to use all winter long?
Now, as with many of you, I assume, I'm picky about how I like salsa. The flavors need to be well-balanced, just the right amount of heat, and neither pasty nor watery. Namely, the kind of salsa we all chowed down on at our favorite Mexican restaurant.
And it's this recipe, which I've used for years in small quantities and now have scaled for larger batches, that never fails to deliver a rave-winning salsa that everyone scoops up with gusto.
(My husband also likes to use it as an enchilada sauce, but that's just an added bonus.)
The beauty of this restaurant style salsa recipe is that you can make a batch just to enjoy it right away, or you can can it to last for up to a year. You can make it very quickly, or use a slower method to deepen the flavors. It's quite versatile, provided you don't stray too far from the original ratio of ingredients – which is unusual for a recipe that is safe for canning.
An Important Side Note: Canning Safety for Homemade Restaurant Style Salsa
So, a quick note about canning safety….
Canning is more chemistry than it is cooking. This is because you are trying to keep foods safe to eat for a long-term period, which means this isn't the time to get creative or just “wing it.”
Canning requires foods to be rather acidic, so it's important to maintain ratios here because all the ingredients except for the tomatoes and vinegar are low acid, so if they make up too much of the recipe, the final canned product will be too alkaline and won't be shelf-safe.
And worse – you won't know because the jar will still seal as expected and the most dangerous bacteria that grow in home canned food proliferate in anaerobic conditions (meaning, without oxygen), which is exactly the condition you've created by sealing the jar, and can't be killed by standard canning methods, as water bath canning doesn't get foods hot enough to kill those pathogens.
But don't let that frighten you! Just keep the ratio of tomatoes and vinegar as directed, and you're welcome to change the amount of any other ingredient to taste, as long as you DON'T INCREASE them. The amounts here are perfect for flavor and safety. 🙂
Want more info about canning safety?
- Modifying Canning Recipes
- pH Meters and Home Canning
- Salsa Ingredients
- Salsa Recipes for Canning (PDF) – one of THE most helpful documents on canning salsa available and on which this recipe is based
Want more delicious preserving recipes?
- Check out our mega-article on how to preserve {pretty much} anything.
- Green Tomato Mincemeat
- Probiotic Fig Newton Butter
- Crisp & Crunchy Lacto-Fermented Pickled Asparagus


Perfect Restaurant-Style Salsa
Ingredients
- 3 quarts peeled, cored & chopped Roma-style tomatoes (approximately 15 lbs or 30-40 tomatoes)
- 8 cloves garlic
- 2 cups chopped white or yellow onions, approximately 2 medium onions
- ½ cup diced hot peppers, approximately 8 jalapeños or 2 serranos
- 1 tablespoon ground cumin
- 2 tablespoons chopped fresh cilantro
- 1 teaspoon black pepper
- 1 tablespoon sea salt
- 2 tablespoons evaporated cane sugar
- 2 cups white vinegar, at least 5% acetic acid, preferably 7%
- ½ cup lemon juice, NOT FRESH. Must be commercially bottled for canning purposes.
Instructions
- Peel the tomatoes. First, peel the tomatoes. (Follow these instructions if you need help.) Set aside in a large bowl.
- Pulse ingredients in a food processor. Next, working in batches, add all ingredients to a food processor and pulse until the mixture is fairly (but not completely) smooth. This can be done according to your preference, but I prefer the largest pieces to be no larger than about 1/8-inch.
- Simmer the salsa. After each batch has been processed in the food processor, pour it into a large stock pot. When all ingredients have been added, bring to a boil over medium-high heat, then reduce heat to medium-low and simmer and reduce to thicken and intensify flavors (5 minutes – 2 hours), stirring frequently, especially as the salsa thickens.
- To eat fresh, let the salsa cool and store in the refrigerator for up to two weeks.
- To can for long-term storage, keep the salsa hot and continue with the recipe.
Can the Salsa
- While the salsa is simmering, prepare your jars. Wash eight pint jars, along with their lids and bands, in hot, soapy water; rinse and drain. Fill a water-bath canner with water and place the jars in the rack, making sure the water just covers them. Cover and bring to a simmer over medium heat. Let simmer for 10 minutes, then reduce heat and keep jars hot until you're ready to fill them. (Note: If you simmer the salsa to thicken it, you may end up only using 5-6 of the pint jars, but you should have 8 jars ready just in case.)
- Prepare the lids. Place the flat lids in a saucepan and cover with water; bring just to a simmer over medium heat. (A magnetic wand is SUPER helpful for lifting them out when you're ready for them!) Simply set the screw bands near your work area, as there's no need to heat the bands.
- Fill and process the jars. When both the salsa and the jars are hot, ladle the salsa into the jars, leaving 1⁄2-inch headspace (not all jars may be used). Remove air bubbles and adjust headspace if needed, then wipe rims. Adjust lids and process 15 minutes at 0–1,000 feet altitude; 20 minutes at 1,001–6,000 feet; or 25 minutes above 6,000 feet.
- Let the jars seal. Place several towels in a draft-free area and remove salsa jars to the towels after processing. Let sit for 12-24 hours, until all lids have popped and sealed. If any lids have not sealed within 24 hours, place them in the refrigerator and enjoy within a couple of weeks.
Notes
- Note that volume measures are very difficult to be accurate since definitions of what a “chopped” onion or “diced” hot pepper might look like – if in doubt, use the SMALLER amount (e.g. if you're chopping hot peppers and reach 1/2 cup after only chopping 5 jalapeños, then don't add more – you've got enough)
- PLEASE NOTE: The recipe states that it makes 8 pints, but if you simmer it longer to thicken it, you'll likely have a yield of 5-6 pints.


I didn’t know all that information about canning. I guess it is not as easy as it looks. I will think twice before winging it. Especially if our garden brings in a good harvest. It was nice to meet you at Activate!
It was lovely to meet you too! 🙂
This was SOOOOO good! It’s our favorite salsa recipe for sure.
I notice there are no sweet peppers in the recipe- is that correct?
That’s correct! There are no bell peppers in this recipe. But if you’re not canning the salsa, you’re more than welcome to add a pepper if you want that flavor!
Where can I buy evaporated cane sugar? Are their any substitutes?
Evaporated cane sugar is simply sugar extracted from sugar cane rather than sugar beets. It’s available in most grocery stores in North America in various forms. Sometimes it’s referred to as rapadura, demarara, or just “cane sugar.”
In this recipe, you can use any form of granulated sugar that you like in equal measure. We simply call for “evaporated cane sugar” because it’s a less refined form of sugar (as opposed to the usual white sugar available), and we like to remind anyone and everyone to use less refined versions of nearly any food, but particularly sugar and salt. But again, you can certainly use any granulated sugar in this recipe without issue.
Just gave your recipe a go. It was easy to follow and quite straight forward. I struggled a bit with the measurements for the tomatoes. 15 lbs gave me 6 quarts. So I measured out the quarts and used that amount for each batch. I substituted banana peppers for hot peppers for the daughter’s sake. I made a double batch and filled exactly 12 pints for the canner. Thanks for the recipe!
Hi! I’m a sucker for restaurant salsa and always on a mission to duplicate that in my canning. Question: do you add the vinegar and lemon juice before you simmer the salsa, or after?
Kelly, anytime is fine! I typically add it along with all the other ingredients so that they all simmer together, but if you have need or desire to add it after simmering, that’s totally fine too. As long as it’s in before it’s canned, you’re good. 🙂
I made this last year and the vinegar taste was so strong we can’t eat it. I followed directions, so any ideas?
Hmmm… that’s a great question! I’ve never had an overwhelming vinegar flavor, so I don’t have many ideas other that to ask if you used the amount of sweetener called for (and if so, did you use actual sugar, not a sugar substitute) and did you use white vinegar or another type of vinegar?
Also, how did it taste before you canned it? Did it have the strong vinegar flavor then or did that develop while it sat? (Usually the flavors mellow over time…)
As for being able to use what you’ve already made, perhaps try adding a small amount of sugar? Not enough so you taste the sugar – just enough to offset the vinegar.
I’d definitely love to help you figure out a solution!
Good luck. 🙂