
Real Food S’mores
This post may contain affiliate links, including those from Amazon.com, which means we earn a small commission off your purchases. And here's the thing: We only mention services and products that we think are truly worth your attention, whether they're free, paid, or otherwise. This site relies on YOUR trust, so if we don't stand behind a product 110%, it's not mentioned. Period.
It's camping season and the season to linger long into the evening with friends around a fire.
(Of course, if your summer has been hot and dry and there's extreme fire danger this year, you might have to just enjoy munching on all these lovely treats a la carte.)
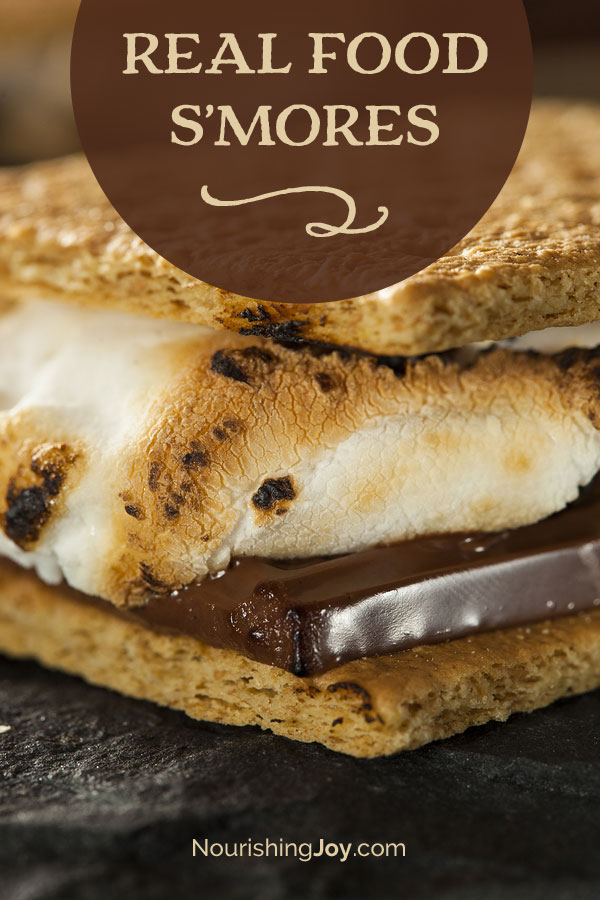
There are only three ingredients in a S'more (which is merely slang for “I want some more!”). It's a North American tradition and evidently started with the American Girl Scouts back in 1927, when a recipe for a sandwich of graham crackers, chocolate, and melted marshmallow appeared in their cookbook, Tramping and Trailing with the Girl Scouts.
The problem is that these days it's difficult to find graham crackers, marshmallows, and chocolate bars that are free of food additives and tons of highly processed sugar. So, homemade, real-food versions are absolutely a great option and honestly, not difficult at all – you just need to allow ample time to make the crackers and the marshmallows. (They each take a couple of hours from start to finish…)
Here's to gathering regularly with friends and family and lingering into the night!
Ingredients for Real Food S'mores
- Homemade Marshmallows (cut them to whatever size is best for your S'mores)
- Homemade Chocolate Bars
- Homemade Graham Crackers – see below
You could also try our Fluffy Rose & Rhubarb Marshmallows if you'd like to try a twist on the classic, but for S'mores, personally I like the tried-and-true original best. 🙂

Homemade Graham Crackers
Ingredients
- 21 ⁄2 cups whole-wheat flour
- 1 ⁄2 cup whole cane sugar
- 1 teaspoon baking soda
- 1 teaspoon sea salt
- 4 ounces butter, 8 tablespoons/1 stick, cut into 1⁄2" cubes and chilled
- 1 ⁄3 cup honey
- 1 ⁄4 cup milk
- 2 tablespoons vanilla extract
Instructions
- Preheat the oven to 350°F.
- Place the flour, sugar, baking soda, and salt in a large bowl and whisk to combine. Add the cold butter cubes and combine with the flour mixture until the mixture is the texture of very coarse crumbs and holds together loosely when pressed into your hand.
- Add the honey, milk, and vanilla extract and mix until the dough just comes together. It should be very soft and sticky. Place the dough on a large piece of parchment paper and cover it with a second piece of parchment paper. Press down on the dough until it is about 1" thick. Place the covered dough in the refrigerator and chill until firm, at least 2 hours.
- When the dough is firm, divide it in half and return one half to the refrigerator. Lightly flour your work surface and roll the dough into a long rectangle about 1⁄8" thick. Since it is sticky, make sure you dust your work surface and rolling pin with flour as necessary.
- When the dough is 1⁄8" thick, cut it into 11⁄2" squares using a cookie cutter, pizza roller, or sharp knife. Place the graham crackers on a parchment paper– or silicone-lined baking sheet.
- Roll out the second batch of dough and repeat Steps 4 and 5. Add the new batch of crackers to the baking sheet (or start a new one, if necessary). Cover with a tea towel and chill until firm, at least 30 minutes.
- Prick each cracker several times with a fork. If you have cut traditional rectangular crackers, score one vertical and one horizontal line on the cracker, as well. These holes help the cracker bake correctly, so they’re not just for decoration.
- Bake for 20–25 minutes, until browned and slightly firm to the touch, rotating the sheet(s) halfway through to ensure even baking.
- Start checking the crackers after 15 minutes, as crackers can burn quickly. Cool the crackers on the baking sheet for about 5 minutes, and then transfer them to a cooling rack to cool completely. Store crackers in an airtight container for up to 1 week.
