
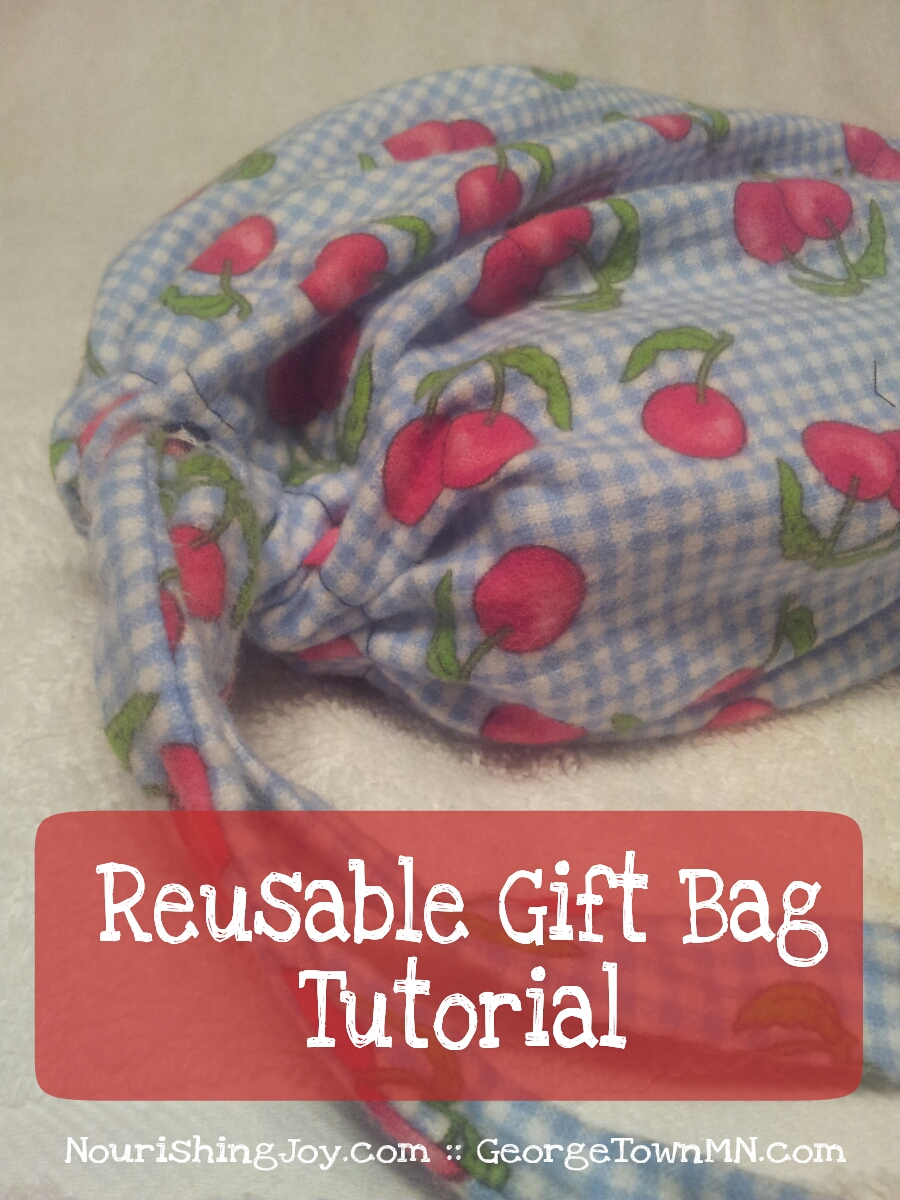
How to Make Reusable Gift Bags
This post may contain affiliate links, including those from Amazon.com, which means we earn a small commission off your purchases. And here's the thing: We only mention services and products that we think are truly worth your attention, whether they're free, paid, or otherwise. This site relies on YOUR trust, so if we don't stand behind a product 110%, it's not mentioned. Period.
Note from Kresha: Since I am absolutely not by any stretch of the imagination a seamstress, as were my grandmother (by profession) and my mother (by avid skill) before me, I asked Virginia George of Georgetown, MN to write a post for us with a handy tutorial. I absolutely love what she came up with (gift bags! yay!), so I hope it's helpful to you. I know I'm taking notes as I read…. Thanks, Virginia!
I like to think I'm a conscientious consumer. My family uses minimal paper products, we cloth diaper, cook mostly from scratch, and I've even been known to reuse the freezer bags I've stored frozen fruit in. You can imagine, then, how painful it is to watch contractor size trash bags be stuffed full of wrapping paper and hauled out to the trash.
Then there's the frugal part of me. Buying wrapping paper is literally purchasing something with the intention of throwing it away. Gift bags are a little better because they can be reused, but still… $3.99 plus tissue paper so you can't see what I'm giving you seems a little harsh.
Enter the reusable gift bag. These are customizable, they're reusable, and they're really easy to make. If you can sew a straight-ish line, you can make these. And you can sit down, make a half dozen, and have them ready for the next time you need a gift bag in a pinch.
I have included instructions for both a standard sewing machine and a serger.
Reusable Gift Bag Tutorial
Materials
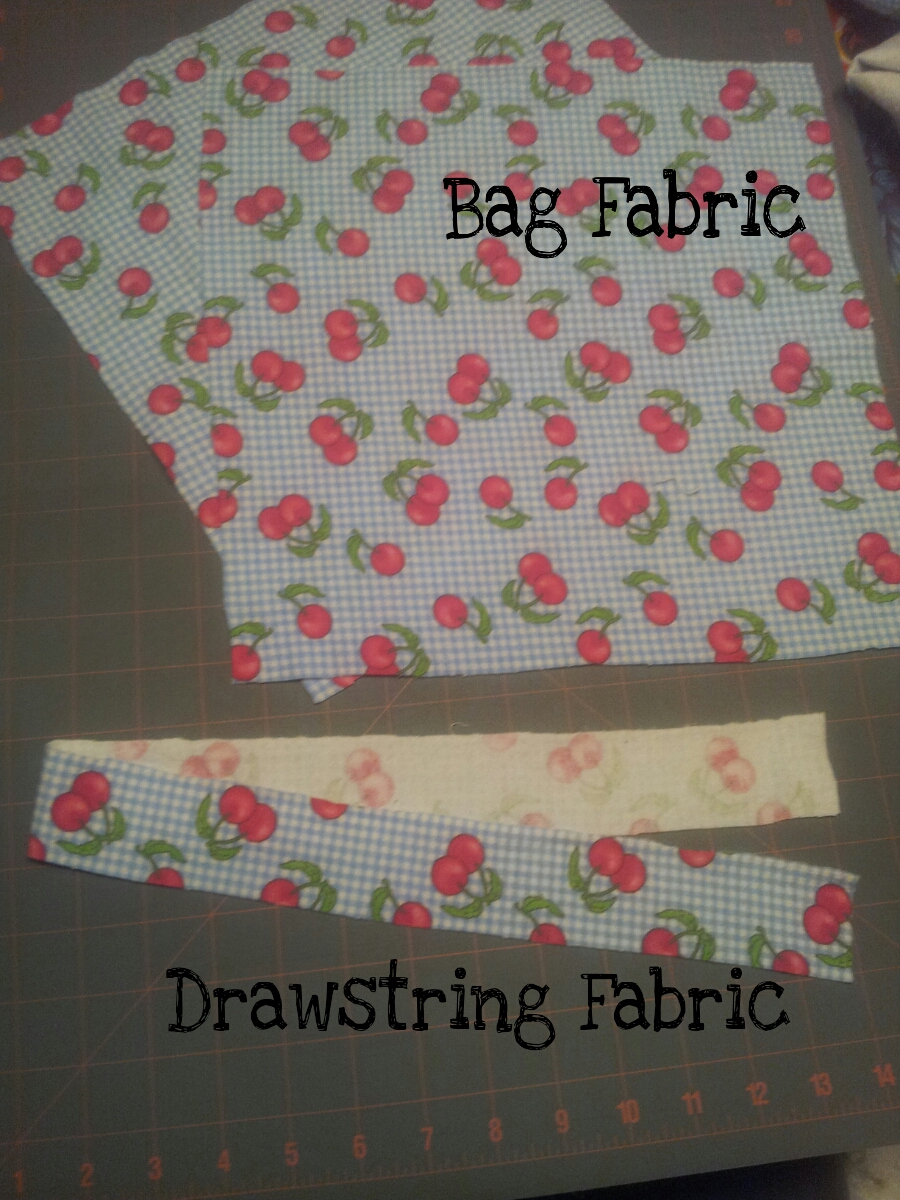
- 2 – 12″x13″ pieces of fabric
- 1 – 2″x26″ piece of fabric
- piece of ribbon or yarn longer than 26″
- thread
- pins
Instructions
You can make these bags whatever size you like, these dimensions make a medium-ish sized bag. If you have something larger to wrap, follow this formula:
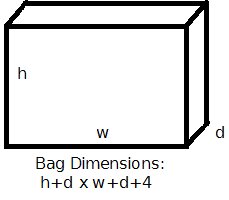
Give yourself a little wiggle room with your measurements and account for seam allowances, but you should be able to take the height + depth and add an inch or so, then the width + depth + several inches. You need the fabric a little longer where the opening will be to allow it to close.
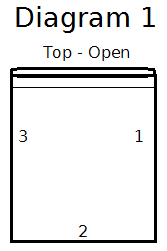
Align your two pieces of bag fabric and pin them right sides together. Referencing Diagram 1, start at the top and sew down side 1, across side 2, and up side 3.
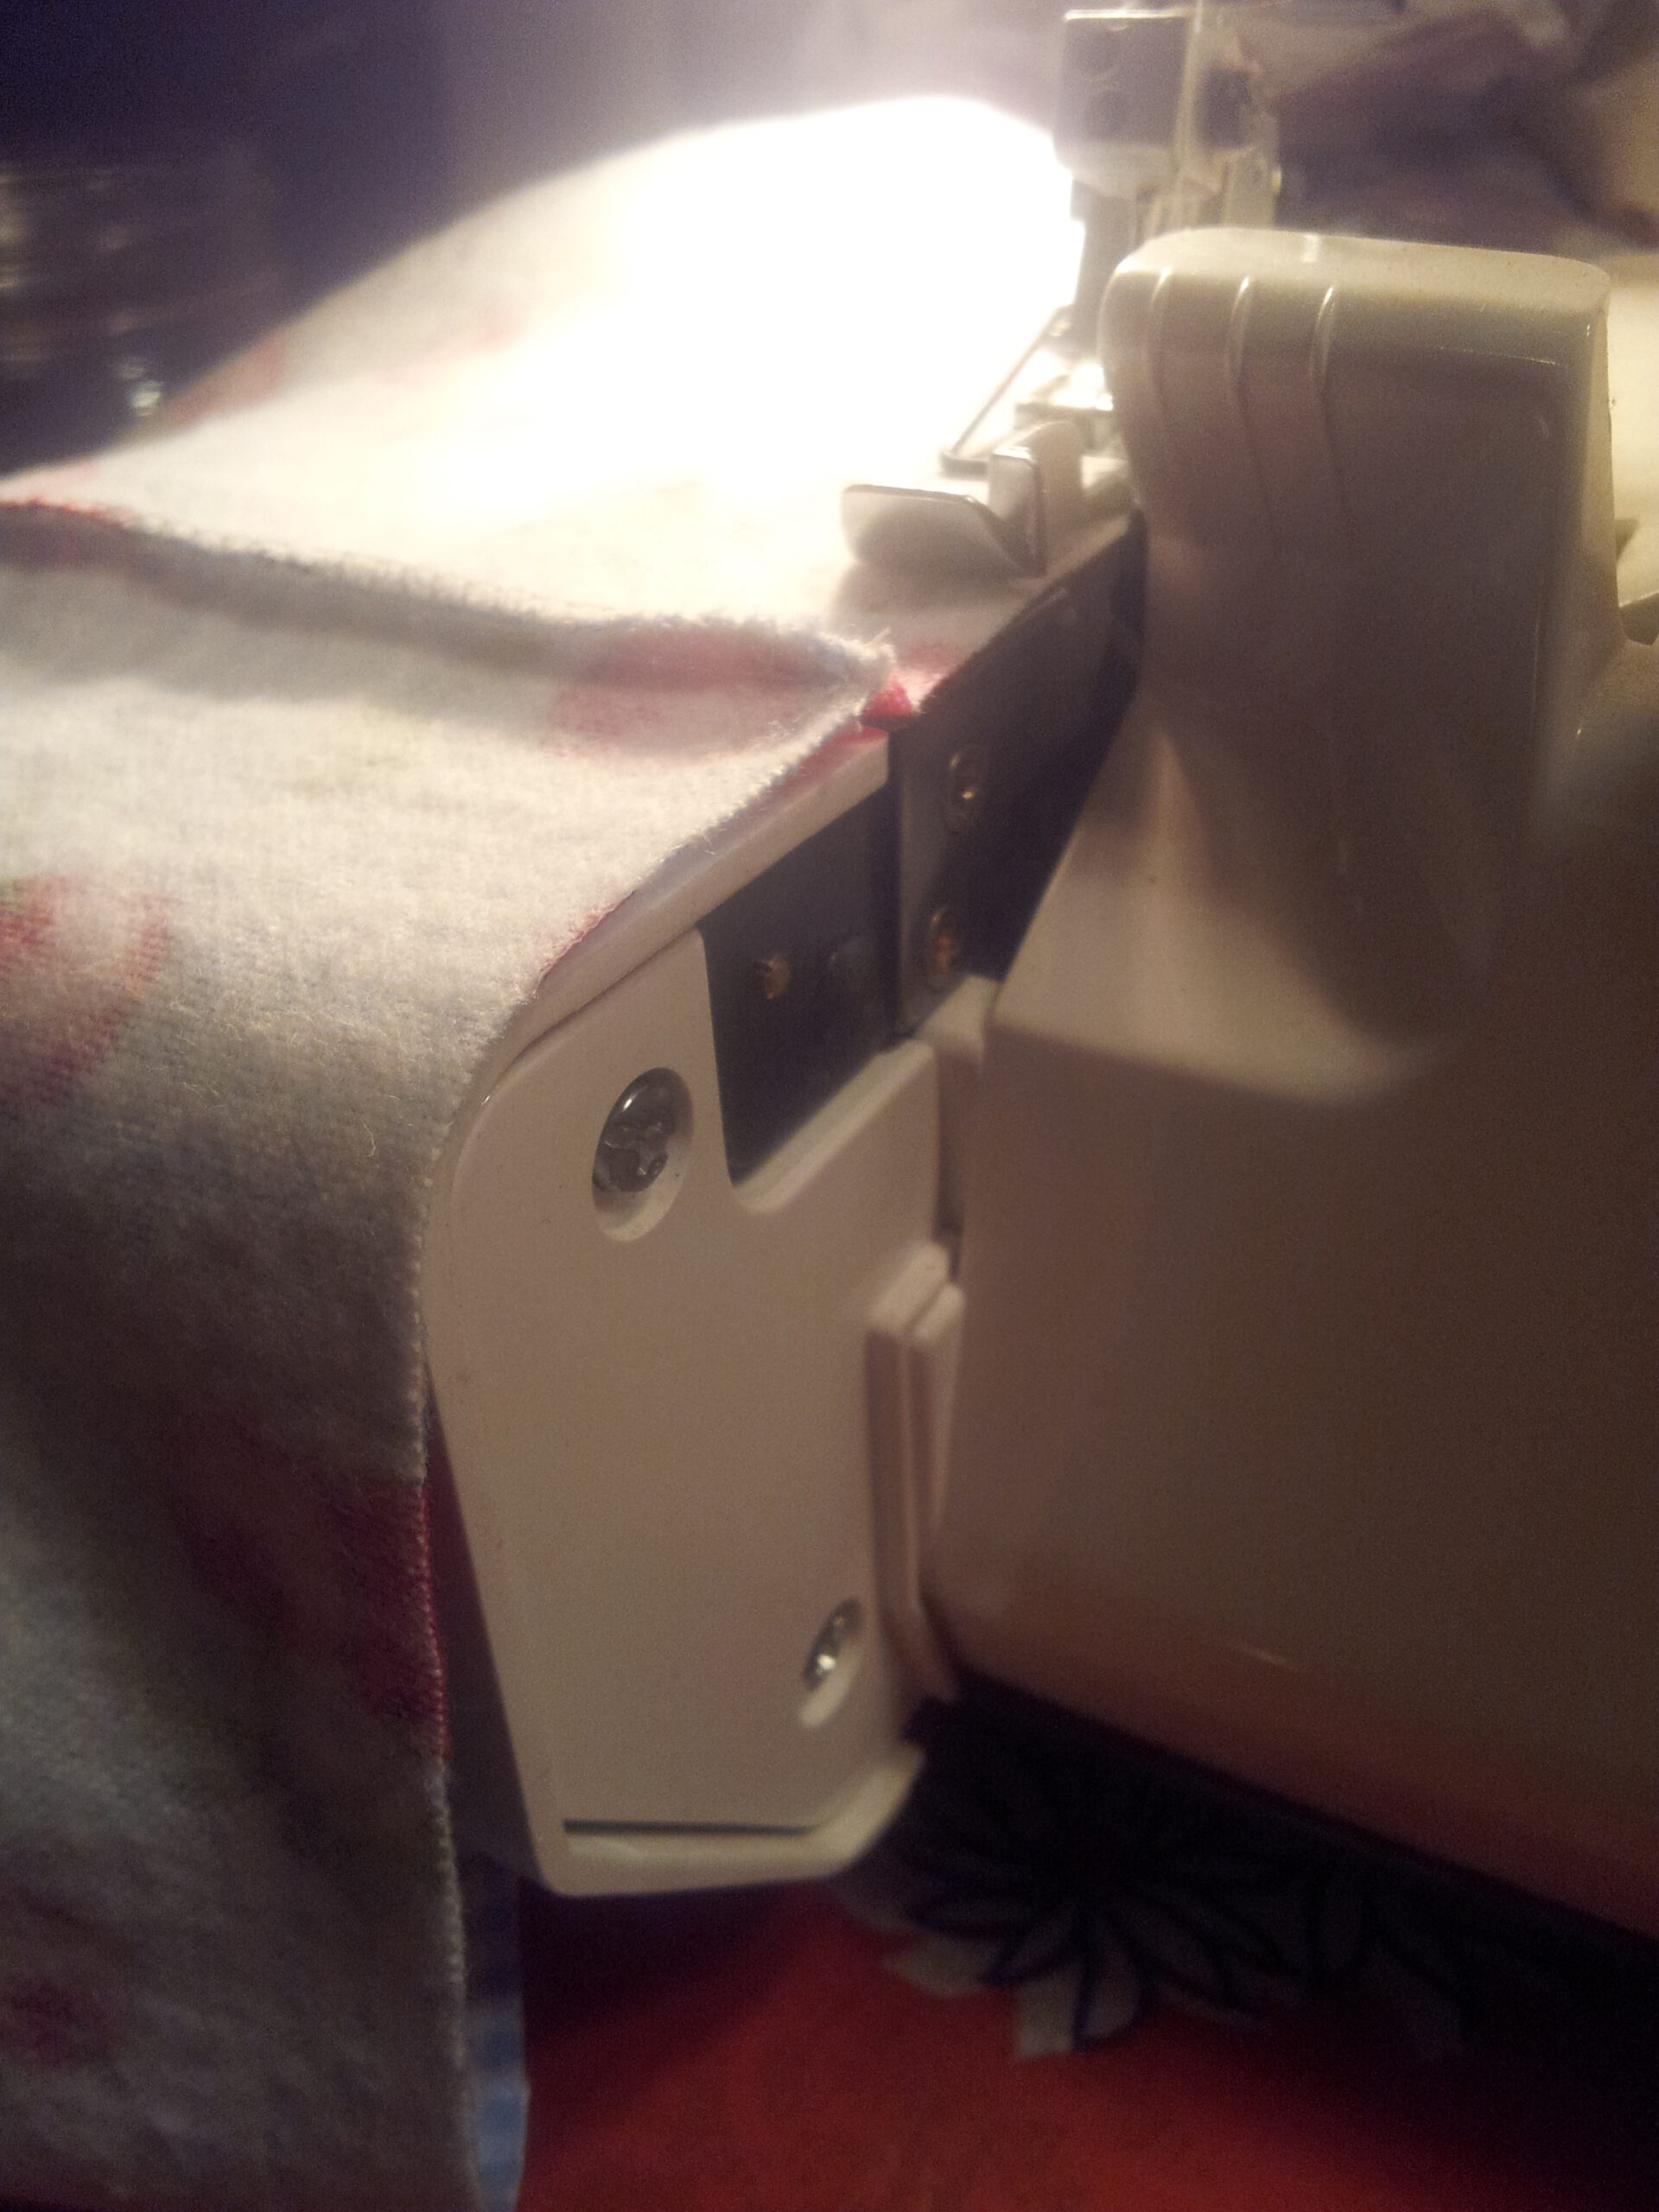
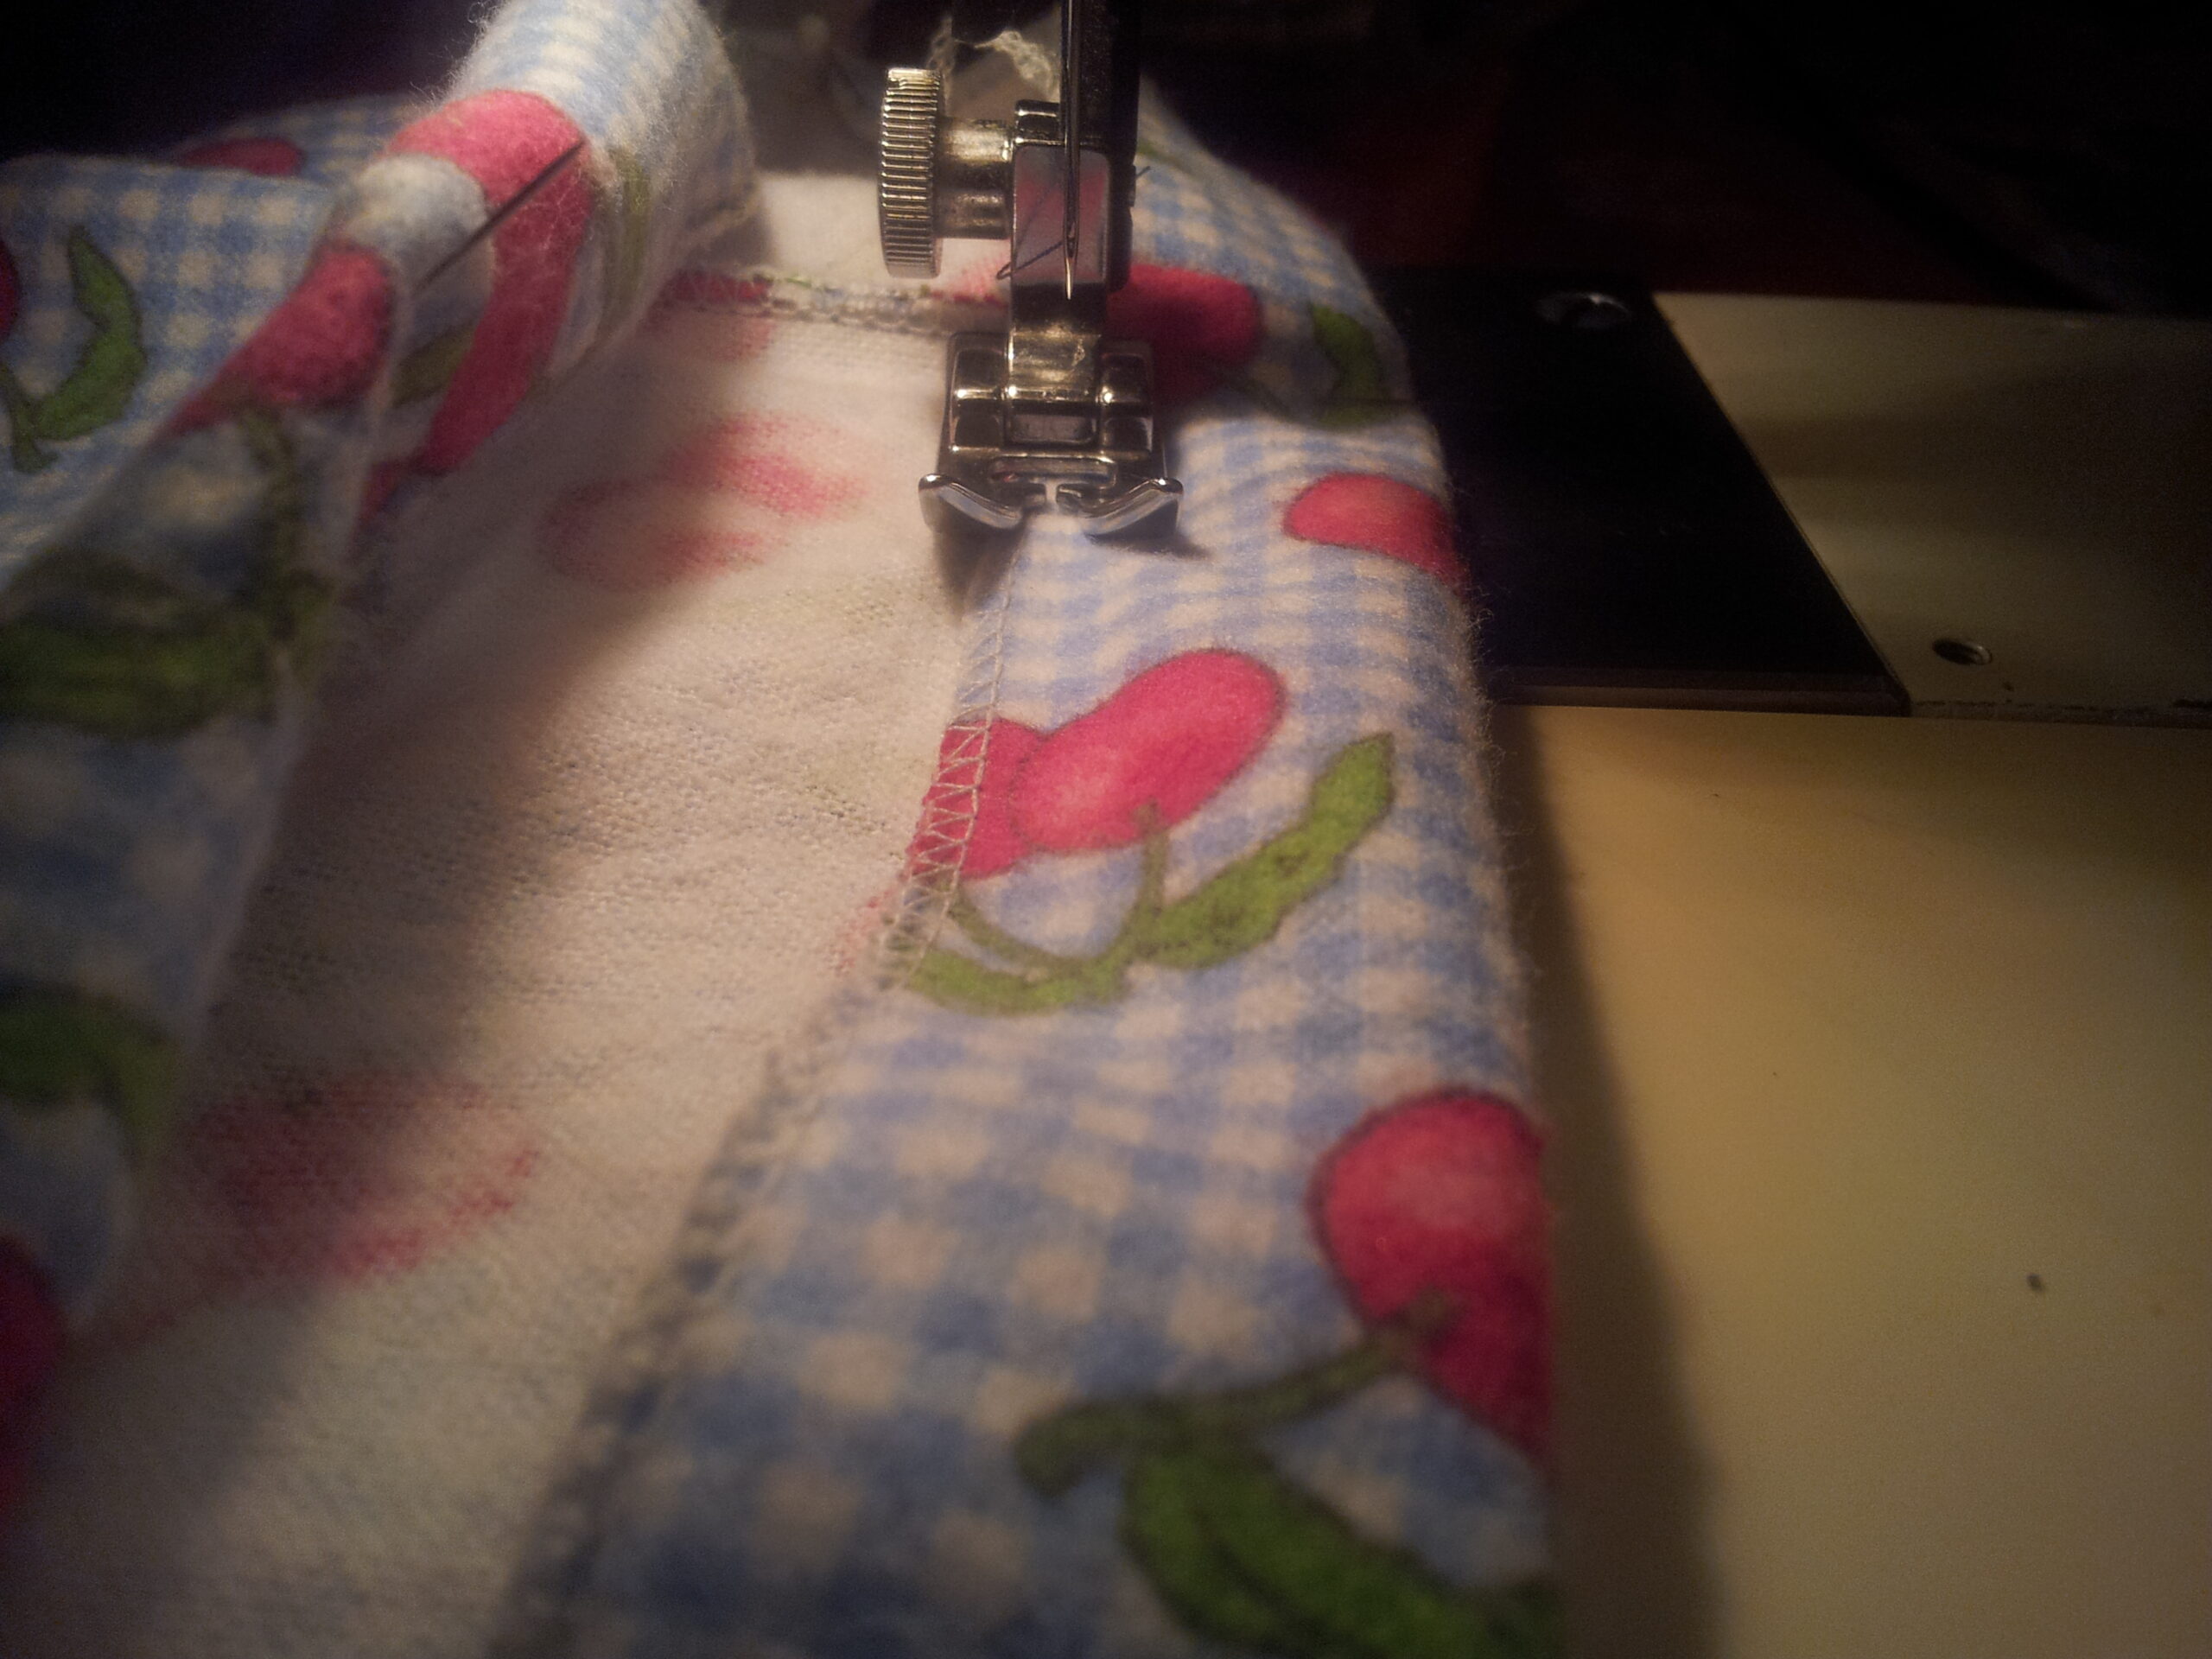
If you have a serger you can sew this entire seam with it and you'll have nice tidy edges inside. If you have a standard sewing machine and would like to prevent fraying you can sew this seam first with a straight stitch, then go back with a zig zag stitch between your seam and the edge.

Hem the open edge of the bag by either serging around the circle or turning the fabric under and sewing with a straight stitch. Alternatively, cut your fabric out so this edge is a selvedge edge.
Turn the bag right side out and measure to the middle of the front panel and down 1.5″. Draw a 3/4″ long line down from this point. Make a buttonhole on this line.

Fold the top down 1.25″ toward the inside of the bag and pin in place, this will be the casing for your drawstring.
Once the casing is sewn it's time to make the drawstring. Fold and pin your drawstring fabric in half the long way with your ribbon or yarn laid along the fold. It's important to keep it in the fold and not near the seam. Sew across the short end of the drawstring, being sure to catch your yarn or ribbon, and then down the length of the drawstring. DO NOT sew the other end, leave it open with the ribbon hanging out.
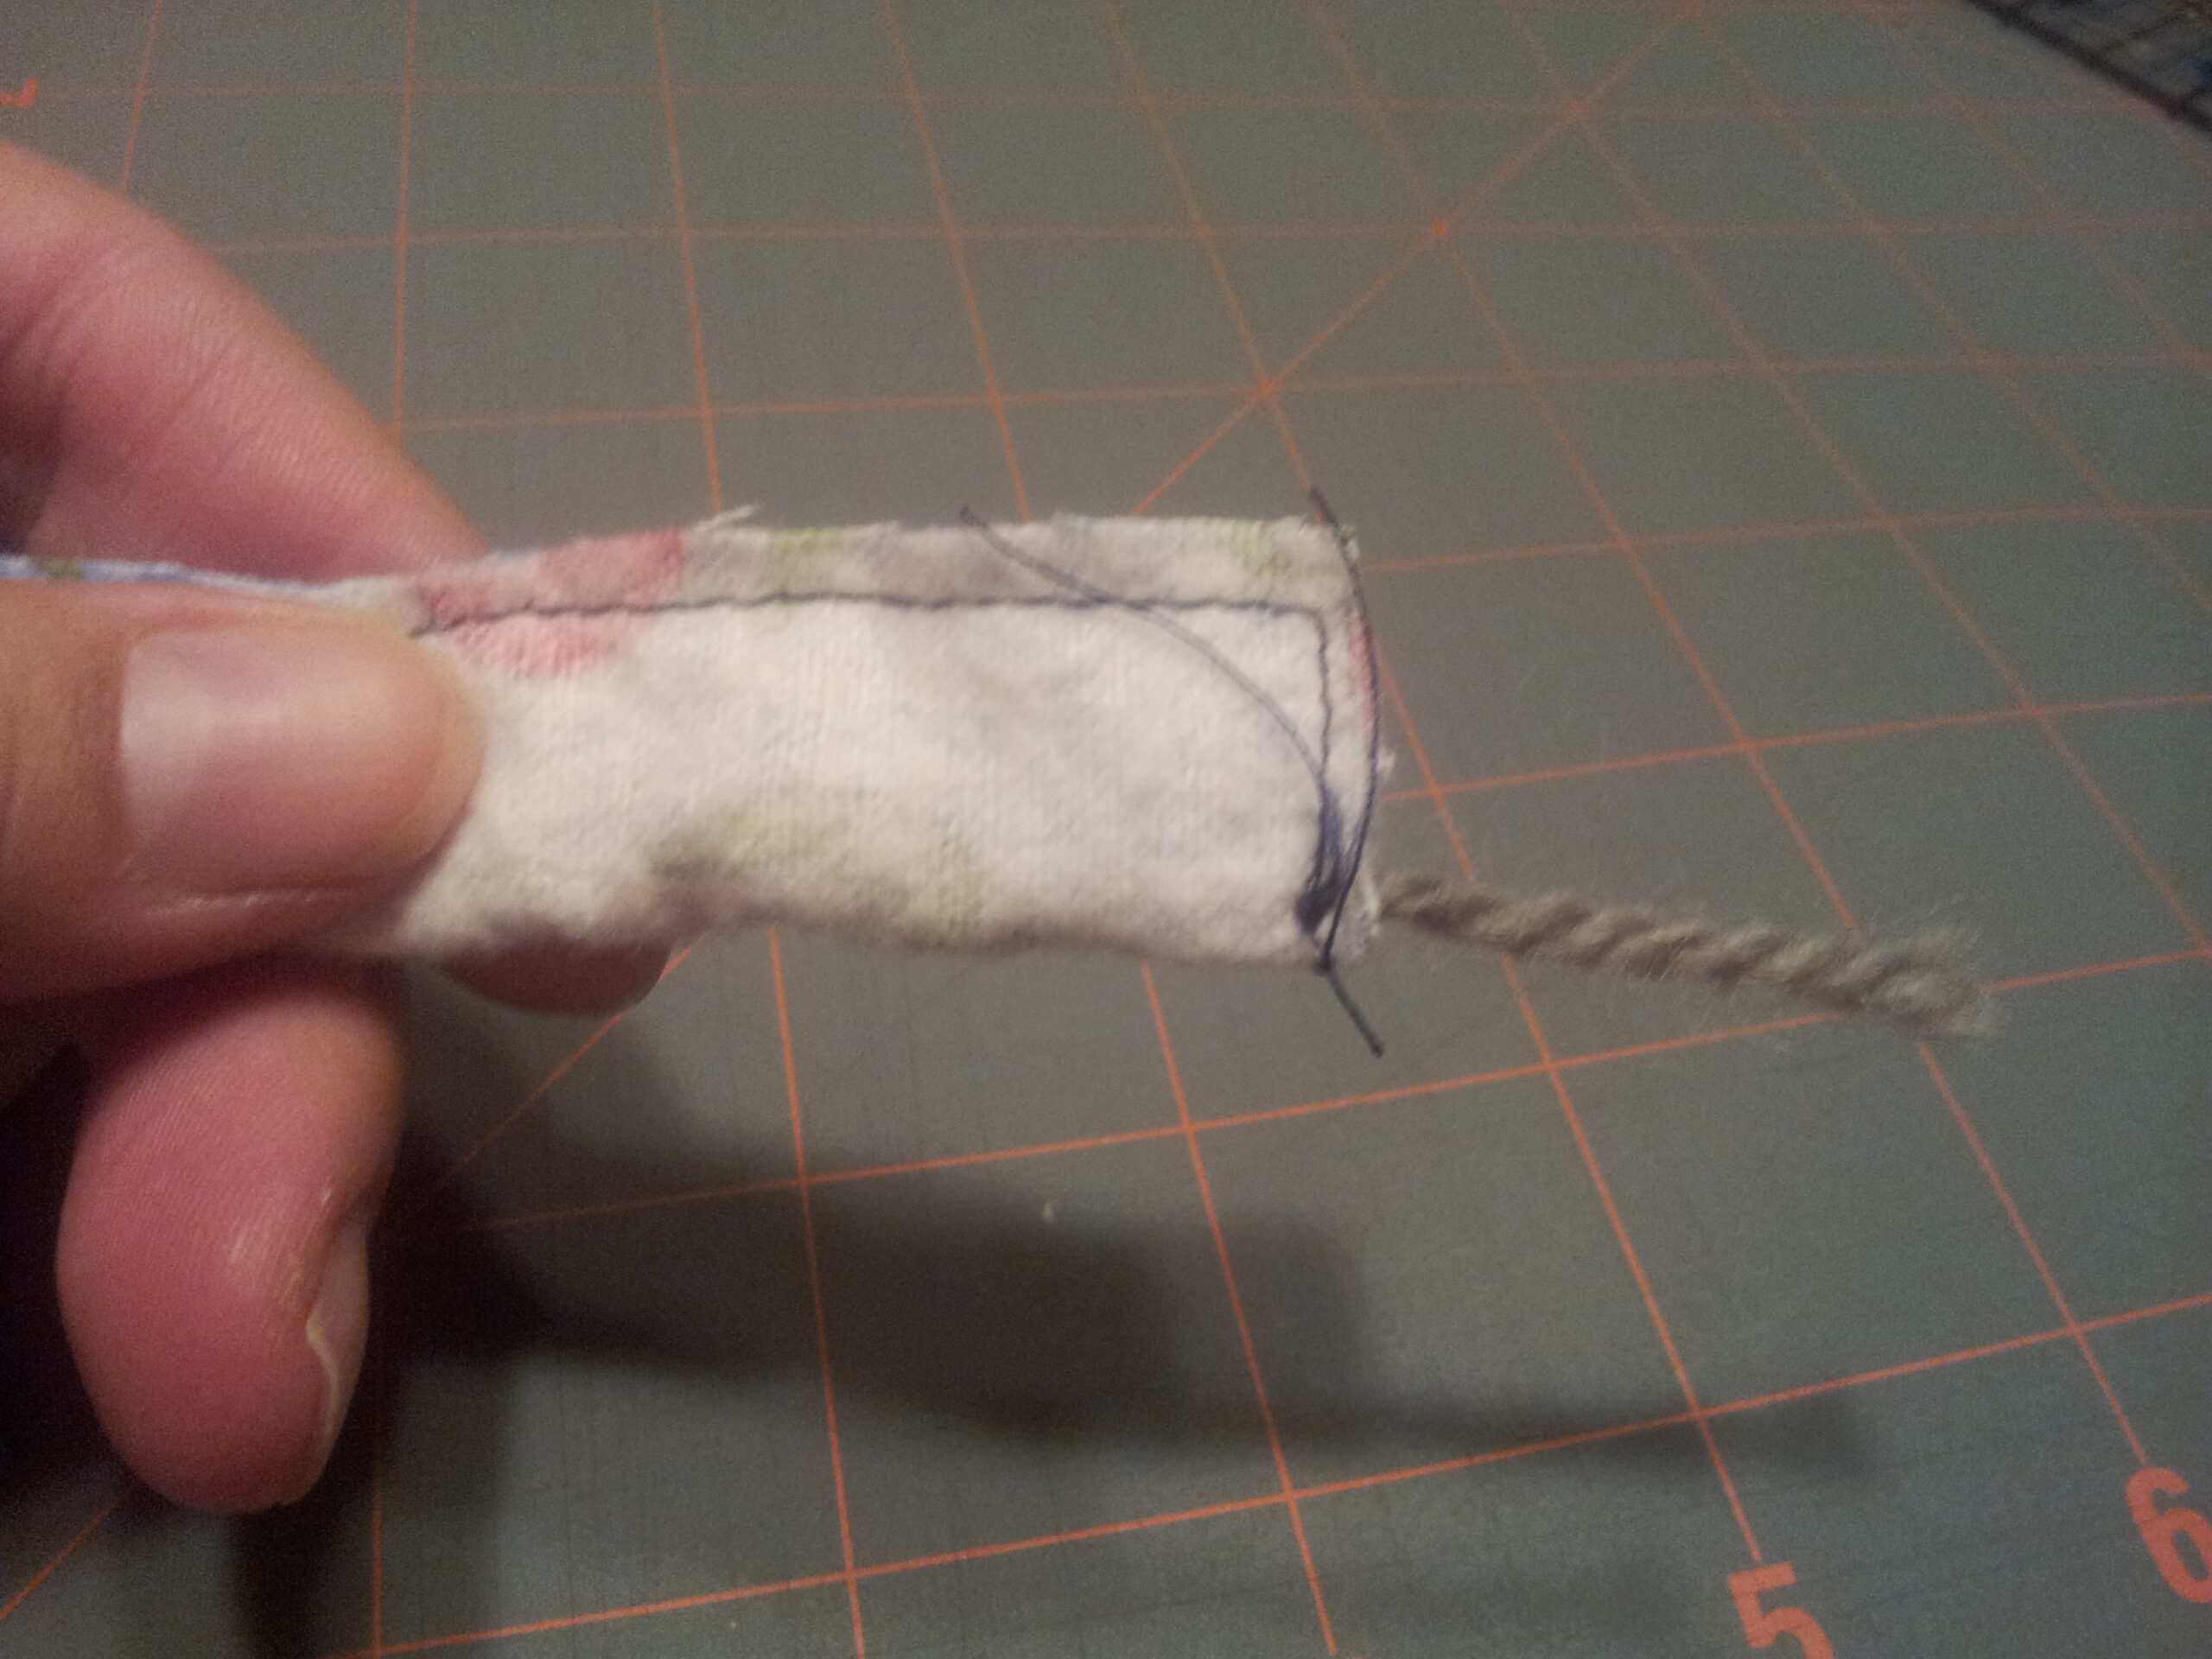
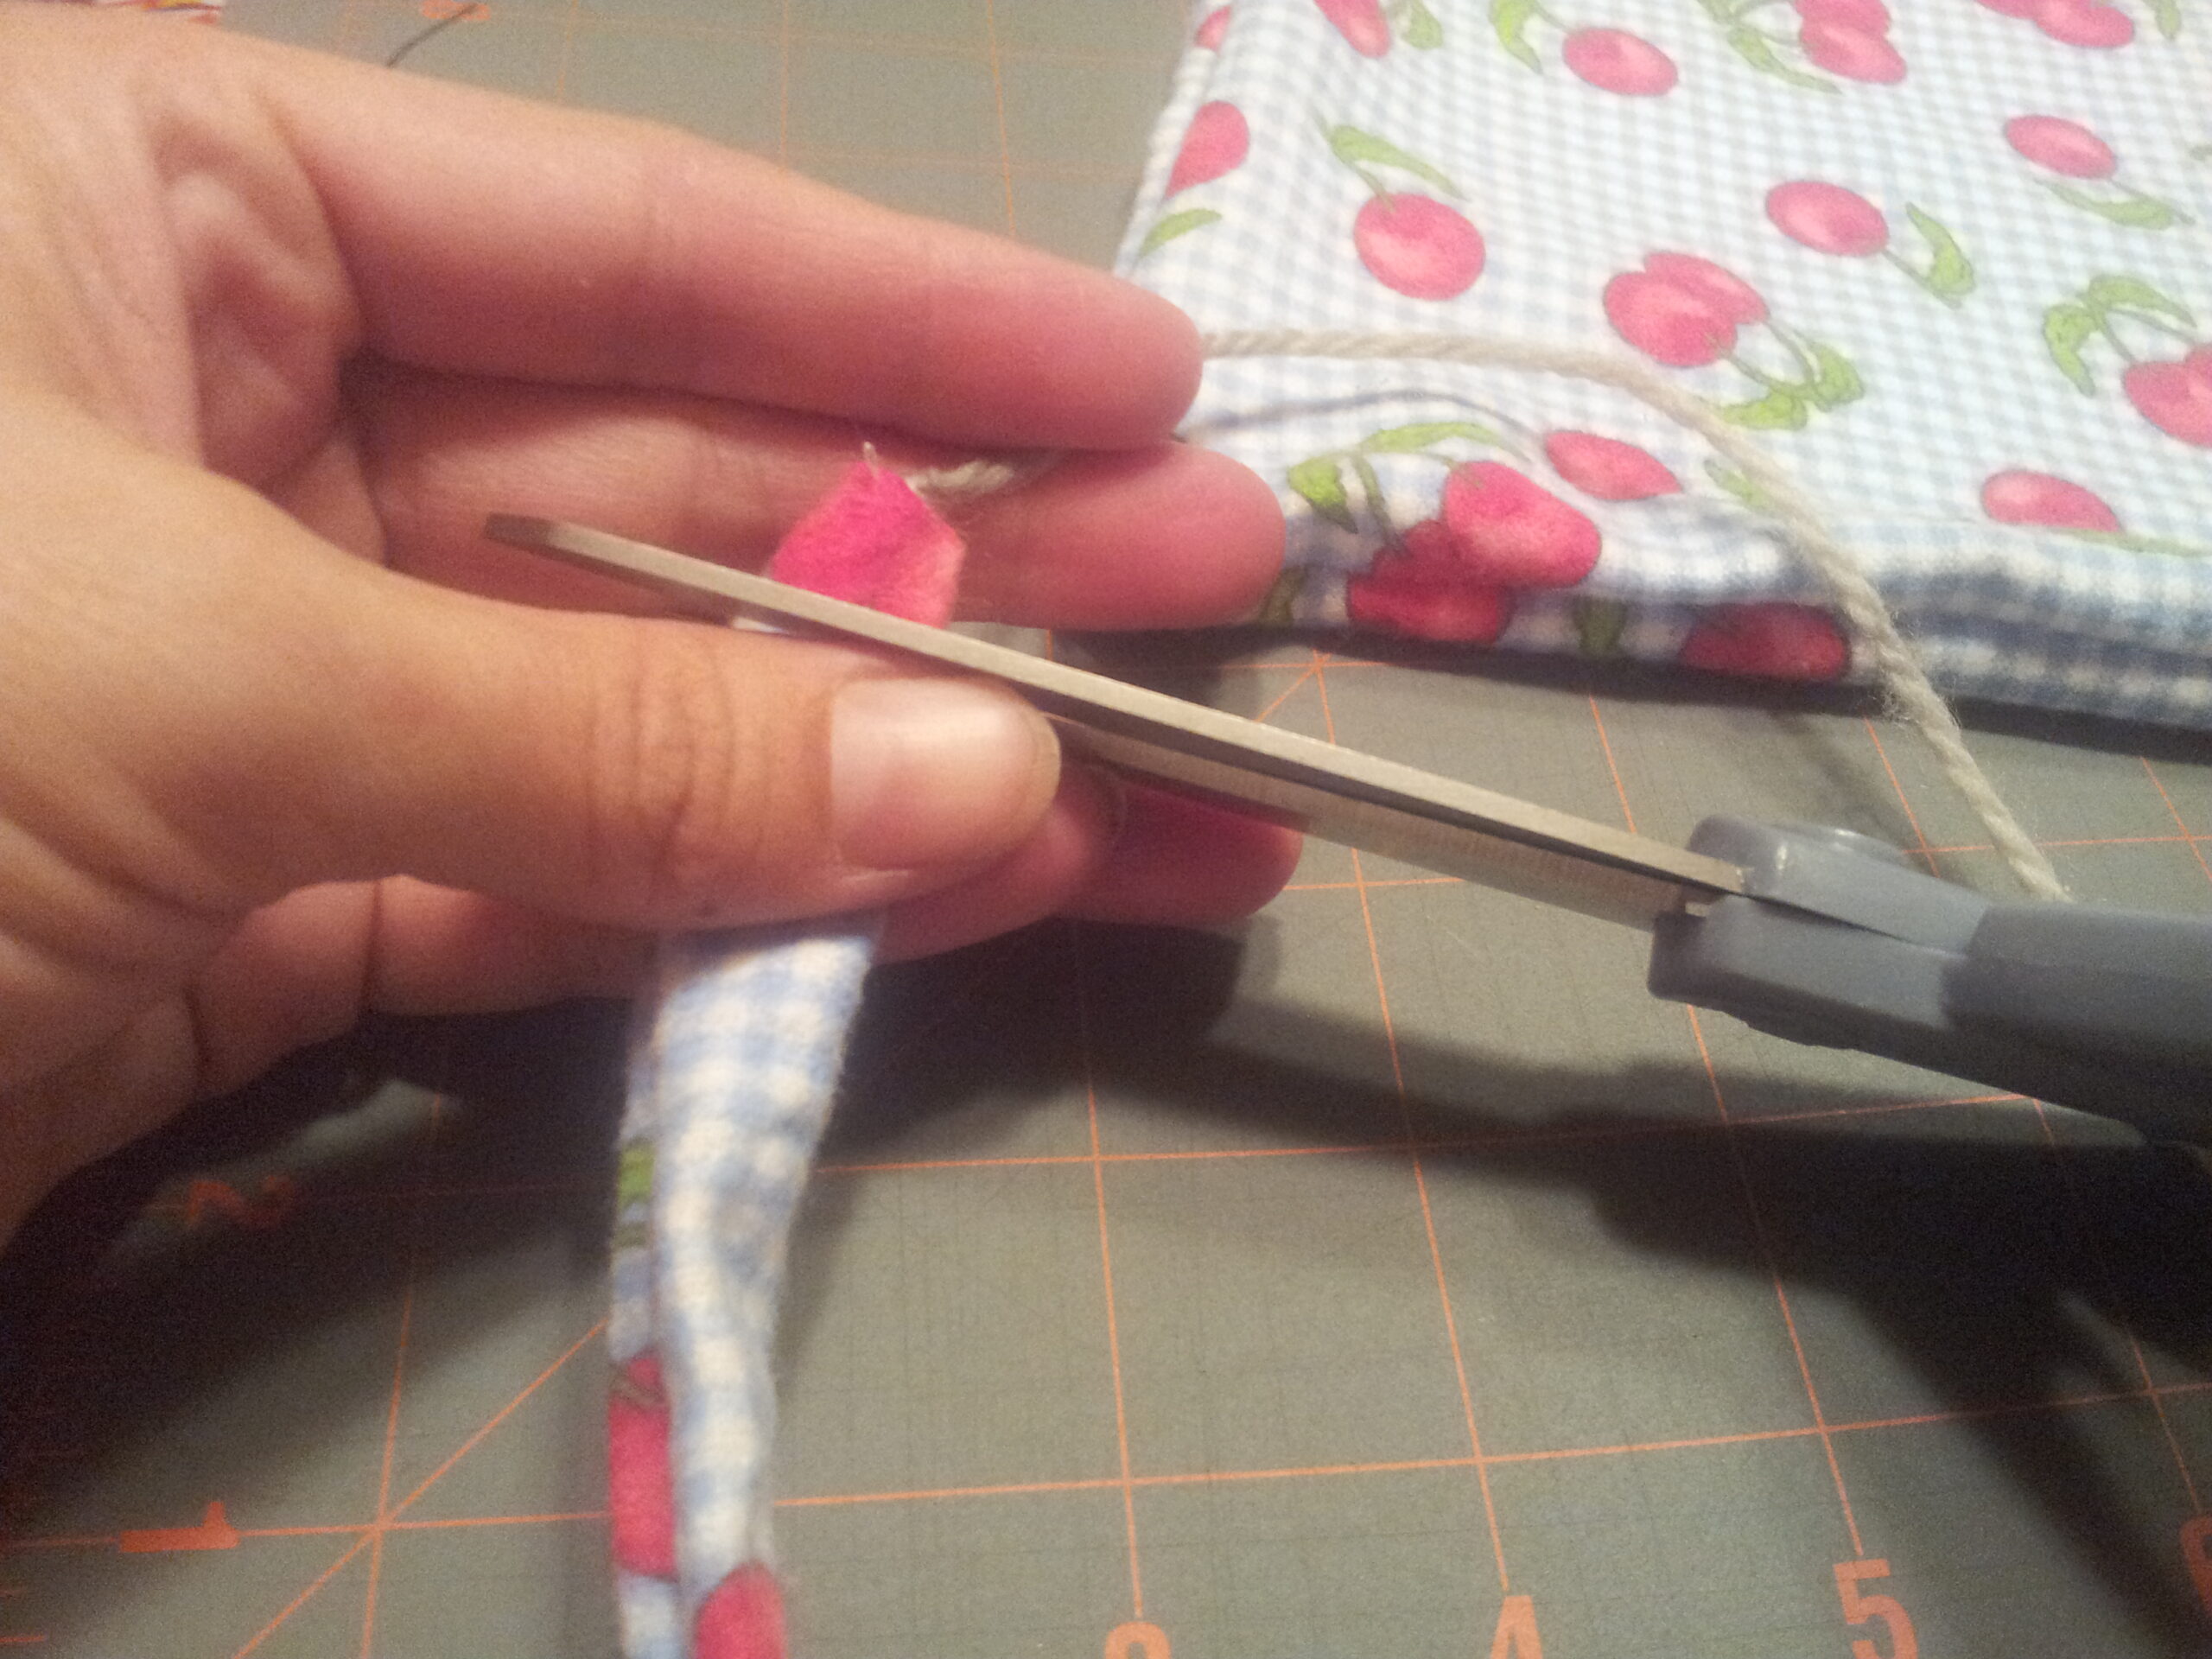
Grab the end of the ribbon hanging out of the open end of the drawstring piece and begin to pull. This starts out a little tricky, but you're basically trying to turn this whole thing inside out.

Work the fabric carefully, being cautious not to pull the ribbon or yarn out of your stitches (I made sure to backstitch so my yarn was secure). When the drawstring is right side out, snip the seam off that held the yarn or ribbon in and press the drawstring flat.
Put a safety pin through one end of the drawstring and thread it through the casing on your bag.
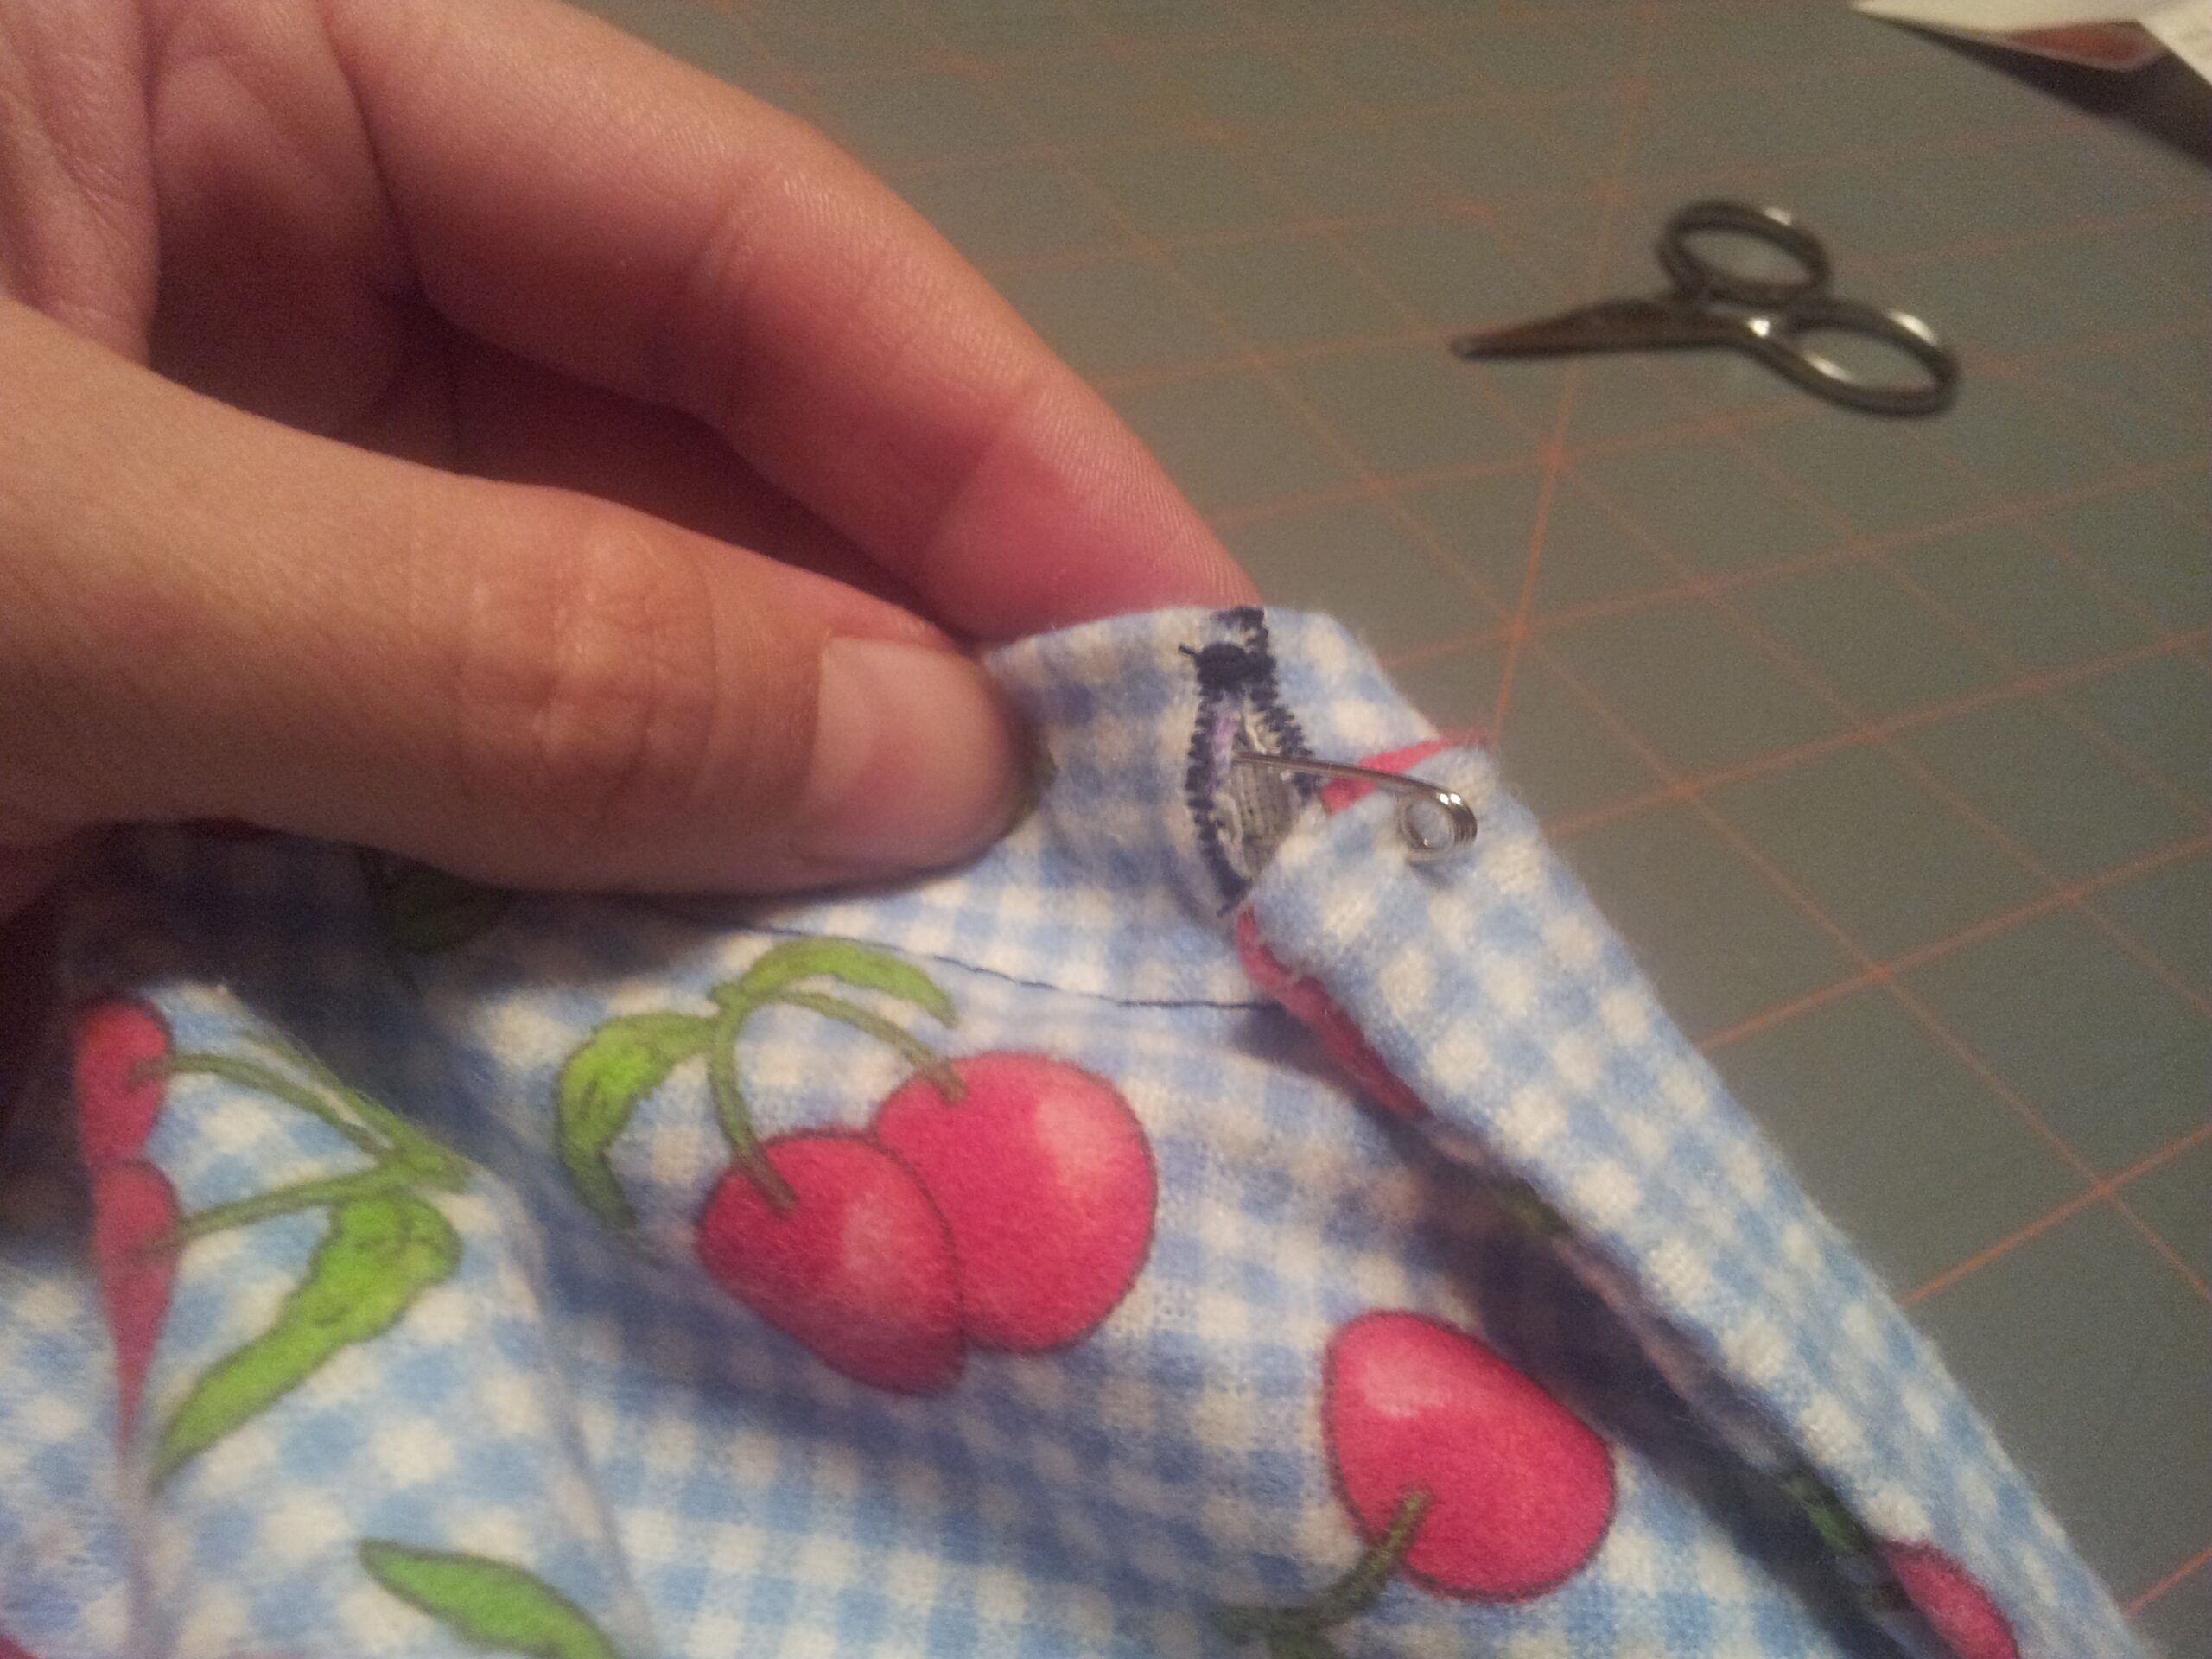
Once the drawstring is through, carefully tuck one end inside the other and sew them together securely. I find a tight zig zag stitch works well for this.
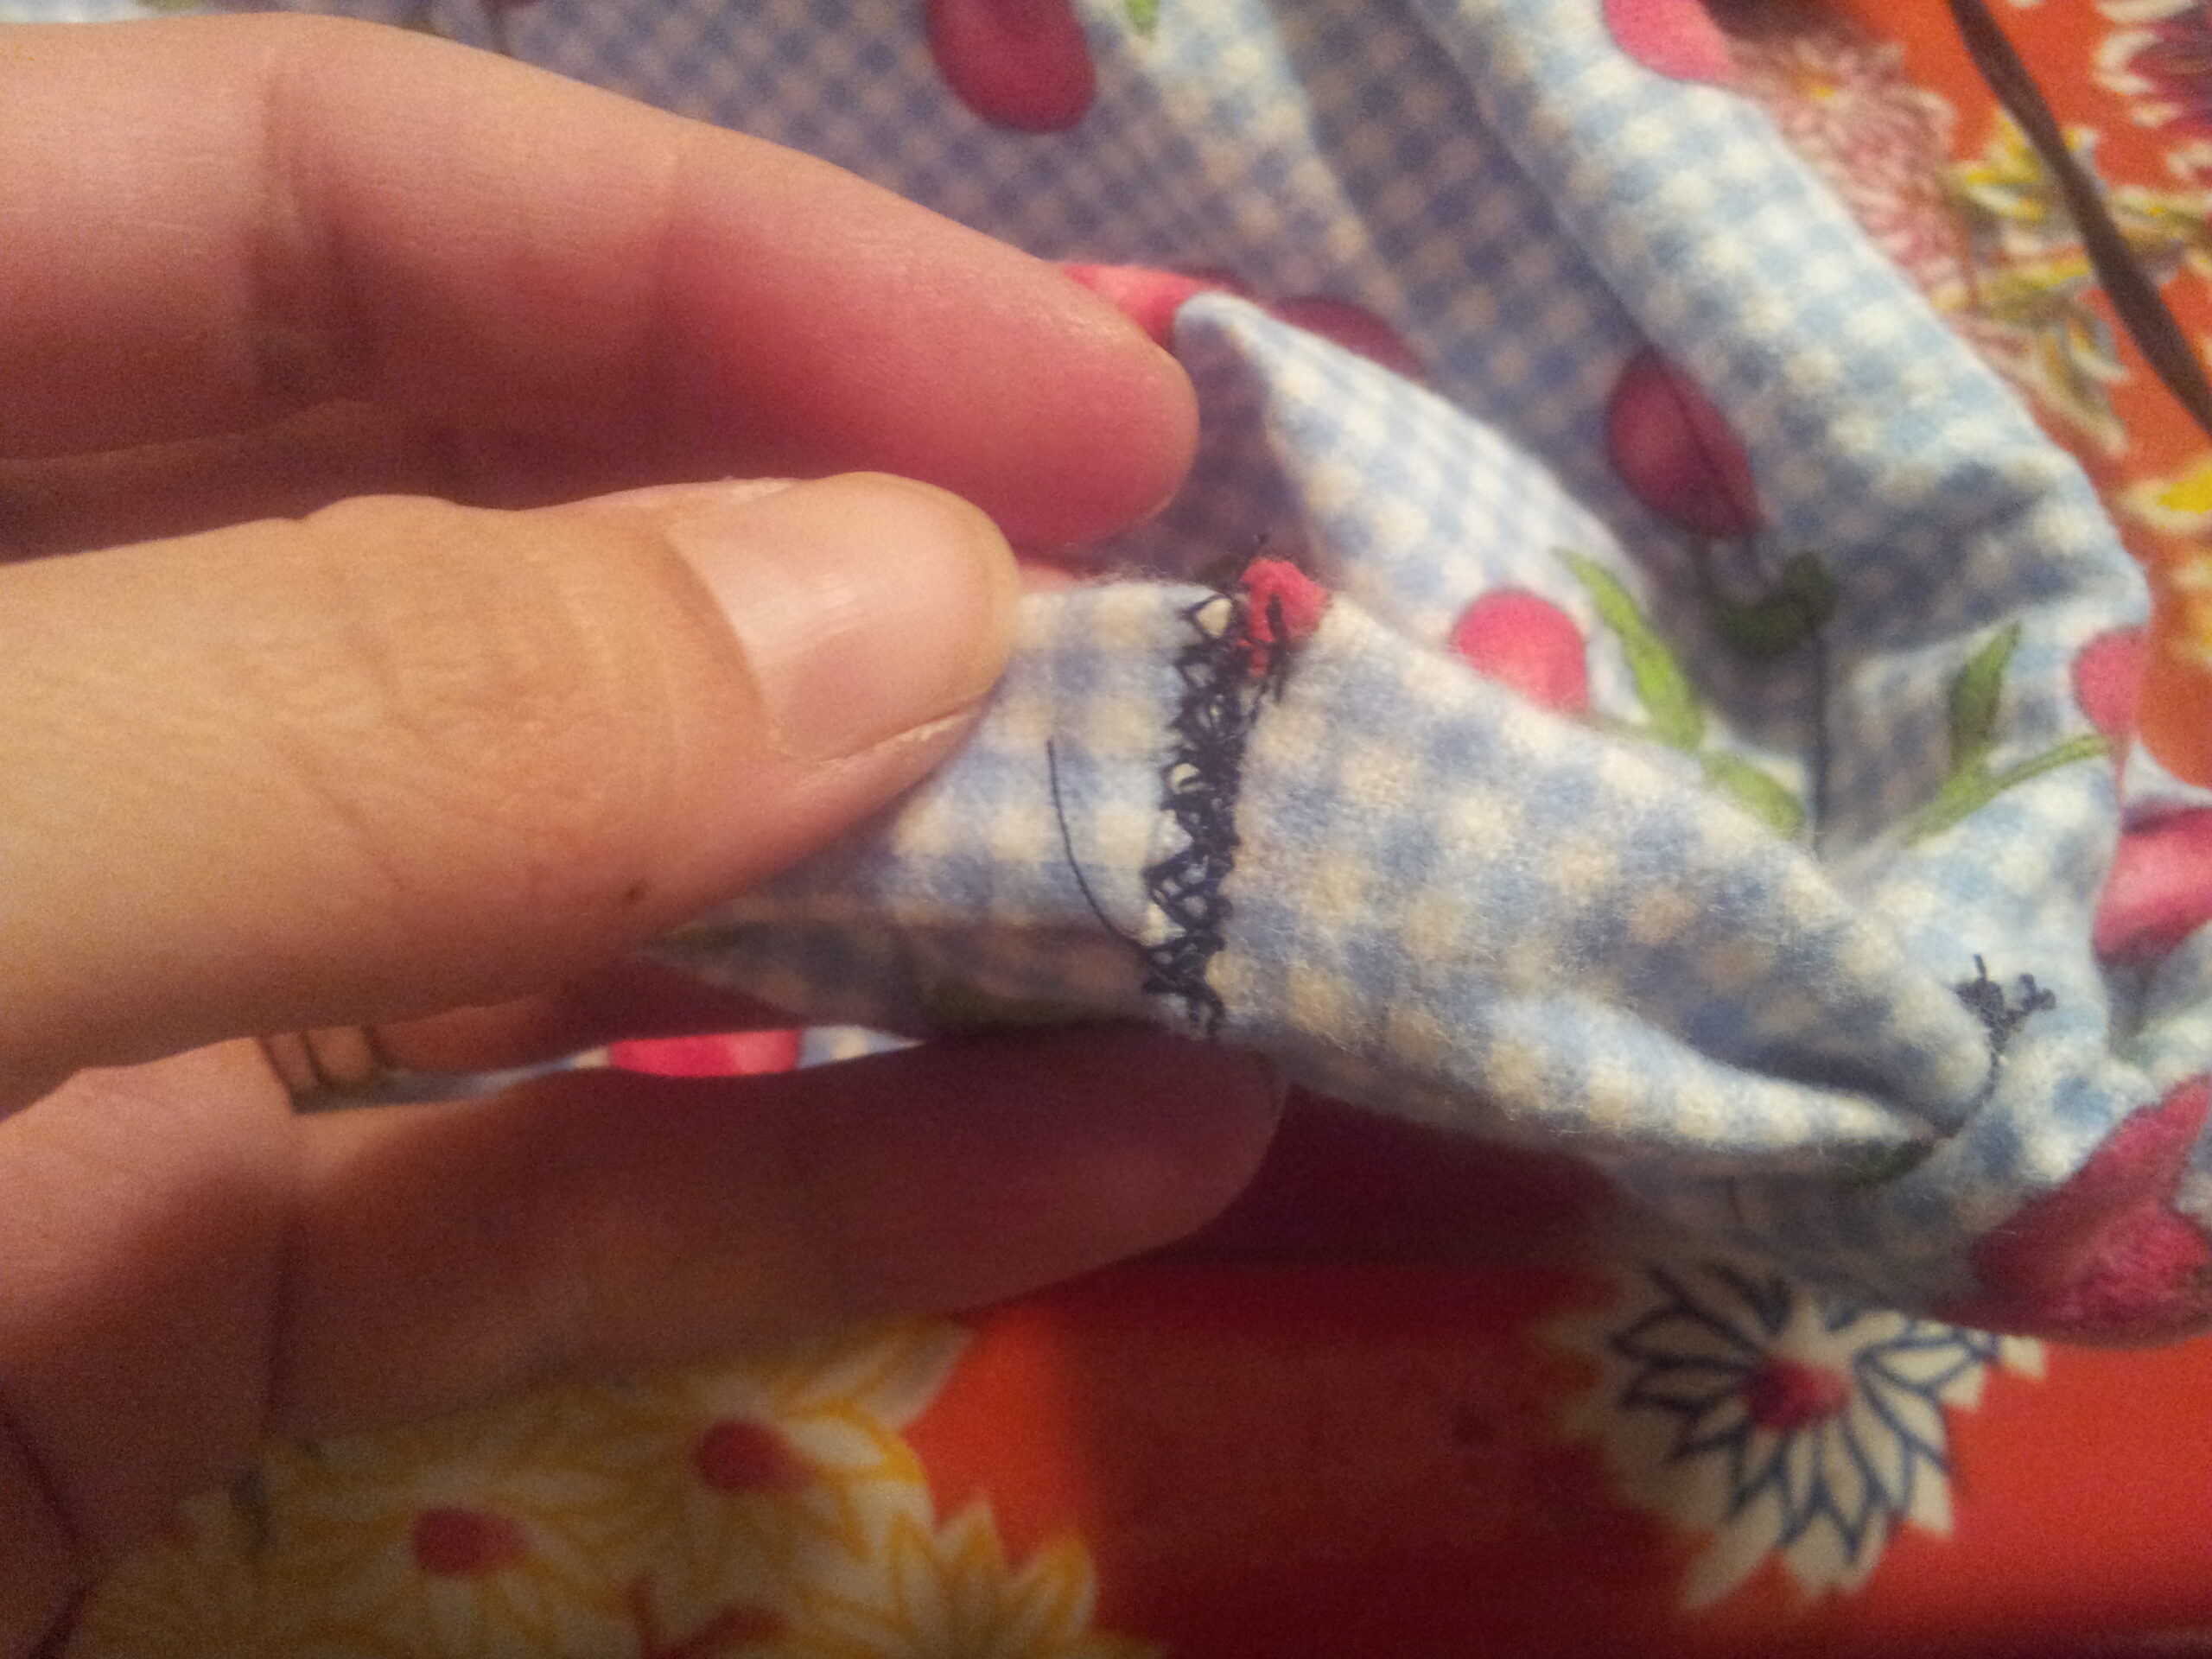
Turn the drawstring so that the connecting point is inside the casing and you're done!
If the drawstring casing really intimidates you, just hem the opening of the bag, make the drawstring as instructed without connecting the ends to make a tie instead. Sew the tie down to the bag a little lower than the buttonhole would have been. To seal the bag, wrap the tie around the bag and tie it closed.
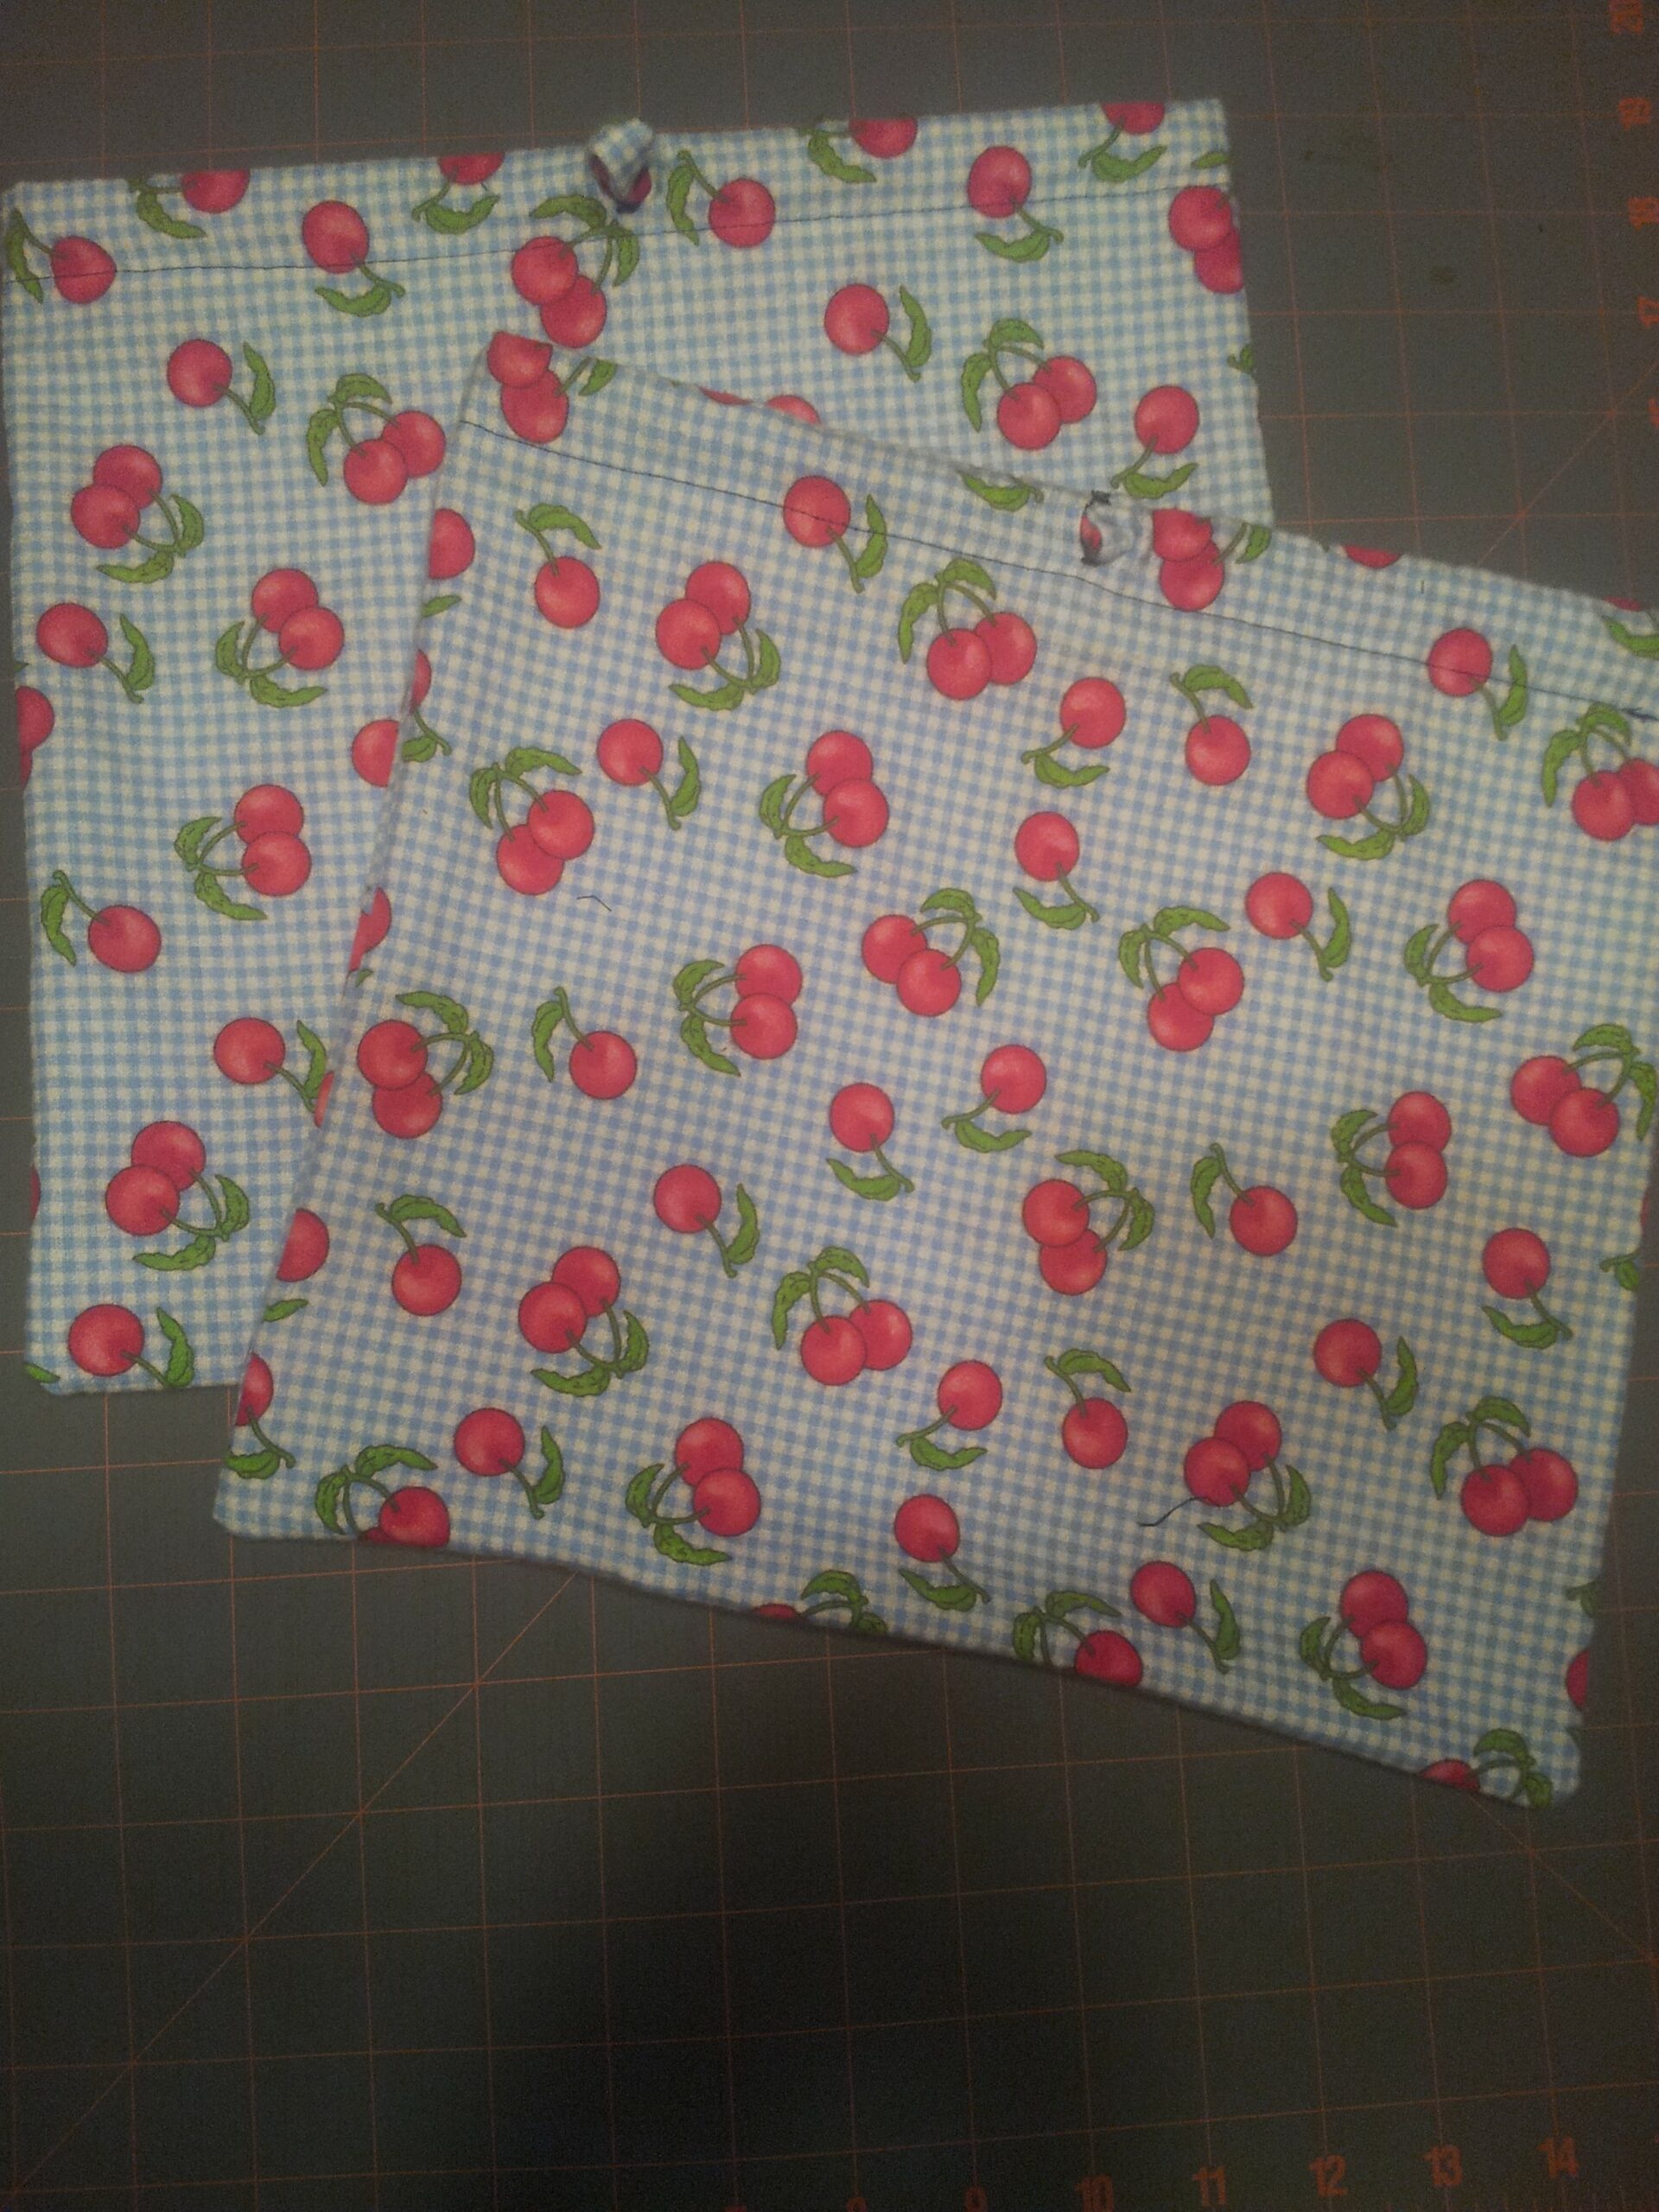
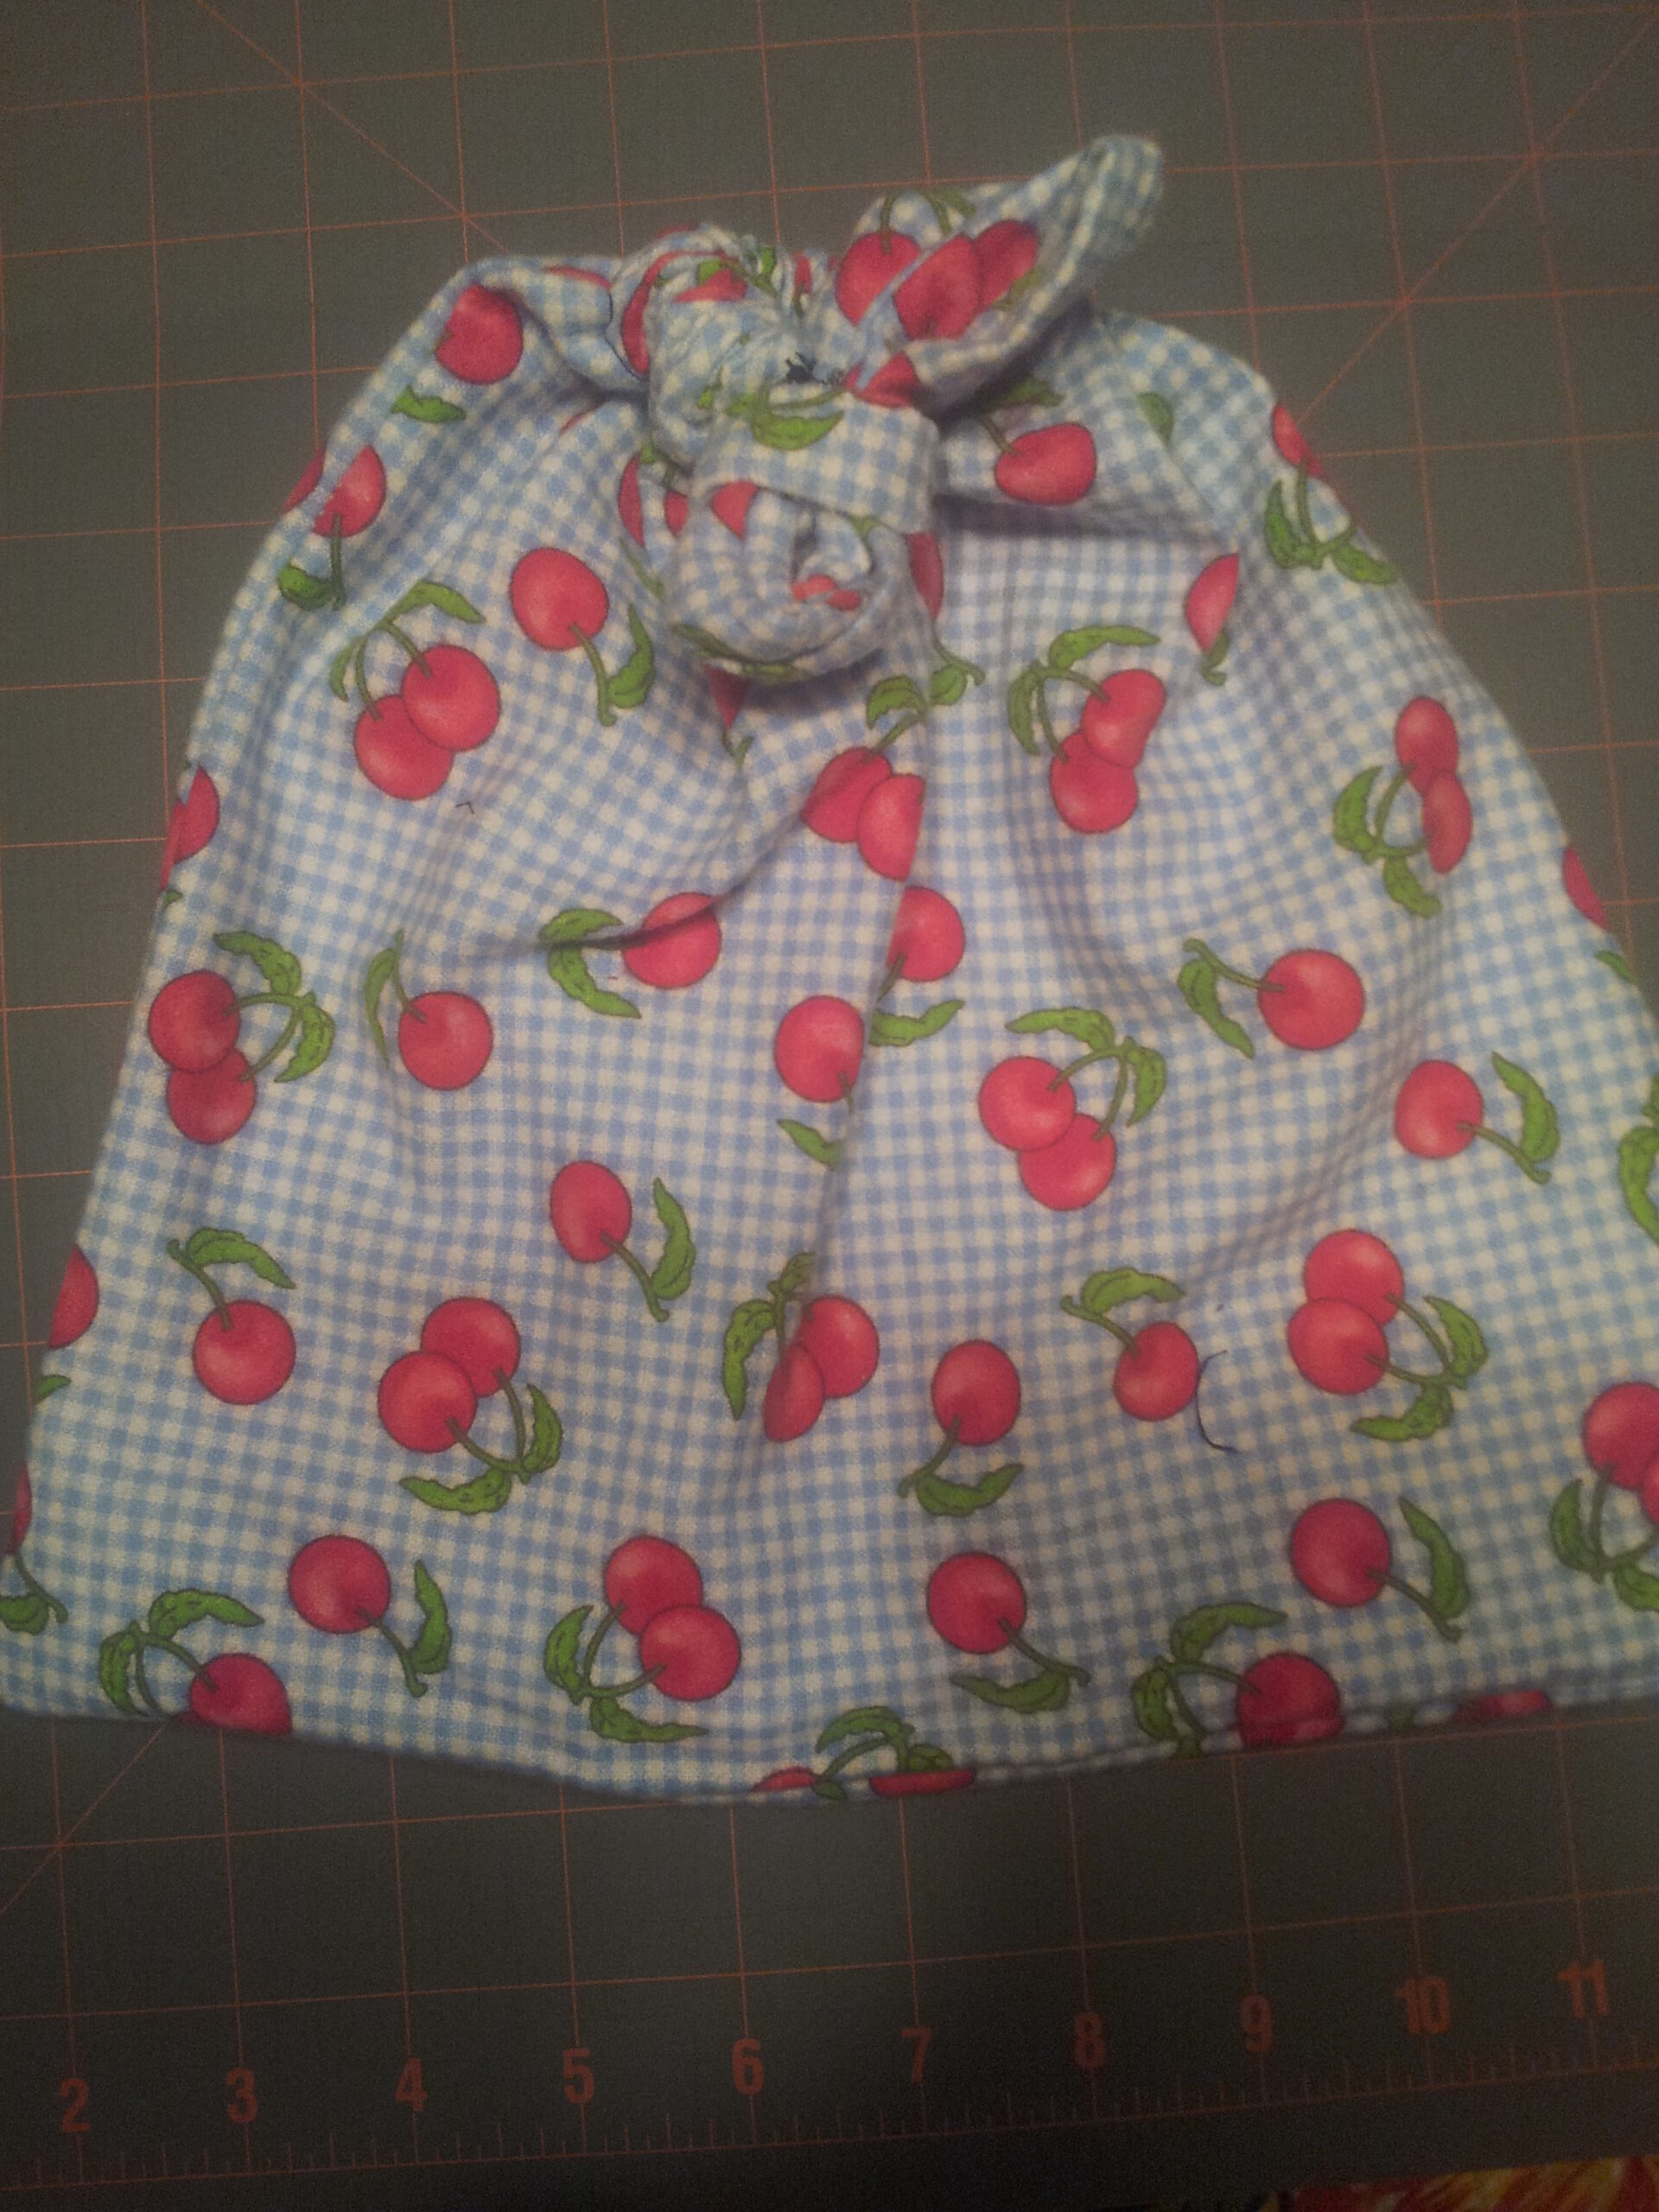
And there you have it! A reusable gift bag that comes in any shade, print, or size!
How do you like to wrap gifts? Would you ever make your own gift bags?

One Comment