Homemade Fair Trade Chocolate Bars
This post may contain affiliate links, including those from Amazon.com, which means we earn a small commission off your purchases. And here's the thing: We only mention services and products that we think are truly worth your attention, whether they're free, paid, or otherwise. This site relies on YOUR trust, so if we don't stand behind a product 110%, it's not mentioned. Period.
This is for all of you who have ever had a chocolate craving, but didn't have any chocolate in the house, AND for those of you of want to buy fair-trade, soy-free, additive-free chocolate but can't seem to find any acceptable bars in your area.
Look no farther, as it's absolutely possible to make your own homemade fair-trade, additive-free chocolate bars in about five minutes flat. (Well…. you'll still have to wait for them to harden, but you could drink them like hot chocolate if you really had to. 🙂 )
This is one of those recipes I wish I had figured out before I wrote my book, The DIY Pantry. It's such a simple recipe and it's definitely worth making your own. It's also an easy way to make your own homemade chocolate chips – but I'll mention that more at the end.
So, first things first. Let's take a quick look at the process of how chocolate is made in a commercial setting, then take a look at the ingredients we'll use, and a few ideas for how to shape your chocolate bars.
How Chocolate is Made
As you likely know, anything chocolate starts with the cacao bean. Cacao beans grow in pods, much like seeds inside a squash, except they're about the size of large coffee beans and fill most of the pod. When they're harvested, they're fermented and dried before being shipped to factories, where they're roasted and deshelled, leaving little bits of cacao bean referred to as “cocoa nibs” or “cacao nibs.” These are what are then ground into a thick paste, which can either be crushed to separate the cocoa butter and the chocolate solids (cocoa powder) or the paste can be sweetened and poured to become chocolate bars.
I mention all this not just because it's rather fascinating, but because we're going to be doing a similar thing in our home kitchen to make our homemade chocolate bars.
Ingredients for Homemade Chocolate Bars
Cocoa butter or coconut oil?
If you've ever tried making your own chocolate bars before, you've likely run across recipes calling for coconut oil. Coconut oil works quite decently for making homemade chocolate bars and will definitely work in a pinch, but honestly, I don't like my chocolate to taste like coconut, or at least not all the time. I want it to taste like chocolate and nothing more, unless I add in specific flavors, like mint or cinnamon or lavender.
Thus, I've opted for cocoa butter instead. Not only does this give a better chocolate flavor, but it provides a bar that's more like what we're used to from the store. It's a bit harder to find food-grade cocoa butter that hasn't been sitting around for a long time and gone rancid (which makes a horrible chocolate bar, let me assure you!), but typically my local gourmet shops and health food stores have been able to point me toward the brands that are the freshest.
If you don't have a gourmet shop or health food store nearby, there are two online options I know of:
- This cocoa butter is the closest I've found on Amazon, which is certified organic but self-described as a family farm (which I haven't been able to verify).
- Mountain Rose Herbs, on the other hand, has an excellent organic, fair trade certified cocoa butter, which you can see here.
Cacao nibs or cocoa powder?
As for making the chocolate mass, you've got a choice here – and they're equally valid, so really the choice is up to you.
Cocoa powder is easier to find and fair-trade options are become more and more available. However, the texture of the finished bars isn't as silky when made with cacao nibs.
If you purchase cacao nibs and grind them yourself, the texture is smoother and the flavor is “chocolatier,” but cacao nibs can be a bit harder to find. However, in my own experience, it's easier to find fair-trade cacao nibs than fair-trade cocoa powder – go figure.
Again, brands vary widely by location and there are (thankfully!) a growing number of high-quality, fair-trade chocolate producers, so good options are easier and easier to find. My absolute favorite brands are Theo Chocolate and Level Ground Trading, but Equal Exchange, Alter Eco, Cocoa Camino, and Navitas all offer good options as well. (If you know of others, please leave them in the comments!!)
- If you need to shop online, this is a decent option for fair trade cocoa powder. This and this are passable options for fair trade cacao nibs. (I say “passable” only because I haven't been able to verify their claims. They look like great options, if all their claims are true!)
Sweetener
Chocolate is extremely bitter until it's been sweetened, so unless you're wanting that very bitter experience or absolutely must avoid all sugars at all costs, you're definitely going to want to add a sweetener.
Honey is a common go-to natural sweetener, but liquid sweeteners soften the texture of the finished bar too much. I like a chocolate bar that breaks with a snap!
However, using sugar made the final bar too grainy, so I was frustrated. But then, I had a bit of a lightbulb moment. I purposely swapped out the granulated sugar for powdered sugar in our homemade hot chocolate mix specifically for this same reason, so why wouldn't powdered sugar work here? I tried it, and by jove, it worked (almost) like a charm. Even with a high speed blender, the mix wasn't 100% smooth, but it was by FAR the smoothest when I used powdered sugar.
And no, I don't worry about sourcing fair trade powdered sugar, because it's easy to make homemade powdered sugar. I typically get my organic, fair-trade granulated sugar at Costco or from a local supplier, but there are a number of options available at most natural grocers.
- Online, you can find fair-trade cane sugar here.
How to Shape Your Homemade Chocolate Bars
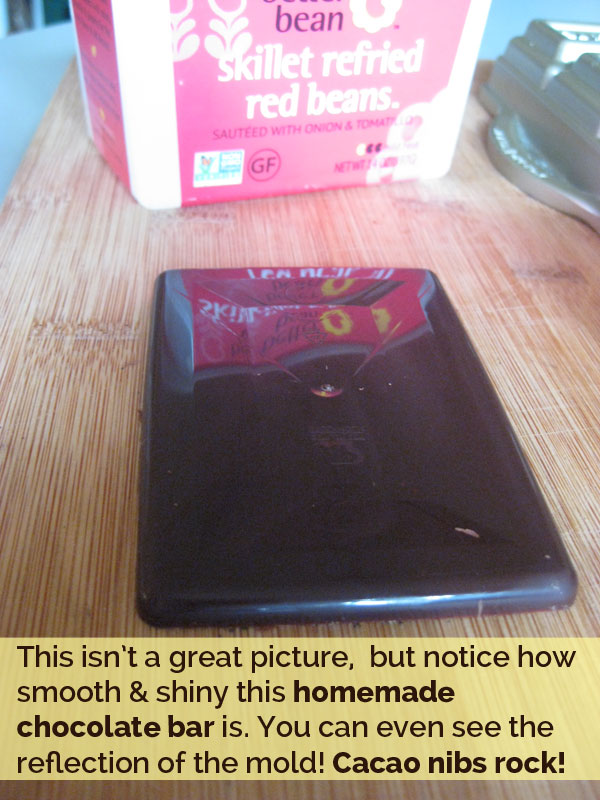
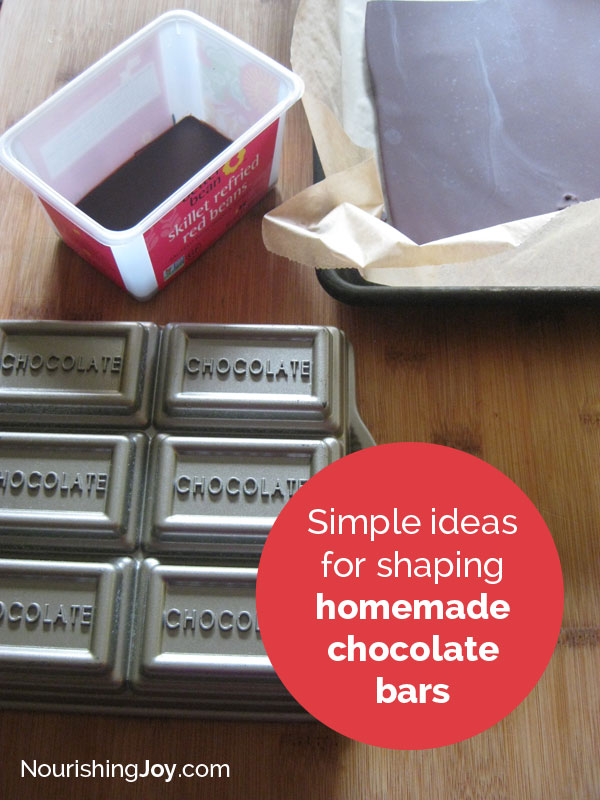
I'll go quickly, but I just wanted to point out that you can shape your chocolate in pretty much any way you want, provided you can get it out. (Silicone molds work well.) But there's no need to go out and buy molds. My favorite bars (which came about after I did the main photo shoot, of course), were shaped in leftover Better Bean refried bean containers, which you can see in the photo below.
Single-serve yogurt containers, loaf pans, baking sheets, candy molds – pretty much anything can work here. 🙂
Is it time to make homemade chocolate bars yet? Please say yes.
Alright, enough talking. Let's get to the good stuff!
How to Make Homemade Chocolate Bars
Homemade Chocolate Bars Using Cacao Nibs:
1/2 cup cacao nibs
1/4-1/2 cup powdered sugar, to taste
1/4 cup melted cocoa butter (approx 40 g)
Method:
Line a plate or baking sheet with parchment paper or lay out your molds and have them at the ready. Also, make sure there's enough room in your freezer to hold the plate, baking sheet, or molds. 🙂
In a double boiler, melt the cocoa butter.
Meanwhile, using a food processor or high-speed blender, grind the cacao nibs until they form a paste. Add the powdered sugar and process again until the mixture is homogenous. With the motor running, drizzle in the melted cocoa butter and blend until smooth.
Pour into your prepared molds and place in the freezer to harden, 3-4 hours.
Break into pieces or pop out of the molds, then store in the refrigerator for up to three weeks.
Homemade Chocolate Bars Using Cocoa Powder:
1/3 cup melted cocoa butter (approx 60 g/2 oz)
1/4 cup powdered sugar
1/4 cup cocoa powder
Line a plate or baking sheet with parchment paper or lay out your molds and have them at the ready. Also, make sure there's enough room in your freezer to hold the plate, baking sheet, or molds.
In a double boiler, melt the cocoa butter.
When the cocoa butter is melted, whisk in the powdered sugar and the cocoa powder and whisk until smooth.
Pour into your prepared molds and place in the freezer to harden, 3-4 hours.
Break into pieces or pop out of the molds, then store in the refrigerator for up to three weeks.
How to Make Homemade Chocolate Chips
To make homemade chocolate chips for cookies, snacking (ahem), trail mix, or whatever, just pour a batch of chocolate into a loaf pan or baking sheet and once it's cooled, chop it up into little pieces. (And just for the record, the picture right above this includes cacao nibs, not homemade chocolate chips.)
Seriously, that's all there is to it. 🙂
If I can figure out how to get this molten chocolate into little conical chip form like the mechanized ones in the bag at the store, I'll let you know….
More chocolate-y goodness:
Here are a few links you might find helpful:
Where Does Chocolate Come From?
Chocolate Alchemy – tons of tips about homemade chocolate for the SERIOUS home connoisseur


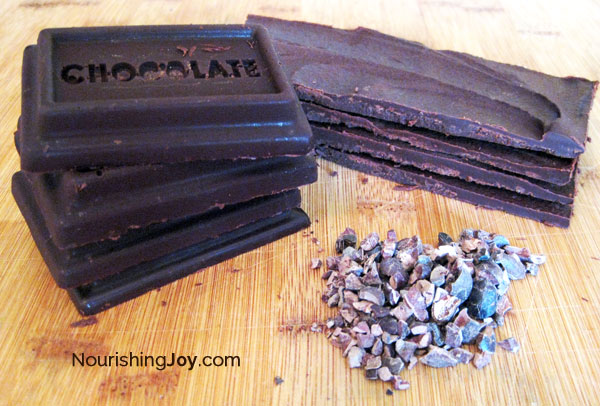


I love the molds that say “chocolate!” Do you have a link for those?
Thanks!
Hmmmm…. well, I got mine at a thrift store, so I’ll have to go look to see if I can find one to share! :/
Where I live cocoa butter is expensive and difficult to find, but I can get cacao butter at several different places quite easily. Do you think using cacao butter over cocoa butter will make any discernible difference in flavour for a non-connoisseur?
Hmmm… interesting. Where I live it’s just the opposite – cacao butter is extremely expensive while cocoa butter is mostly reasonable in cost!
Anyway, no, I don’t think it will make a huge difference. I suspect you’ll get a smoother texture with cocoa butter, as it’s already been heat-treated, but you’ll get a better chocolate flavor from cacao butter, since it’s still raw.
So, again, no, I don’t think there’s any problem substituting the two for each other for home or gifting use, so go for it! 🙂
Enjoy!
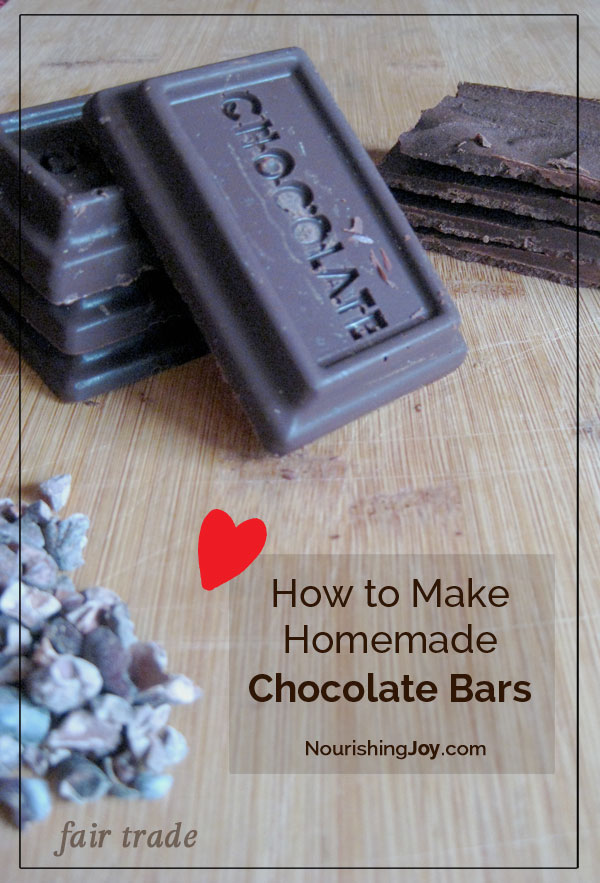
Found it! The mold you’re using is an old Nordic Ware cast aluminum brownie pan that was sold by William’s Sonoma. 🙂
SUPER cute, and love the recipe ideas here Kresha! Great blog. 🙂
Oh, SWEET! Thanks for letting us know! That’s the danger of thrifting – you find something great and then don’t know where to find more. 🙂
And thanks for your kind words – I appreciate them more than you know. 😉
I am allergic to whey and everyone seems to sweeten their dark chocolate with milk. So, I love the ease of this recipe!
If you are looking for chocolate chips, I would recommend putting the mixture into a pastry bag or ziploc and cut the tip off (you want a fairly small opening, or it will come out as a blob and you can always make the hole bigger if needed). Then make drops of the chocolate mixture on a parchment lined baking sheet. If it immediately starts spreading, you can cool down the mixture slightly so that it is more solid, holding it’s shape better as you go!
What about vanilla in the recipe? I’ve had plain chocolate before from Camino and It’s a beautiful chocolate but there’s one tiny thing missing. I couldn’t figure it out t first but then realized, looking at the ingredients that vanilla wasn’t there.
Absolutely! You can definitely use vanilla. A little bit of vanilla bean would likely work better than adding liquid vanilla extract, but the liquid in small amounts could work in a pinch.
Yummy!
powdered sugar is powderier if you sift it after blending.
if you wanted to change from a dark chocolate to a milk chocolate, how much milk would you add and what other ingredients do you need to make it milk chocolate?
Does this chocolate melt at room temperature? I’m looking for a recipe that makes chocolate that can be eaten a while after it is taken out of the refrigerator.
No, they don’t melt. 🙂 These make bars like you’d buy at the store.