Valentine’s Heart Strings Tree
This post may contain affiliate links, including those from Amazon.com, which means we earn a small commission off your purchases. And here's the thing: We only mention services and products that we think are truly worth your attention, whether they're free, paid, or otherwise. This site relies on YOUR trust, so if we don't stand behind a product 110%, it's not mentioned. Period.
Note from Kresha: Kris from Tiny Peasant is one of my all-time favorite bloggers and she has wonderfully amazing gifts and ideas to share. If you haven't taken her free Playroom Remedy course to conquer your kids' toys (and actually get them organized!), go sign up now! She also has a number of really excellent learning packs full of activities to get your kids discovering, playing, and thinking, some free and some available for a very fair price.
Regardless, please help me welcome Kris to Nourishing Joy. This Heart Strings Tree is a great activity to do with your kiddos this week!
Holidays offer families a time to celebrate together – to craft, bake and bless others. Sometimes, though, consumerism creeps in and it can quickly take over! Our family has made many different Valentine’s Day crafts that are sweet and nice to look at, such as this Felted Ball Garland and these printable valentine’s cards that we made last year. This year I wanted to get more to the heart of the holiday – and bring the focus onto love.
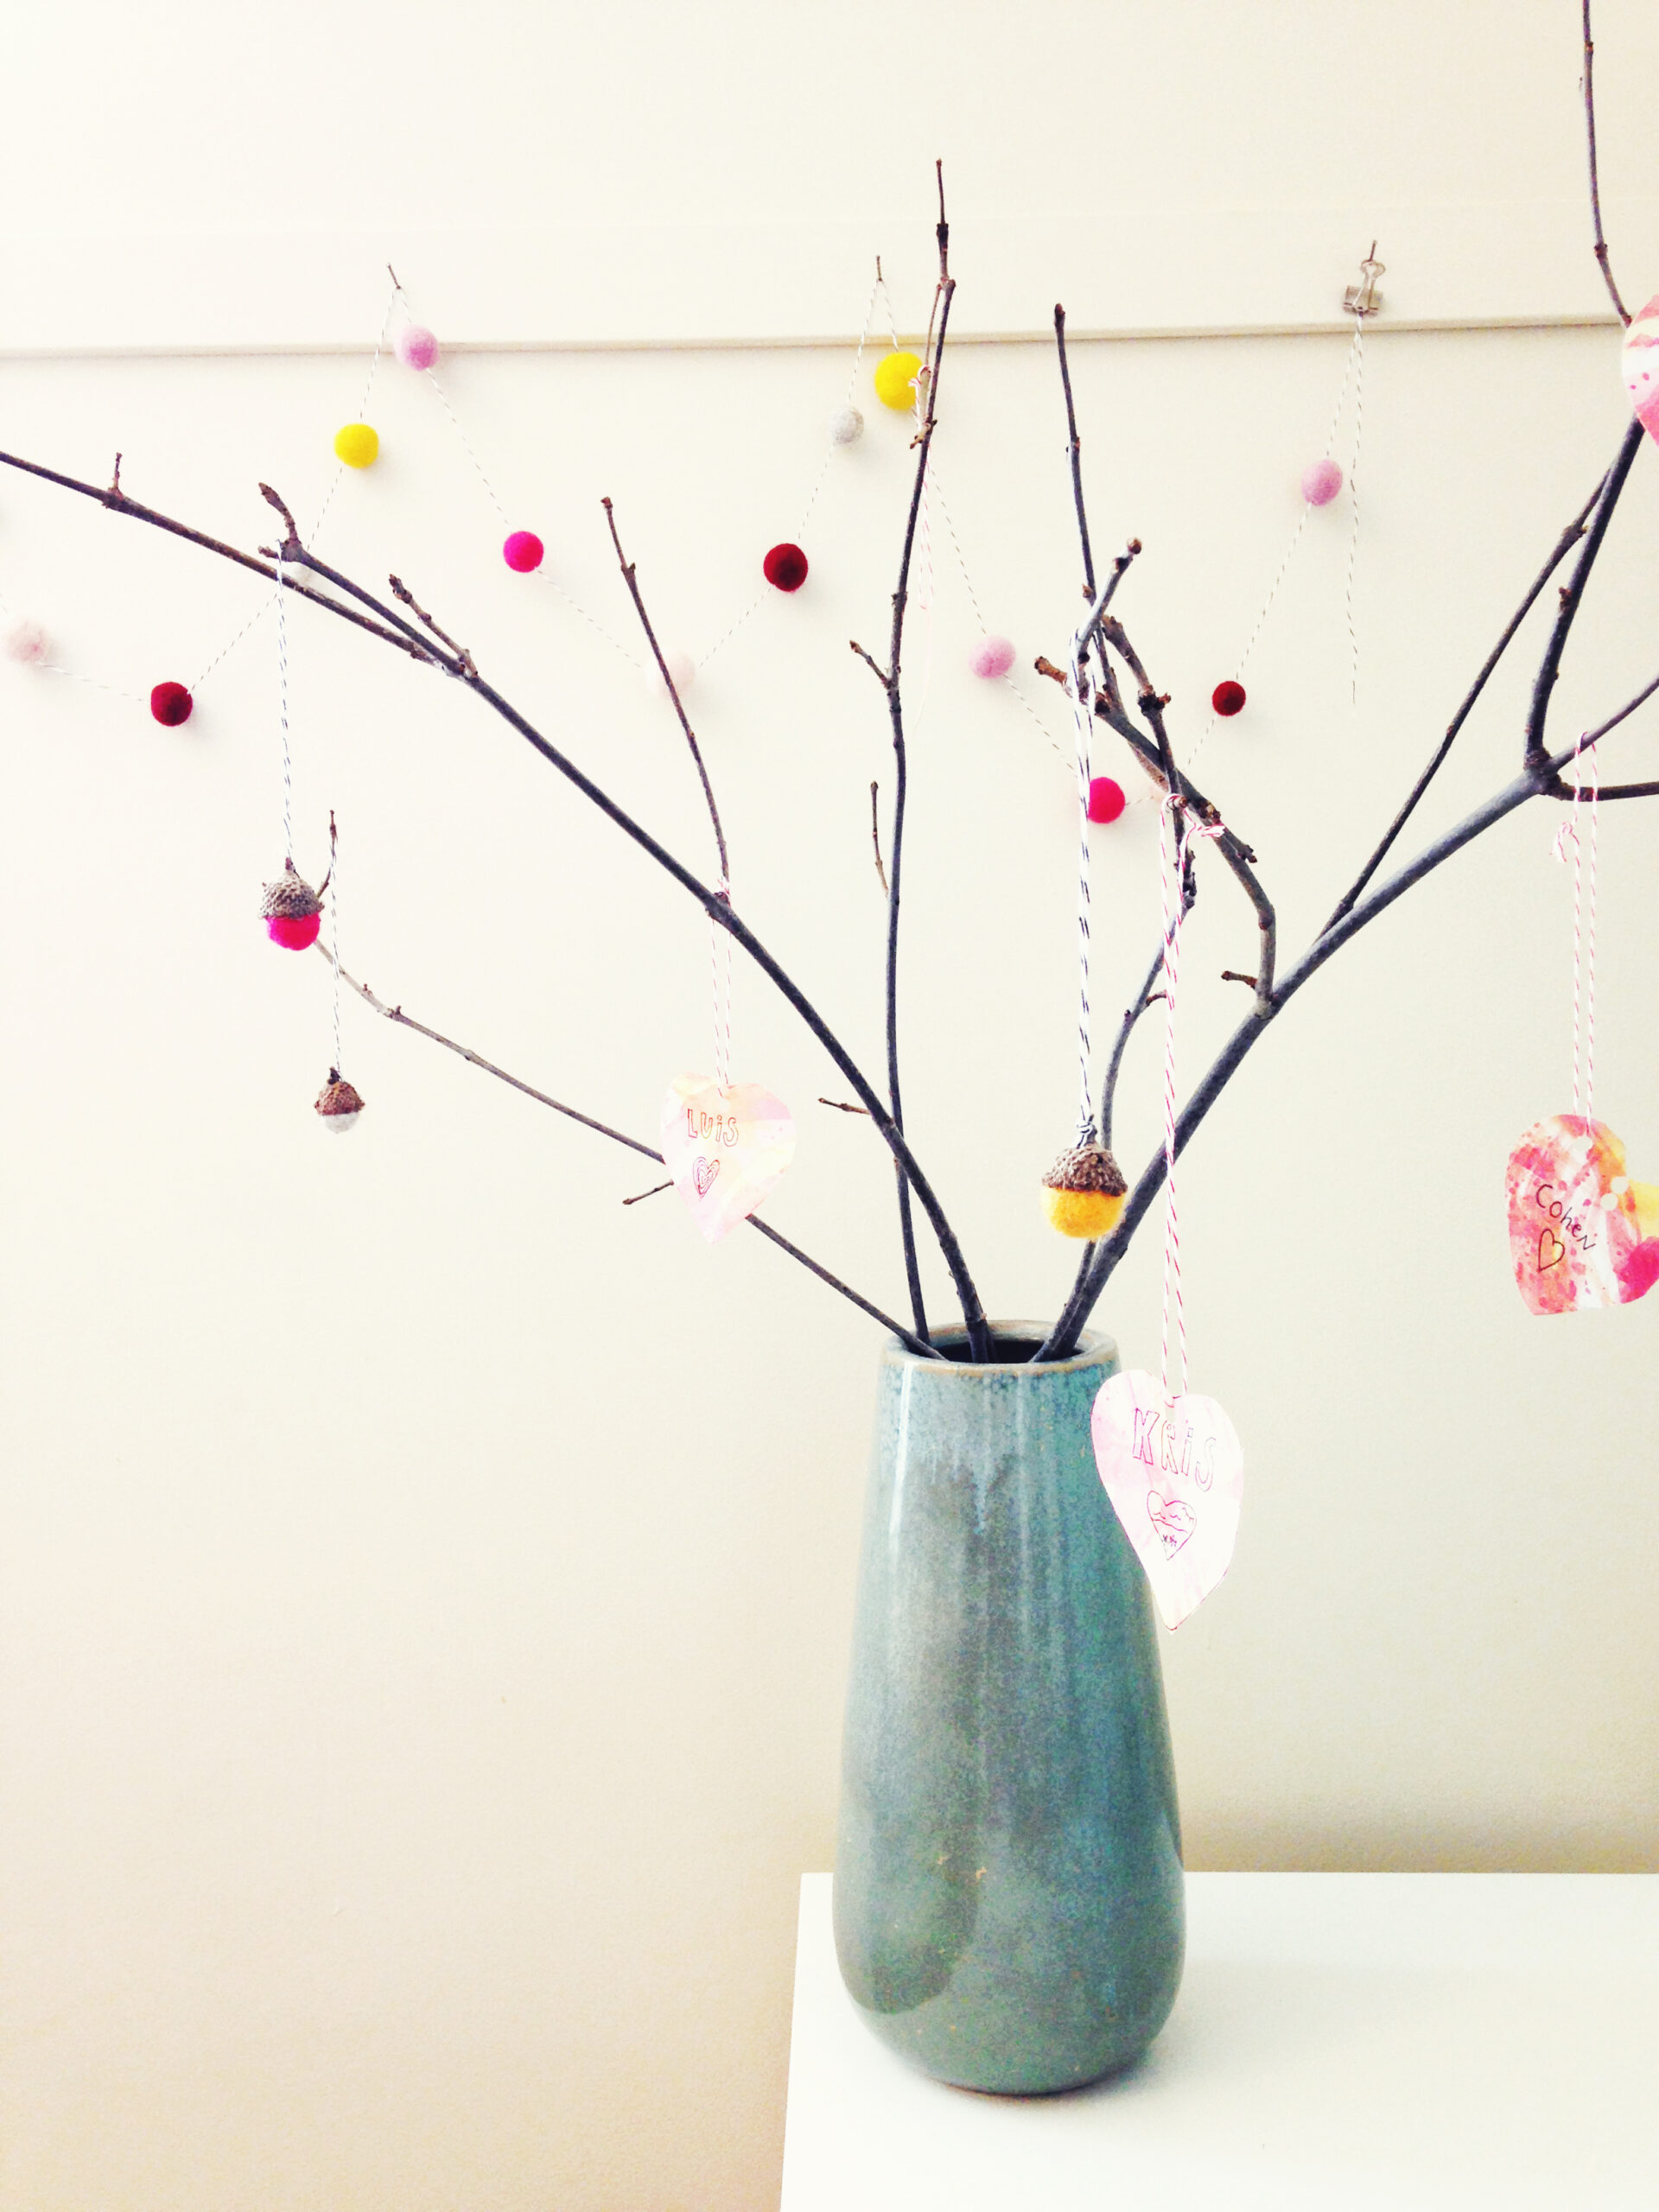
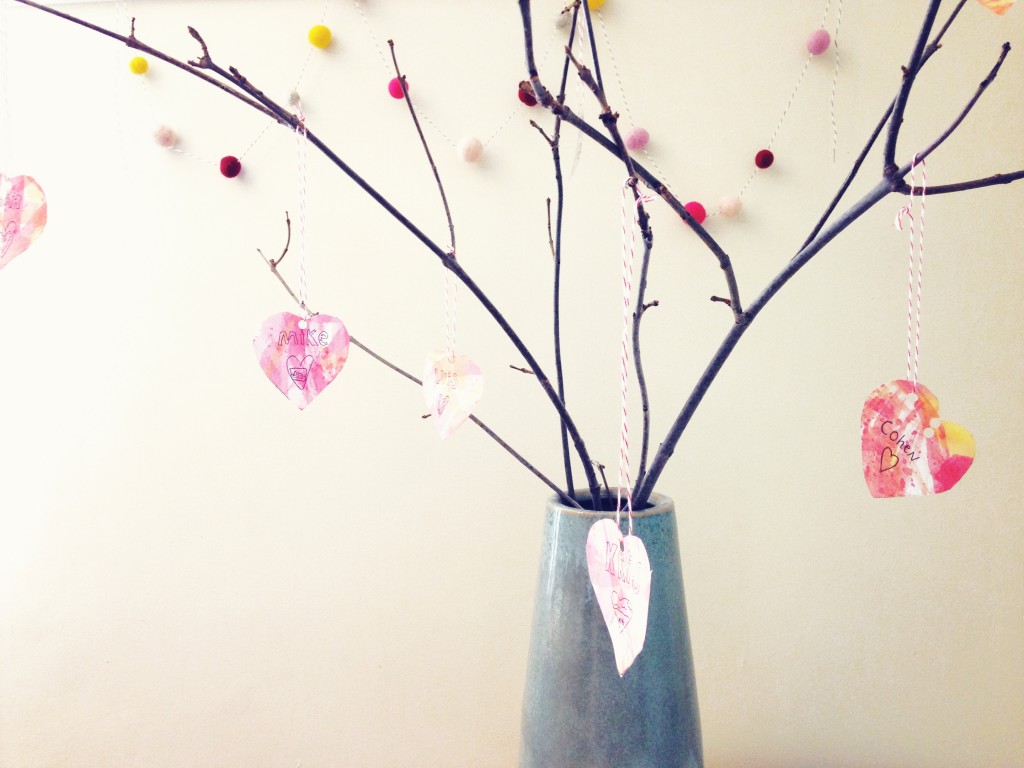
We took a common craft – watercolor painting, and paired it with another common craft project – the gratitude tree, and came up with a love tree, or what I’m coining the Heart Strings Tree. It’s a reminder to us of all the love in our lives, both those we love and those who love us.
To make your own Heart Strings Tree, you’ll need the following materials:
:: Watercolor paper
:: Watercolor paints
:: Paintbrushes
:: Scissors
:: Hole punch
:: String
:: Branches
:: Vase or pot
:: Stones or sand (if needed to hold branches upright)
We were also delighted to sip this delicious Pink Valentine’s Tea while we worked!
Instructions:
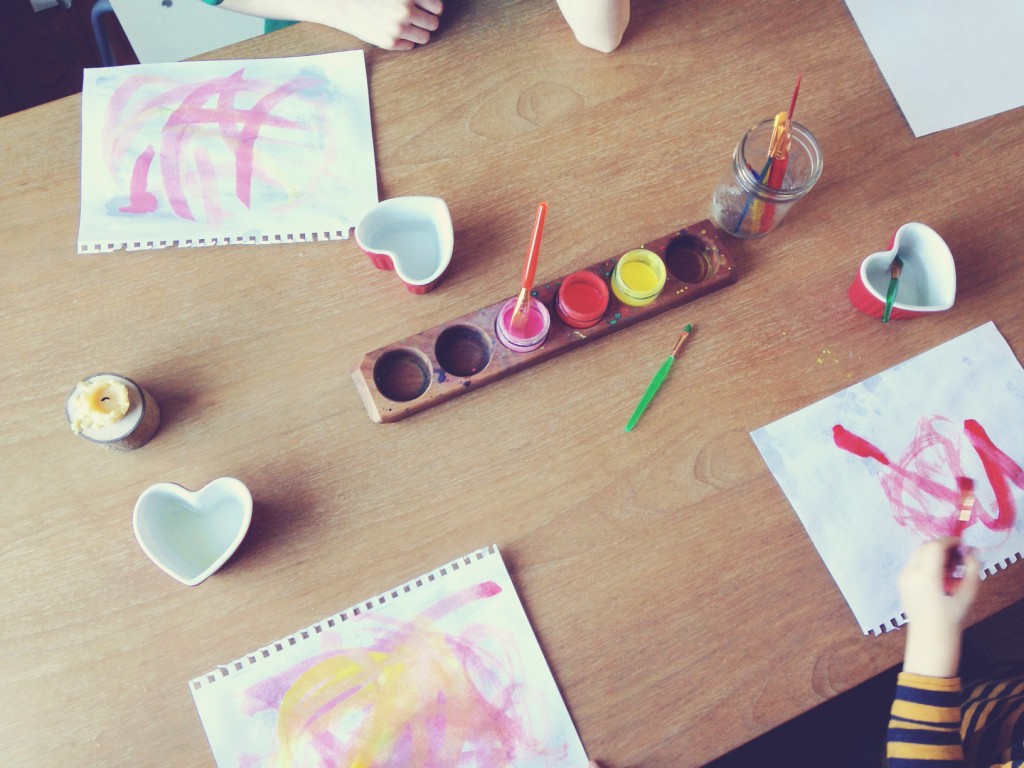
1. First, get painting! It can be really fun to play around with wet-on-wet watercolor painting. Simply wet your paper by brushing a little bit of water onto it. If you have pools of water, there is too much – just dab the paper with a sponge. When you add paint to the paper, the colors should dance around on the page and blend into each other to make beautiful patterns and color blends. This craft works just as well if you choose to paint on dry paper. Let your children paint with reckless abandon without worrying about painting anything in particular. The most important thing is to fill the entire page with color. Let the paper dry well once you are finished.
2. Trace a heart shaped cookie cutter, or draw hearts free-hand – as many as you can fit on the page. Just like when baking, I advise the little ones to go right up to the edge, so we don’t waste paper.


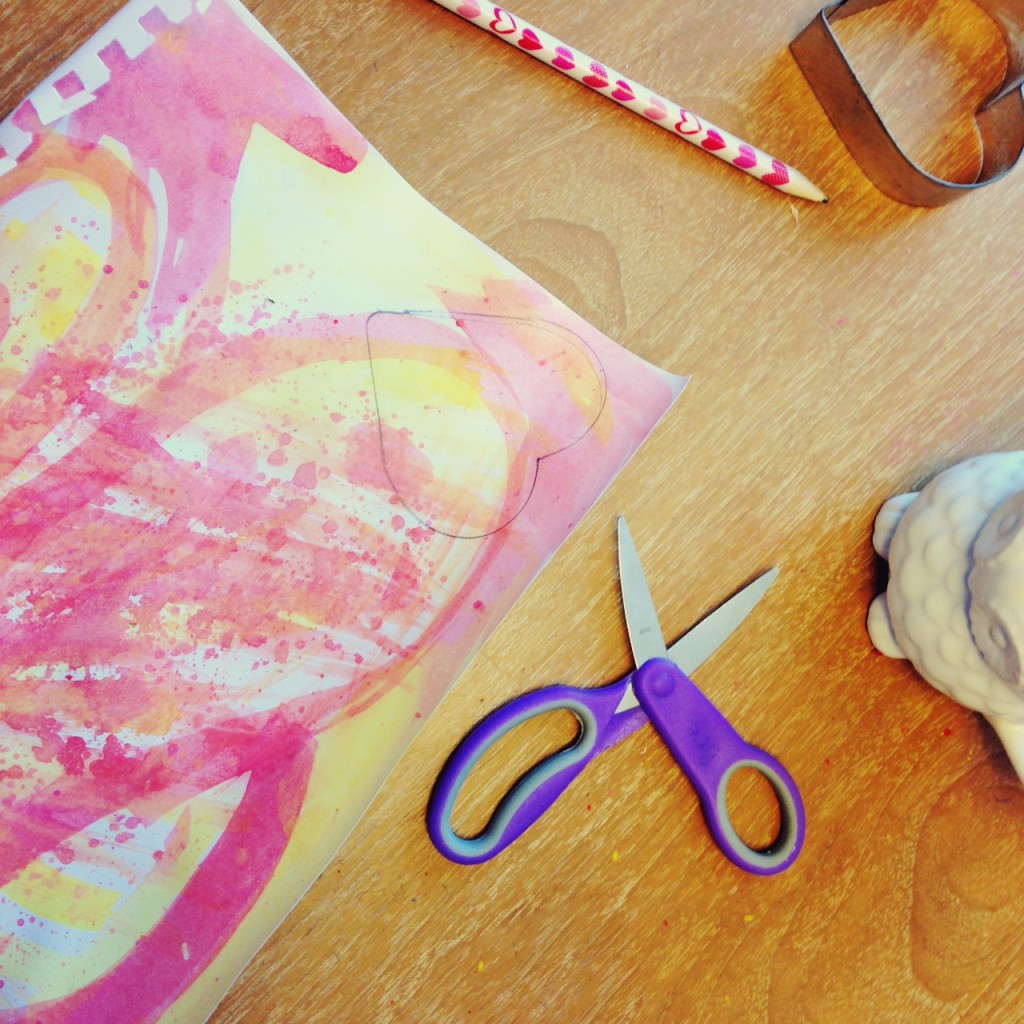


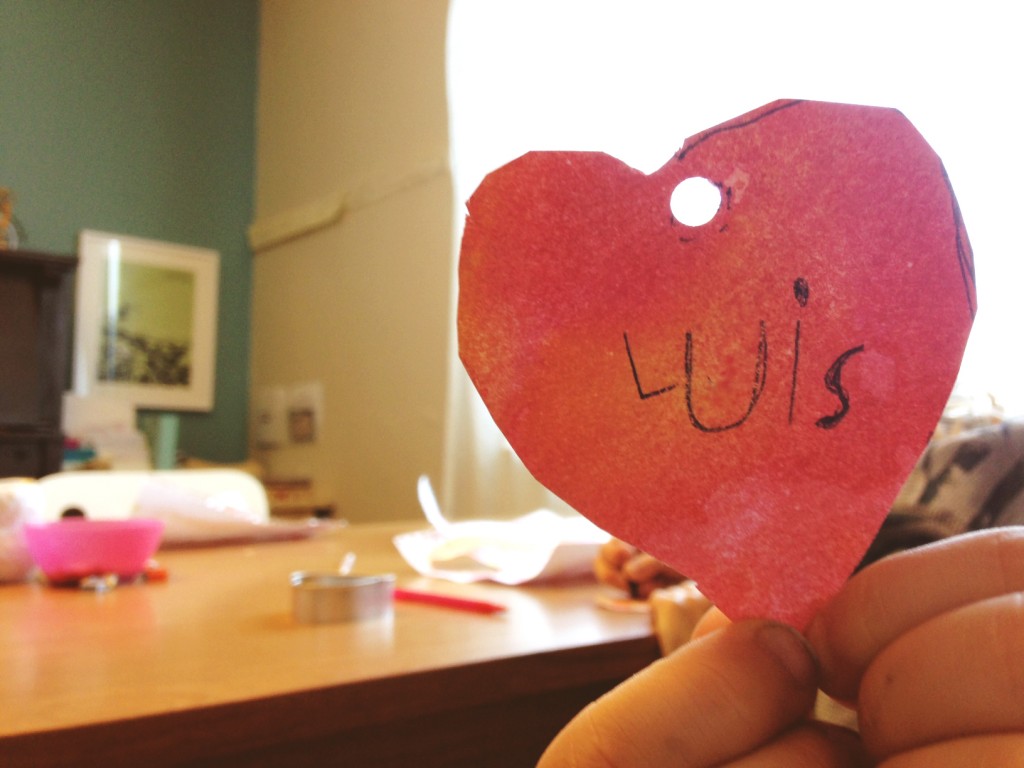
3. Cut out your hearts and use a punch to make a hole in the center at the top.
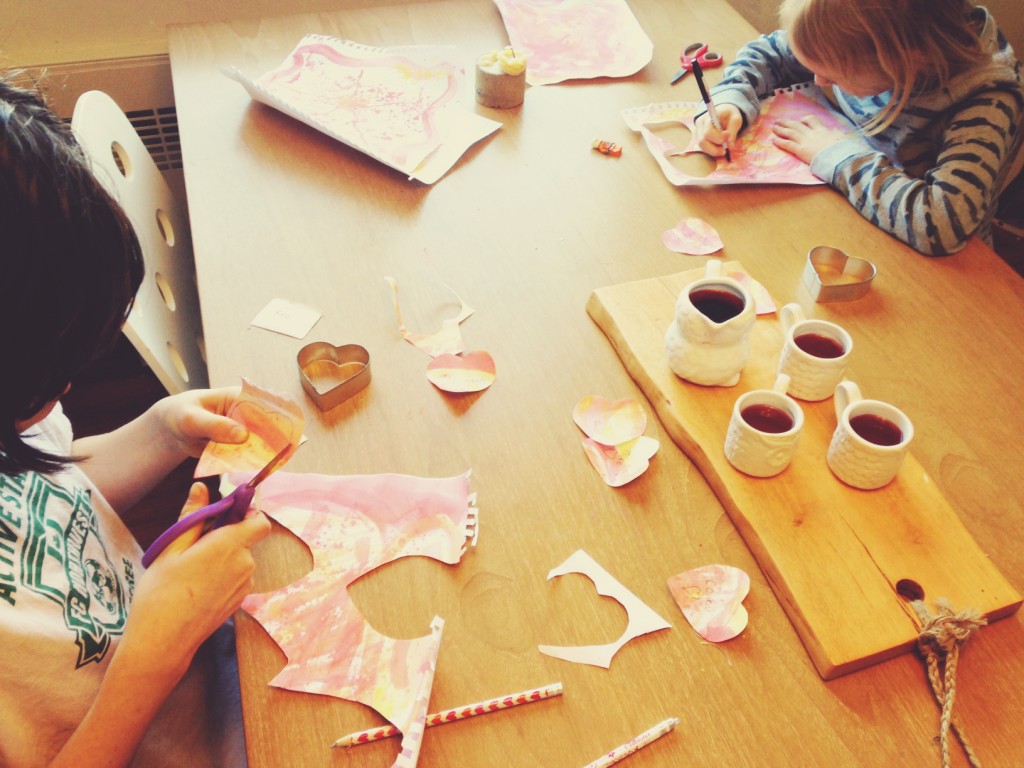


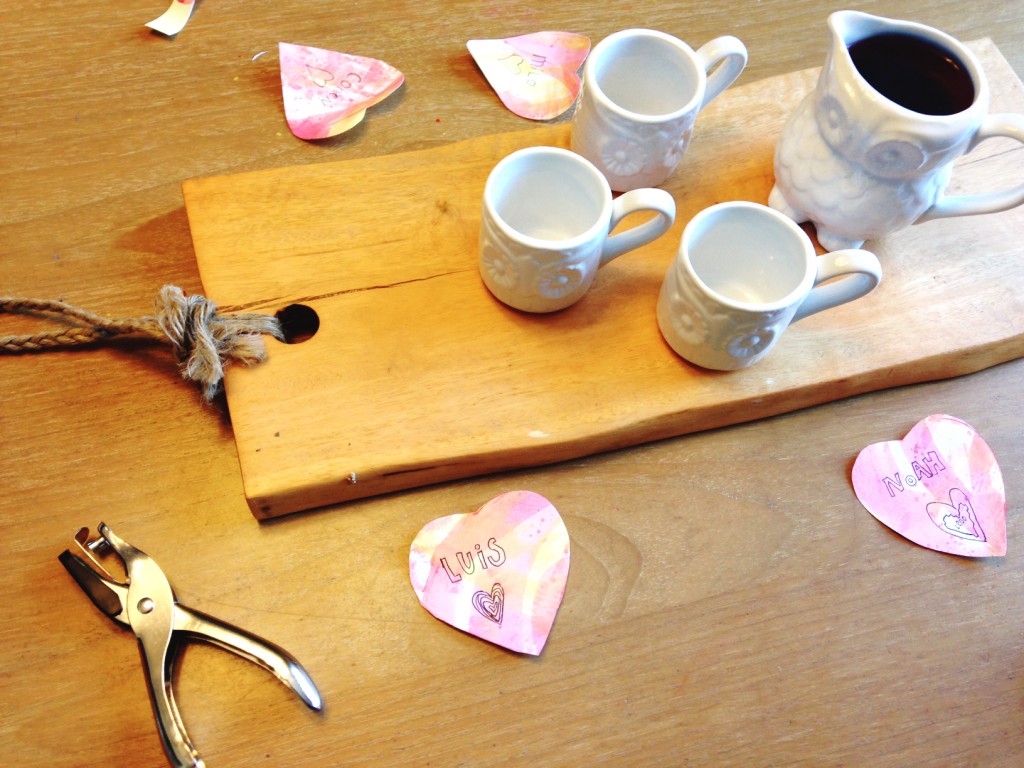


4. Write the names of people you love and who love you on the hearts (most likely these are one and the same!). One of our little ones decided to draw a picture of something loved by the person on their heart, and another wrote what they love about the person on the back of the heart. Let your children lead here and do what feels good to them.
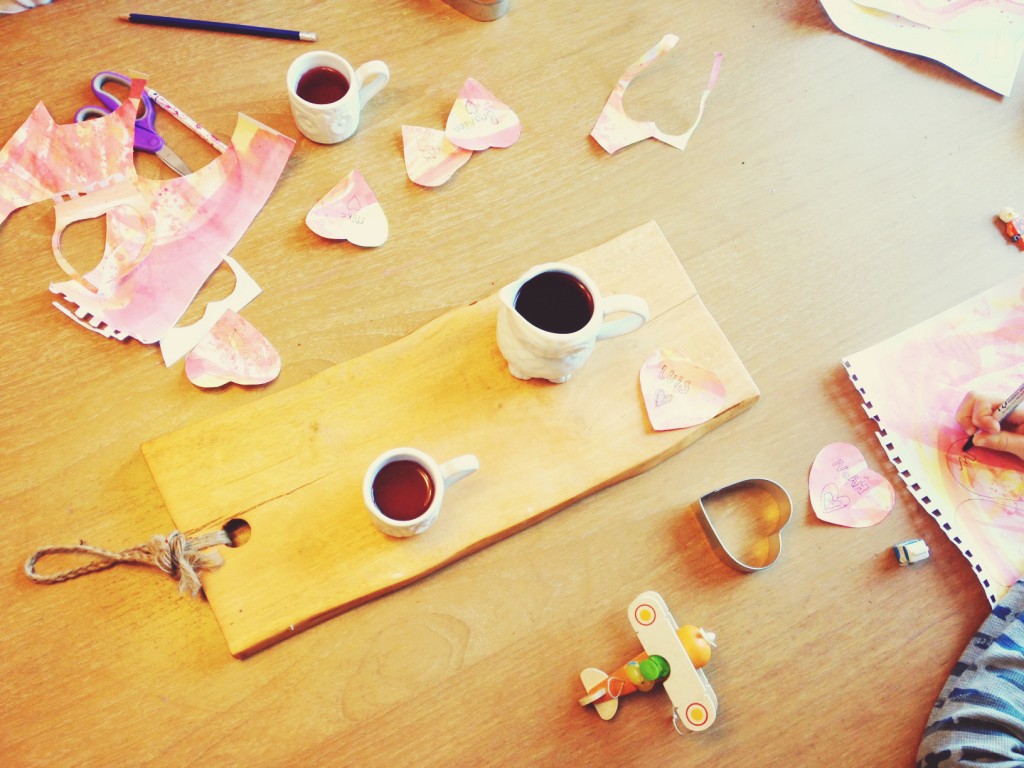




5. Set up your branches in a vase or pot in any arrangement you like. This can be a smaller setup that you can use as a centerpiece on your table or mantle, or a larger branch that you can place in a pot of sand or stones on the floor. If you want to go the whole nine yards, try painting your branches white or gold before arranging them.
6. Use a coordinating string to hang your hearts at varying lengths from the tree branches.
I hope this activity will help pull the focus of Valentine’s Day onto the richness of love in the lives of your children and that you’ll have a great time crafting together as you think of your loved ones.



One Comment