
Make and Freeze Pie Crusts: Any Pie Made Simple
This post may contain affiliate links, including those from Amazon.com, which means we earn a small commission off your purchases. And here's the thing: We only mention services and products that we think are truly worth your attention, whether they're free, paid, or otherwise. This site relies on YOUR trust, so if we don't stand behind a product 110%, it's not mentioned. Period.
Use Our Unique Thanksgiving Guide
Get All the Thanksgiving Recipes You Need
Whether you're looking for planning tools, breakfast and leftover recipes, or last-minute feasting inspiration, our Thanksgiving guide will help you enjoy your entire Thanksgiving Day.

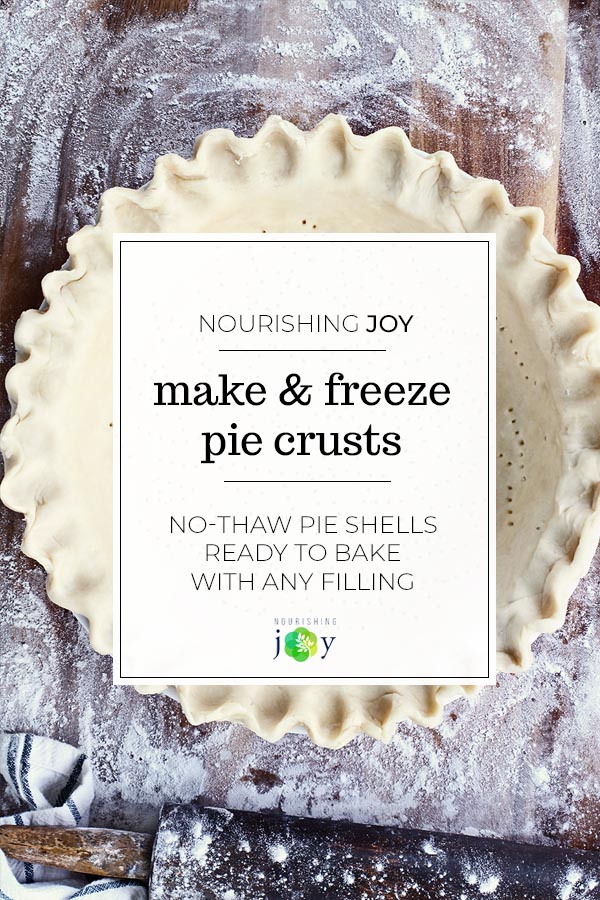
Make & Freeze Pie Crusts
Having a frozen pie crust handy means that you can make a quick meal or decadent dessert when pressed for time. In just 10 minutes, you can create a savory shepherd’s pie or a sweet, aromatic apple pie with a light, flaky crust. Be sure to use a metal pie plate or tart tin for freezing, as glass likely won’t go from freezer to oven without shattering.
Servings: 2 crusts
Ingredients
- 2 ½ cups all-purpose flour
- 1 teaspoon evaporated cane sugar
- 1 teaspoon sea salt
- 8 tablespoons (1 stick) butter, cut into cubes and chilled
- ½ cup palm or other vegetable shortening
- ⅓ cup plus 1 tablespoon very cold water
- 1 tablespoon vinegar (white or apple cider vinegar)
Instructions
- Mix the flour and butter. Whisk the flour, sugar, and salt together in a bowl. Add in the cubes of butter and shortening and quickly work them into the flour mixture. Most of the mixture should be the consistency of coarse crumbs and hold together when squeezed in your hand, but a few pieces should be the size of peas.
- Make the dough. Stir the vinegar into the cold water; then drizzle the water over the flour mixture and stir it into a ball. Add 1–2 more tablespoons cold water if needed and gently knead the pieces together into a cohesive dough.
- Refrigerate the dough. Divide the dough into two equal balls, then press each into a rough disk about 1-inch thick. Refrigerate the disks for at least 30 minutes.
- Roll out the dough. Working from the center at all times, roll each disk out into a 1⁄8"-thick circle. If the dough is too cold to roll, let it sit at room temperature for 4-5 minutes before trying again. Once rolled, drape each circle over a metal pie pan or tart tin and pat into place. Flute or decorate the edges if desired.
- Freeze the crusts. To freeze, place a large piece of wax paper or parchment paper over one crust, then set the other crust lightly on top, including its pan. Place the layered crusts in a large, plastic bag or in another airtight container and remove as much air as possible. If possible, place the container inside another plastic bag or other airtight as well to help the crusts stay fresh as long as possible. Set the crusts in the coldest part of the freezer. Store for up to 6 months in a deep freeze or 1 month in a freezer compartment.
- To use, do not thaw, but fill and bake according to the temperatures and times of your particular recipe, adding a few minutes to compensate for the crust’s frozen state.
