
Homemade Apple Cider Vinegar
This post may contain affiliate links, including those from Amazon.com, which means we earn a small commission off your purchases. And here's the thing: We only mention services and products that we think are truly worth your attention, whether they're free, paid, or otherwise. This site relies on YOUR trust, so if we don't stand behind a product 110%, it's not mentioned. Period.
Mastering homemade apple cider vinegar (ACV) is probably one of the simplest kitchen tasks you'll encounter. It takes little more than filling a jar with chopped apples, adding water and honey, and letting the mixture do its thing. It's pretty foolproof (if I can do it, so can you, trust me), and will leave you with a sense of accomplishment.
Use organic apples and raw, organic honey to ensure your apple cider vinegar is from the best ingredients possible.
I like to make apple cider vinegar with scraps left over from another recipe, such as peels and cores, but you can also use the whole apple, cut up, making sure to layer the pieces in the jar so they remain under the water. The advantage to using peels and cores is you use a part of the apple that's otherwise composted. For this article, I'll assume you're using the whole apple, although them method remains the same whether you use all of it or not.

If you haven't made vinegar before, you'll be surprised at the taste – it's very different from store-bought apple cider vinegar. It's much lighter and brighter, in the same way that homemade mayo is. It's great in salad dressings and marinades, and also makes a great gift for friends who might not have tried it before.
Apple cider vinegar is also great to use in household cleaners along with your favorite essential oil scents. If you're not sure how to use it around the house, feel free to download my guide here.
To begin making your vinegar, start with three apples of any variety. I tend to use sweeter apples because I use peels and cores leftover from making applesauce, but any variety will work. I've found when using sweeter apples, the vinegar is sweeter, and vice versa. You can also use a mixture of varieties. It's really up to your imagination, and any sort of apple will ferment into a nice, amber apple cider vinegar.
When making your vinegar, be sure to keep all the apple chunks below the surface – I like to use an air-locked container for the fermentation process, other people just put a scrap of cloth over the top. If the apple rises above the surface, you might introduce unwanted bacteria into your mixture.
After a couple weeks, you'll notice the strong smell of alcohol in your vinegar mixture – to create apple cider vinegar, you first need to make apple cider, and after a couple more weeks, that smell will go away, and will turn to vinegar. The key is to get it past this point, and warn everyone in your house, lest they throw it away (my husband's done this before).
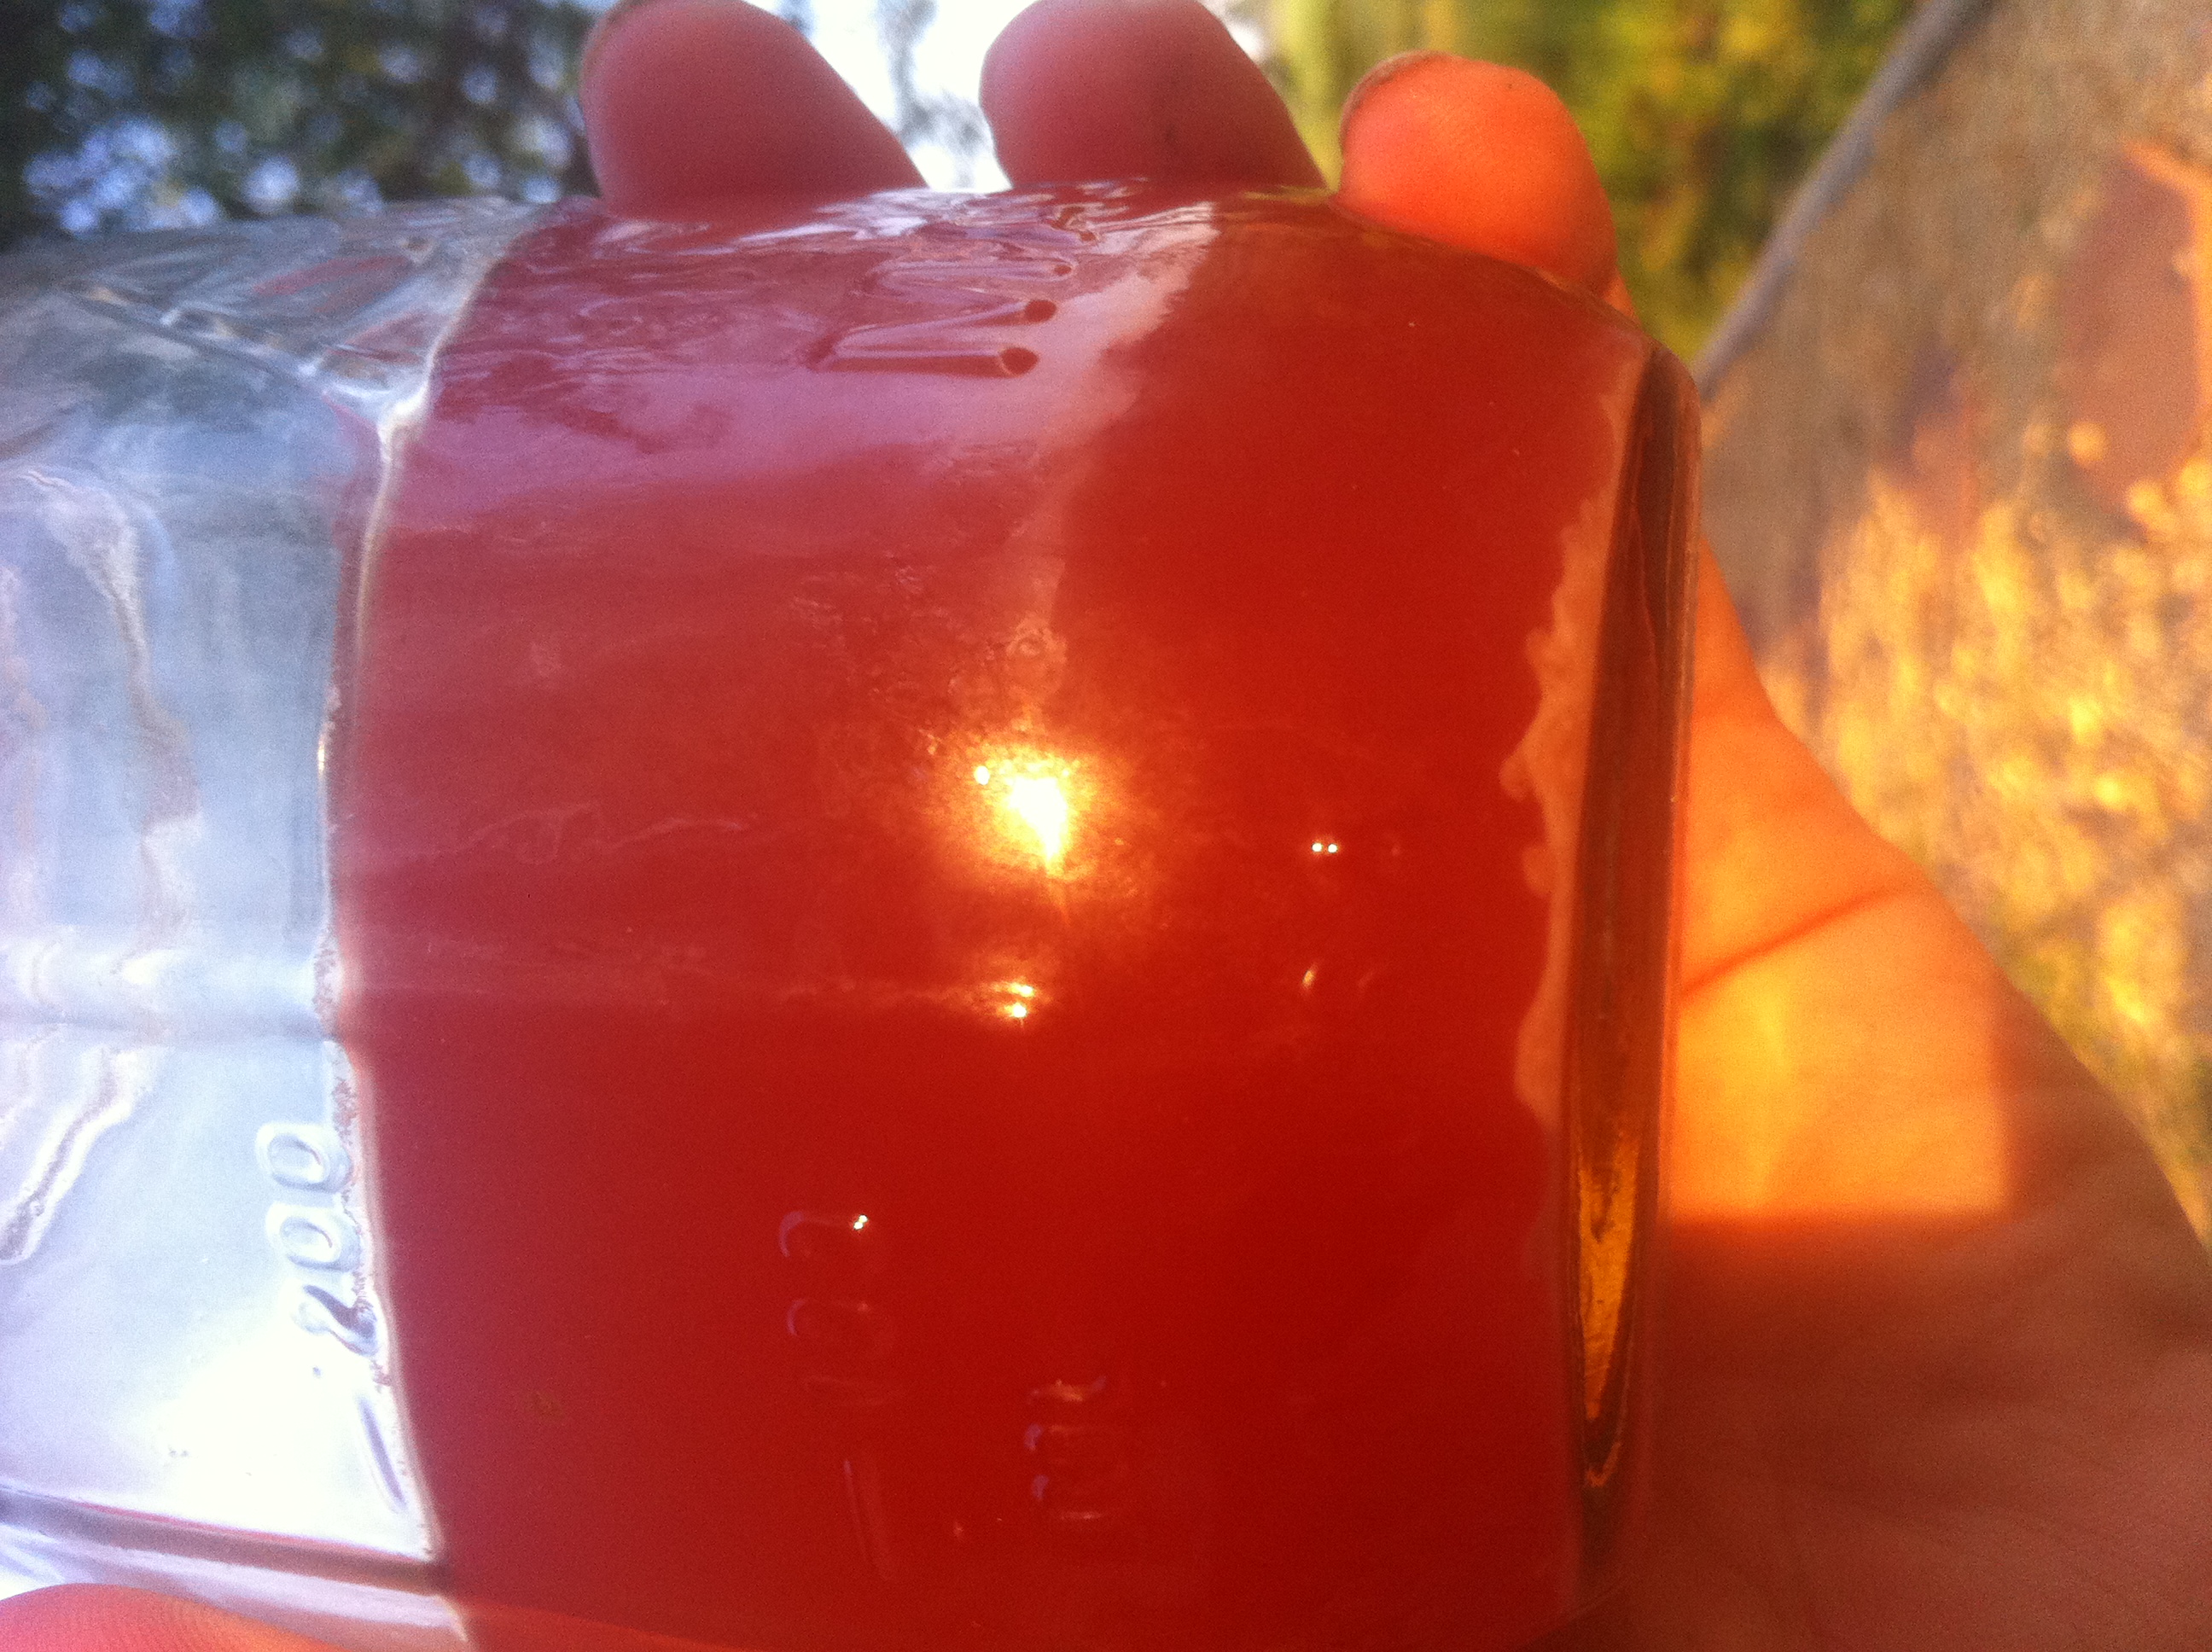
After four weeks or so, you'll notice a scummy, cloudy mass in your jar. That's the mother – a collection of beneficial bacteria that will kickstart your next batch. It's a clear indicator that something's going right with your apple cider vinegar. You'll notice a classic vinegar taste at this time, also.
I think you'll find the process of creating apple cider vinegar fairly simple and satisfying, especially when you use it in homemade meals or in every day household cleaners.

Homemade Apple Cider Vinegar
Ingredients
- 3 apples, any variety
- 3 teaspoons raw honey
- Warm, filtered water
Instructions
- Cut your apples into 1/2" sized pieces or slices.
- Place them in a sterile quart-sized mason jar.
- Mix your honey with 1 cup of warm water and add it to the jar. Be sure to use warm water so the honey will dissolve a little.
- Add more water if needed so the apples are completely covered.
- Cover the jar using an air lock, or use a scrap of cloth secured with a rubber band. This keeps nasties away while letting the liquid breathe.
- Place your jar in a warm, dark place for 2 weeks until the mixture has formed cider.
- Strain the liquid and compost the apple pieces (I feed mine to my chickens).
- Return the liquid to the same jar and cover it with a clean cloth.
- Leave the jar in a dark place again for 4-6 weeks until it's turned to vinegar.

I would never have thought about making ACV myself. Seems pretty simple, maybe even I could do it. 🙂 I have just gotten on the ACV train recently, so this is exciting.
I know this is a dumb question but here goes. At the end when you leave it in a dark place for 4-6 weeks, you cover it with a cloth. Does this mean you do not put the cover on the bottle?
Well, it just means that it needs to be able to have air move in and out and the cloth keeps dust and bugs and other undesirables out. So if you’re using a mason jar, you put the cloth on and then screw on a canning ring, but not the inner lid part. If you’re using a long-neck bottle, you might want to just secure the cloth with a rubber band or some such thing.
Does that help?
New to your site, but a big proponent of ACV. I’ve been having a difficult time finding it unpasteurized where I live, so the prospect of making it myself is so interesting. I’m curious about the honey – I’ve read you shouldn’t use it in ferments or things like kombucha because of the antimicrobial/antiviral/etc properties of the honey interfere with the processes. Is this not an issue with vinegar?
Well, I’ll let the author chime in with her own experiences, but as with many things, this *sometimes* is a trial-and-error process. Honey *can* be used to brew things like kombucha, but it’s just more unstable than white sugar for exactly the reasons you mention. However, in the case of apple cider vinegar, since you’ve already got lots of sugar in the mix in the form of apples, honey helps keeps things like molds at bay by providing plenty of food for those healthy bacterial cultures so they can grow quickly in the first few days while the cider base gets established.
However, I say this is a “trial and error” process because there are other things that affect the cider as well – temperature, how many apples are in the mix, etc etc etc.
So, basically, I’d say use the honey, but if more than one batch goes wonky while using honey, then switch sweeteners or stop sweeteners altogether or add the honey during the second fermentation instead of the first. 🙂
Does that answer your question? I hope that helps!
I’ve tried this a couple of times but a white moldy like film grows over the top and it smells rotten. But I’ve also kept something heavy on top to try to keep the peels and cores (never read using whole pieces before) under the water. Otherwise everything floats to the top. Any suggestions??
Well, let’s see…
As for the white film, that’s likely kahm yeast, and it’s not harmful. I actually have a batch of apple cider vinegar going right now where I took the kahm yeast off before the secondary fermentation. Cultures for Health has a great description: http://www.culturesforhealth.com/white-film-cultured-vegetables-mold
However, if it smells rotten, then that’s a different scenario. Sour – fine. Rotten – no. Your nose and tastebuds are the best tools you have for determining if a ferment is good, and if it’s foul, throw it out.
As for keeping peels and cores under the water, that can be a challenge. I would recommend glass or stone weights that are made for fermentation. There are several on Amazon and Cultures for Health also carries weights (like these, for example: http://www.culturesforhealth.com/small-ceramic-fermentation-weight.html) If you buy on Amazon, though, be sure to read the reviews before you choose one, as there are a number of glass weights that have gotten poor reviews for not sitting in the jar properly.
So, I hope that helps!
Hi, love your blog. I make my own apple sauce also and hated to throw my peelings in the compost. How much of the peelings and core would you use for a batch of acv. I usually use about 17 apples. Thanks for sharing suvpch wonderful DIY projects.
You’re so welcome! Our pleasure, truly. 🙂
As for amounts of apple scraps, honestly, it doesn’t really matter – and it depends more on the size of vessel you’re using for fermentation. I would say just loosely fill whatever vessel you’re using *at least* halfway with apple pieces/scraps and then fill with water and go from there.
I hope that helps!
Does this need to be strained at the end?
No, it doesn’t need to strained at the end – just after the first stage when you’re removing the solids.
That said, it’s up to you what to do with the mother of vinegar that has formed by the end. You can either keep the mother in the vinegar or remove it to add to a new batch of vinegar, either one.
I hope that helps!
don’t your chickens become a little “disoriented” eating the mash.
thanks
michael
Help. I made this over a month ago. I have 2 layers of what I assume is mother. But the whole thing smells sour, not vinagery. Should I toss it and try again?
I would say go with your instincts. If it doesn’t smell pleasant (even if it’s sour) and if doesn’t smell “right” to you, then yes, start again.
Question, I didn’t put any sugar in mine and I removed all the solids and it’s been like 5 weeks and it doesn’t taste or smell like vinegar! Plus it’s a cloudy yellow????
Out of curiosity, did you begin with a mother or with pure apple juice? If it was the latter, the cloudiness could be a mother developing, which means it will take several more weeks to turn to vinegar. Or it could be other, undesirable fermentation. How does it smell?
I just used apples and water….and the smell is hard to say but it’s more like a cider! I have tasted it (with a spoon) and I just really don’t know! There’s definitely a mother on the bottom and some foamy stuff on the top!
Well, I think that sounds good! Fermentation is definitely happening, and as long as it doesn’t smell putrid or “off,” I’d just let it do its thing. 🙂
Good luck!