Perfect Homemade Granola Bars
This post may contain affiliate links, including those from Amazon.com, which means we earn a small commission off your purchases. And here's the thing: We only mention services and products that we think are truly worth your attention, whether they're free, paid, or otherwise. This site relies on YOUR trust, so if we don't stand behind a product 110%, it's not mentioned. Period.
I absolutely love granola bars. They've been a favorite snack since I was a kid.
Whether it's a road trip, camping, hiking, a toddler snack in the diaper bag, or just to have something on hand for a mid-afternoon energy slump, granola bars always seem to fit the bill. They're that lovely combination of protein from the nuts, quick sugar from the maple syrup and dried fruit, and long-lasting energy from the oats.
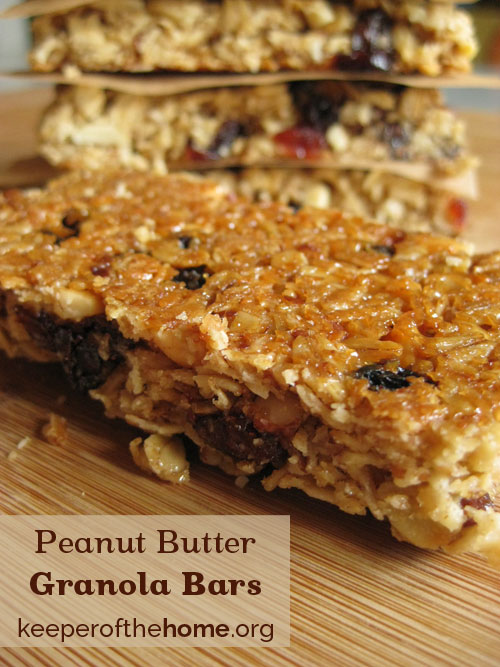
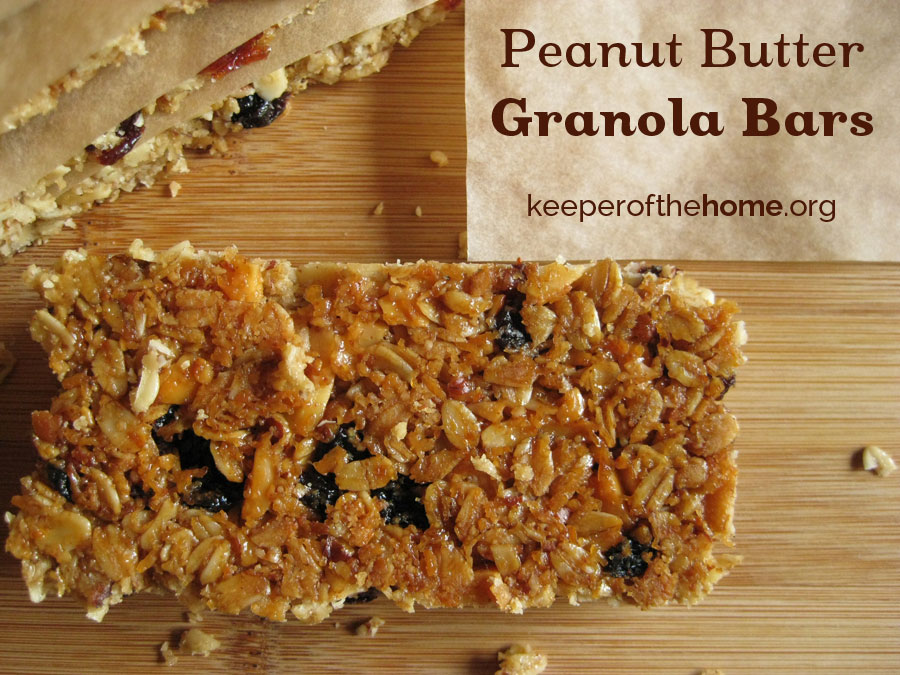
I also happen to love peanut butter, so lately I've been making these peanut bars whenever I get a chance. They're based on the basic granola bar recipe found in my latest book, The DIY Pantry, with a simple peanut butter substitution.
So today, I'm sharing the recipe as my monthly contribution over at Keeper of the Home.
I call them “Perfect” Granola Bars not because I desire to be arrogant in any way (there are lots of really fabulous granola bar recipes out there), but this one is “perfect” because it's a very basic recipe that can be customized to nearly anyone's favorite flavor and texture. I've made it dozens and dozens of times with varying ingredients and varying textures and I haven't had a failed batch yet.
The beauty of this recipe lies in the basic science of sugar and how sugars harden as they cool. You can adjust the final texture just by adjusting how long you leave them in the oven.
If you like them soft and chewy, for example, take them out of the oven a bit early. If, like me, you like them a bit crunchy, then leave them in a few extra minutes until the edges are really starting to brown. Don't skimp on letting them cool completely before you enjoy them, though, or they won't set properly. (Ask me how I know – we usually down about half the batch before they're cool and I'm left with a kitchen full of crumbs from a snack that hadn't yet melded!)
And as for the sugars in the recipe, the sugars are all naturally-occurring and minimally-refined, such as maple syrup, honey, brown rice syrup, and evaporated cane crystals, so you've got the sweetness of the sugar with some of the natural minerals still intact. If your peanut butter is sweetened, you may want to cut back on the honey just slightly.
Oh, and a last note – I call for barley malt syrup in this recipe. I can find that easily at health food stores in my area, but I know for some, it's a difficult to find item, so feel free to use any other minimally-refined liquid sugar in its place (e.g. maple syrup, honey, etc). I call for barley malt syrup because of the nutty flavor it gives that replicates store-bought brands. Personally, it reminds me of the nuttiness of Grape-Nuts. If you use other syrups, just know that other syrups will make the bars a bit sweeter, so cut back if desired. And of course, you can buy it online if you can't find it in your area.
Enjoy – and may you have great joy wherever your journeys take you this summer!
Visit Keeper of the Home to see the recipe!


This was the biggest mess i have ever made . It was hard and dry and I just threw it away.
Pam,
I’m so sorry to hear that! A recipe that doesn’t turn out is always frustrating!!!
Out of curiosity, how long did you leave them in the oven? Did you adjust the time for softer bars as the recipe indicated? As mentioned in the article, the recipe is for hard, crunchy bars (like Nature Valley bars), but the hardness of the bars depends entirely on how long you leave them in the oven.
I hope you enjoy them better next time!