Apple & Oatmeal Crumble Bars
This post may contain affiliate links, including those from Amazon.com, which means we earn a small commission off your purchases. And here's the thing: We only mention services and products that we think are truly worth your attention, whether they're free, paid, or otherwise. This site relies on YOUR trust, so if we don't stand behind a product 110%, it's not mentioned. Period.
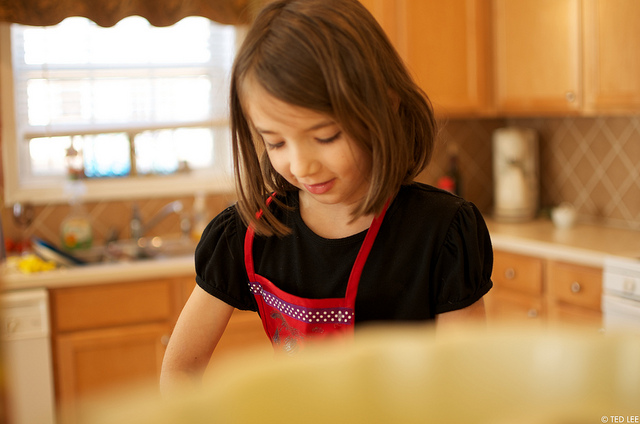
Every kid should be in the kitchen.
Yes, it makes a mess. (A big one.)
Yes, it's slow waiting for kids to measure, dump, stir, and find ingredients.
Yes, it sometimes causes bickering because Sally got to dump the flour when Johnny really wanted to.
And yes, it's absolutely worth the time and effort.
(And yes, be sure to teach the discipline of cleaning up afterward too… when they're 17 and offering to cook or clean up, you'll thank yourself for the extra effort you put in while they were younger… )
To that end, today's recipe is specifically for the kids among us. Sure, we adults can make these bars too, but this recipe is one that kids ages 8-12 can more or less make by themselves. The amount of assistance your particular child may need may vary – but please be advised that this recipe does require the use of knives and the oven.
Enjoy!
Apple and Oatmeal Crumble Bars
For the crust:
1 1/2 cups old-fashioned rolled oats
1 1/2 cups whole wheat or spelt flour
1 1/2 cups warm water
1 tablespoon distilled white vinegar
1/2 cup sucanat or unrefined cane sugar
2 teaspoons ground cinnamon
3/4 cup butter, melted
For the filling:
4 crisp, tart apples, left unpeeled and diced
1/4 cup raisins
1/4 cup honey or unrefined cane sugar
1 tablespoon all-purpose flour or arrowroot powder
Instructions:
1. Wash your hands.
2. Place the oats, flour, water, and vinegar in a bowl and mix. You should be able to gather the mixture together and form it into a ball that stays together fairly easily without feeling sticky. If it's too dry, add more water 1 tablespoon at a time. If it's too sticky, add flour 1 tablespoon at a time.
3. Cover with plastic wrap, then let the mixture sit on the counter at room temperature for 6-8 hours. (We do this to make sure all the nutrition in the oats and the flour can be digested by our bodies.)
4. After 6-8 hours, wash your hands again and get an adult to help you turn on the oven to 350°.
5. While the oven is heating up, make the crust. First, melt your butter. Place all the butter in a small saucepan and place it on the stove. Warm it over medium-low heat until all the butter has melted into a puddle in the pan.
6. Next, stir the wet oat and flour mixture that was sitting on the counter and add the melted butter, sucanat, and cinnamon. Stir until everything is completely mixed together.
7. Spoon half of the mixture into a square 9″ x 9″ pan and press it down to form the bottom crust. Leave the rest of the crust mixture in the bowl to add on top later.
8. Make the filling by stirring the cut-up apples, raisins, honey, and arrowroot powder together. Pour all of the mixture on top of the crust you pressed down into the pan. Spread it out so it covers the crust evenly.
9. Sprinkle the rest of the oat and flour mixture over the apple mixture. Using the back of a rubber spatula, press the oat and flour mixture down to make the whole top crust flat.
10. With the help of an adult, place the pan in the hot oven and bake until the top is lightly browned and the apples are soft, about 40-45 minutes. You might find it helpful to set a timer.
11. Using hot pads or with the help of an adult, take the very hot pan out of the oven. Press down the top again with the back of a spatula and let sit until completely cool.
12. Cut into squares and serve!


Any chance you could add a picture of the finished product sometime soon? I’d love to see what it looks like coming out of the oven!