How to Make Gravy from Scratch (Hint: It’s Simple!)
This post may contain affiliate links, including those from Amazon.com, which means we earn a small commission off your purchases. And here's the thing: We only mention services and products that we think are truly worth your attention, whether they're free, paid, or otherwise. This site relies on YOUR trust, so if we don't stand behind a product 110%, it's not mentioned. Period.
How to Make Gravy from Scratch
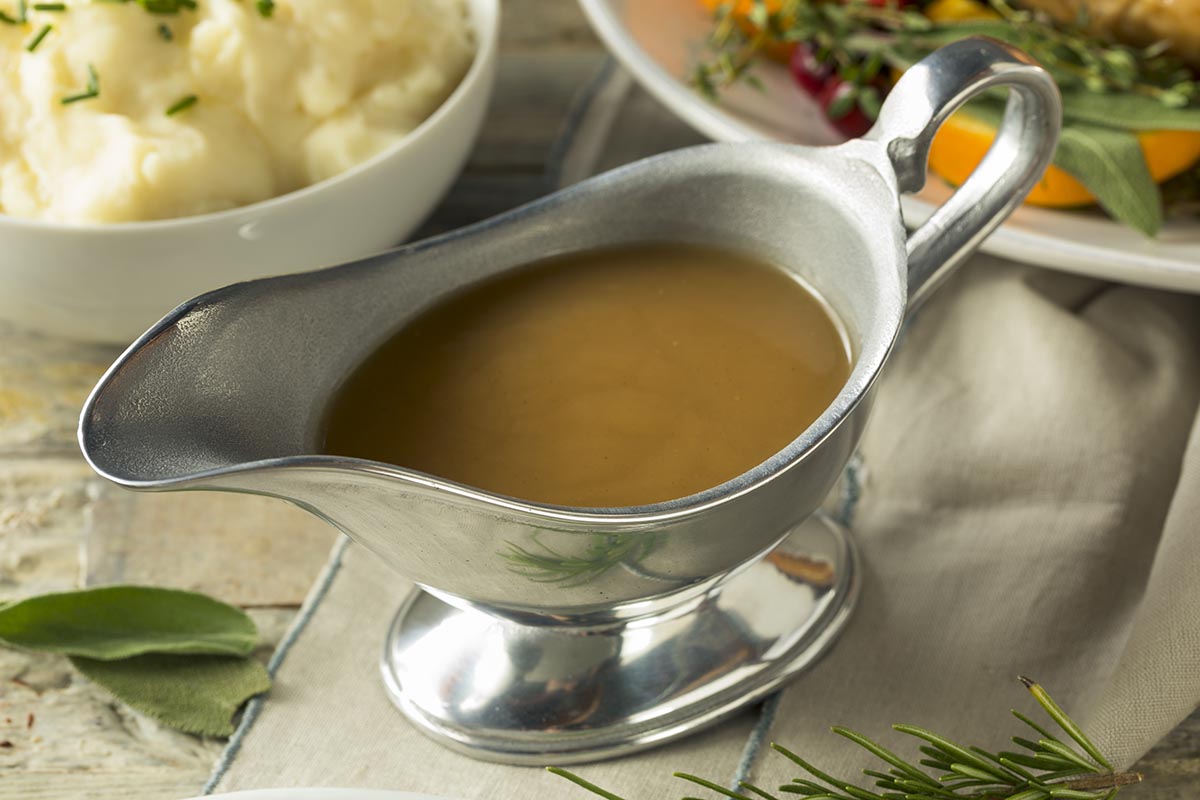
This simple way to make gravy is actually the proper way too, so this recipe is the ace in your back pocket whether you're just wanting to quickest way to make flavorful gravy or you're wanting to serve a “proper” gravy made from scratch.
Servings: 2 cups
Ingredients
- 1 ½ – 2 cups chicken or turkey stock, divided
- ¼ cup fat skimmed from the pan drippings, (see instructions for how to easily separate drippings)
- ¼ cup unbleached flour
- ½ teaspoon sea salt, (omit if using drippings from a brined turkey)
- Black pepper to taste
Instructions
- Deglaze the roasting pan. After you've removed the turkey from the oven and set it aside to begin its resting time, move the roasting pan to the stovetop, straddling two burners if necessary, and heat the pan over medium heat. When the drippings being to sizzle, pour in 1 cup of the stock and scrape up all the bits from the bottom of the pan. (If you're using a non-stick pan, be sure to use a silicone or wooden utensil so you don't scratch the pan coating.)
- Chill the fat-liquid mixture. Pour all the liquid in the roasting pan into a liquid measuring cup and place it in either the refrigerator or freezer for 15-20 minutes (the perfect amount of time to coincide with the turkey's resting time). By chilling the mixture, the fat that separates onto the top will begin to harden, which makes it much simpler to measure the amount of fat AND to completely separate the fat and the liquid.
- Measure the fat. Once the fat is hardened (or at least stiffened), visually look through the measuring cup to verify the amount of fat. If it's not possible to verify, lift or scrape it off and measure in another cup. To continue, you'll need 1/4 cup of fat and ideally about 1 cup of liquid. (If your amounts are different, see the Notes section below for tips.)
- Make a roux. In a heavy-bottomed saucepan, melt the fat over medium heat. Add the flour and whisk until smooth. Let the mixture bubble for 1-2 minutes until the top appears dry, whisking occasionally. (If you've got time, let the flour cook, still continuing to whisk occasionally, until it lightly browns. This will deepen the gravy's flavor, but the darker the roux gets, the less "thickening power" it will have, so just lightly toasted is ideal.)
- Add the liquid. Pour the reserved liquid in a few tablespoons at a time, whisking after each addition. The mixture will be very thick and gloppy. Unless you had copious amounts of liquid from the roasting pan, add more stock a few tablespoons at a time until the gravy is your desired pouring consistency, likely about 1/2 cup. Add more stock for a thinner gravy or let the gravy cook a few minutes for a thicker gravy, but remember that the gravy will thicken slightly as it cools.
- Season the gravy. Taste and season with salt and pepper.
Notes
If you need to adjust the amount of fat or liquid:
- If you need more fat, add a bit of butter in the next step.
- If you need less fat, scrape the excess away.
- If you need more liquid, simply use more stock in the next step.
- If you have lots of extra liquid, either set some aside for another use or double the recipe.
- Flour-based gravies continue to thicken as they cool.
- Start with less liquid than you think you need. You can always thin out a thick gravy, but its much harder to thicken a gravy that's too thin.


